Picture this:
You fill the water reservoir of your Keurig coffee maker only to watch as water trickles out from underneath grimly. You are frustrated because you now have a mess to clean up, and you wonder why your once reliable Keurig has failed you.
Now:
If this sounds like a problem you’re facing, then the stars have aligned, and you’re in the right place. You are probably trying to figure out the cause of your leaking Keurig and how to fix this massive inconvenience.
Thankfully:
We have conducted extensive research and compiled the answers you seek in this article. Here’s what to do when your Keurig is leaking from the bottom.
Table of Contents
Keurig Is Leaking From the Bottom
For whatever reason, your Keurig is leaking from the bottom; there are several methods to solve this problem effectively. You should pay attention to overfilling the water reservoir, replace a cracked tank or faulty water hose, unclog and descale your machine, clear the valve pump, or change a damaged O-Ring.
1. Avoid Overfilling the Water Reservoir
Get this:
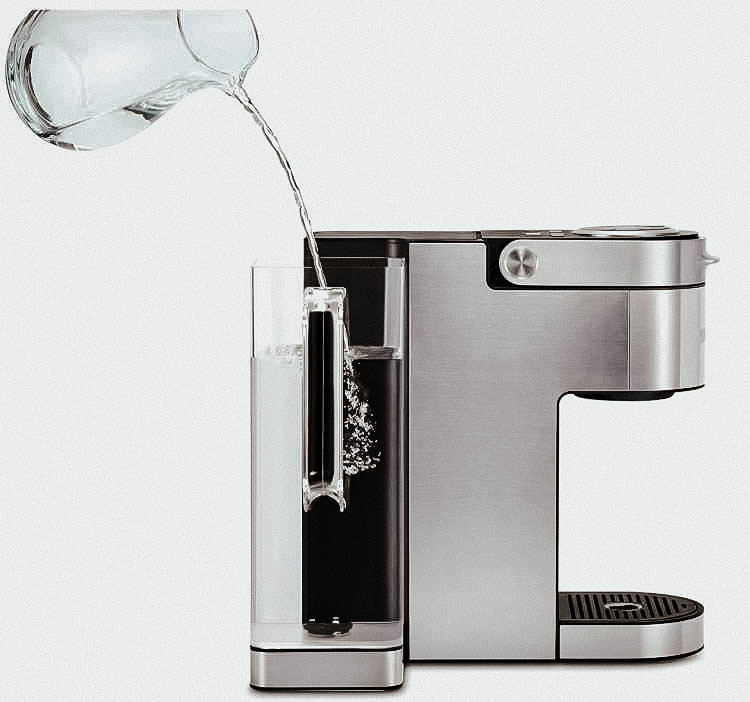
Overfilling your Keurig’s water reservoir is the most common and easily correctable cause of a leaking Keurig. People often eventually lose regard for the capacity marker and begin to freestyle the amount of water they add to the tank.
In essence:
To avoid a leak, ensure that you don’t add water past the max fill line of your Keurig’s water reservoir.
Additionally:
It would help if you paid attention to the alignment of your water reservoir to avoid flooding the system.
Alas!
Mindfulness could be the only solution you need to keep your Keurig from leaking.
2. Replace the Cracked Water Reservoir
Here’s the thing:
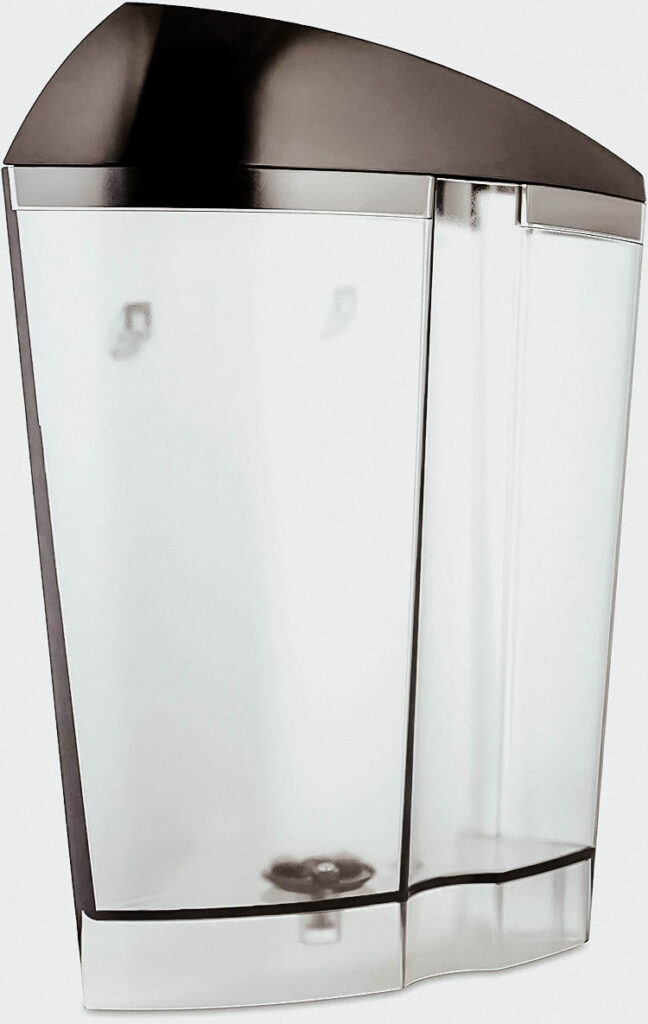
If your Keurig is leaking from the bottom, then it is likely that the water reservoir is cracked. You can check for cracks by filling your tank, holding it over the sink, and watching for drips.
The brewer may have fallen or developed hairline cracks due to age and environmental factors.
Well:
If the cracks are extensive and cannot be repaired, the immediate solution is to replace the water reservoir. Otherwise, you can apply a spot of hot glue to the affected areas to repair the tank.
However:
We highly recommend outrightly changing the tank for a more long-lasting remedy. Once the water tank is crack-free, your Keurig will also be leak-free.
3. Replace or Tighten the Faulty Water Hose
Fact:
The water hose is located at the bottom of your Keurig and leads to leakage when faulty. It could either be loosely attached, weakened, or damaged by perpetual heat exposure.
Generally:
If the water hose is impaired, you would be required to replace it with a new, functional one from Keurig or an online store.
In addition:
When it is loosely attached, you will need to unscrew the base of the machine and fasten the hose more tightly.
Remember:
Ensure that your Keurig is powered down and unplugged before opening the base, as water and exposed electricity do not combine nicely.
After replacing or tightening your water hose, your Keurig should run effectively without leakage.
4. Descale and Unclog Your Keurig Coffee Maker
Certainly:
A buildup of mineral deposits (limescale) will clog your Keurig coffee maker and lead to leaks and other malfunctions.
As such:
Descaling and unclogging your Keurig when due is necessary to avoid this malfunction.
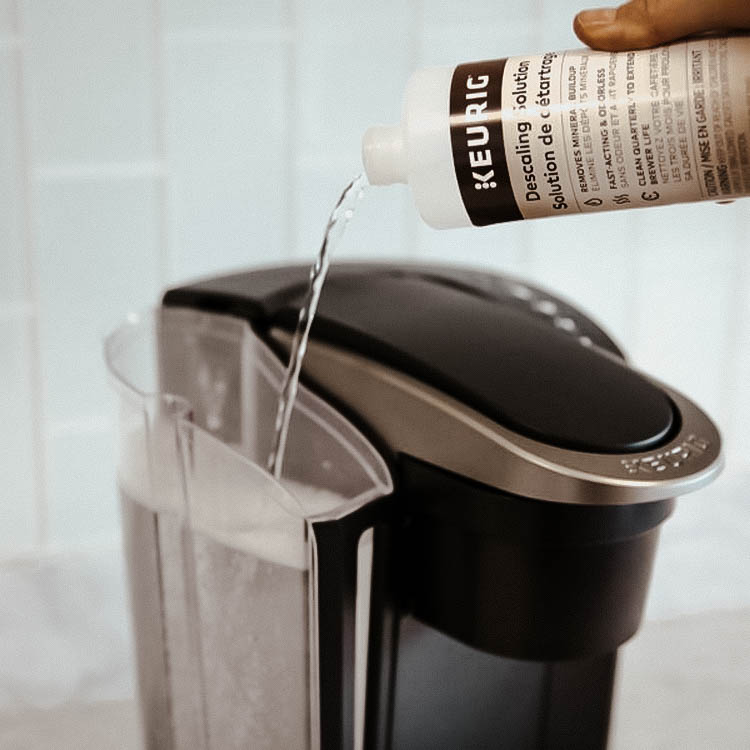
Here’s what to do:
Fill your Keurig’s water reservoir with equal parts of the descaling solution or white vinegar and water. You should place a large cup on the drip tray and run a brewing cycle until the cup is full.
Next:
Let the descaling solution soak in the reservoir for a while to break down mineral compounds. You can then pour out the solution and run several rinse cycles with plain water to get rid of debris.
After this:
Your Keurig should be as good as new, and you would have successfully terminated its leakage. Good job!
5. Clear the Valve Pump
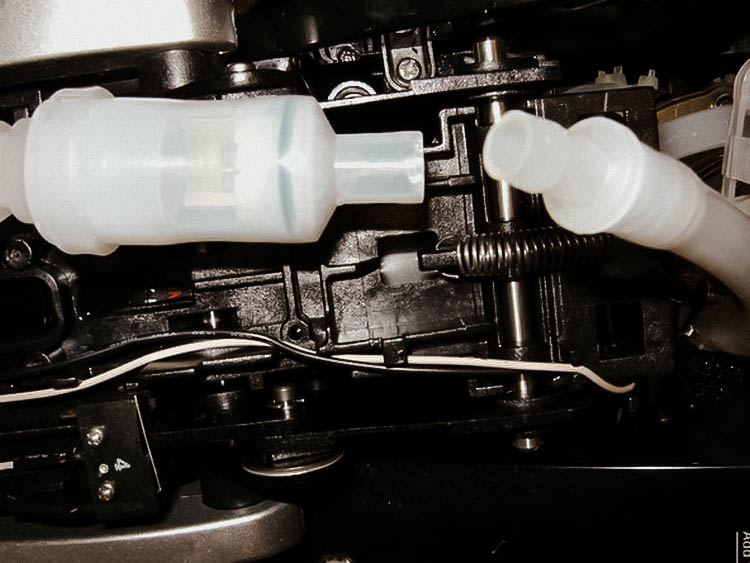
You see:
Your Keurig’s valve pump is responsible for transporting water from the reservoir to the machine. When it is clogged with mineral deposits or ground coffee, the water flow will be hindered, often resulting in a leak.
Now:
It would be best to immediately attempt to clear and unclog the valve pump to restore your Keurig to its peak state. You could hire a trained technician for this job in the event of a sealed valve pump.
However:
If the valve pump is detachable, you should be able to unclog it and reassemble your Keurig.
Alternatively:
You can reach out to Keurig customer support for assistance, and your Keurig will work fine in no time.
6. Replace the Damaged or Misplaced O-Ring
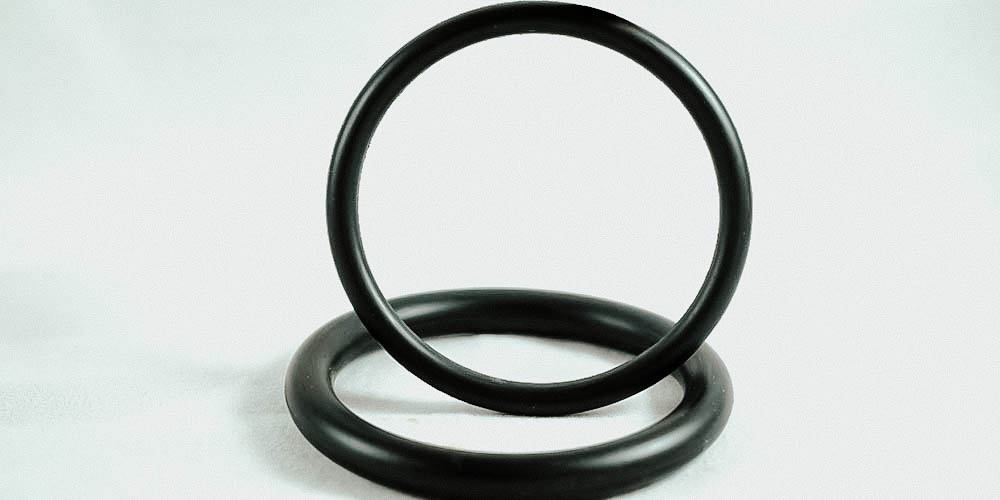
Get this:
Your Keurig might leak from underneath because of a damaged or misplaced O-Ring.
Now:
The O-Ring is a small silicone band that seals the bottom of the water reservoir connecting the tank to the water hose.
So:
When dealing with a leaking Keurig, you should check that your Keurig’s O-Ring is still in place and also check for damage. An obvious solution would be to replace the defective or lost O-Ring with a new one from Keurig.
One more thing:
You must take note of your Keurig model because O-Rings are model specific. Don’t hesitate to contact customer support for assistance with replacing your O-Ring.
Models Commonly Affected
Note:
Some Keurig models are more prone to these factors that cause them to leak from the bottom. Here are some of these models:
1. Keurig Mini
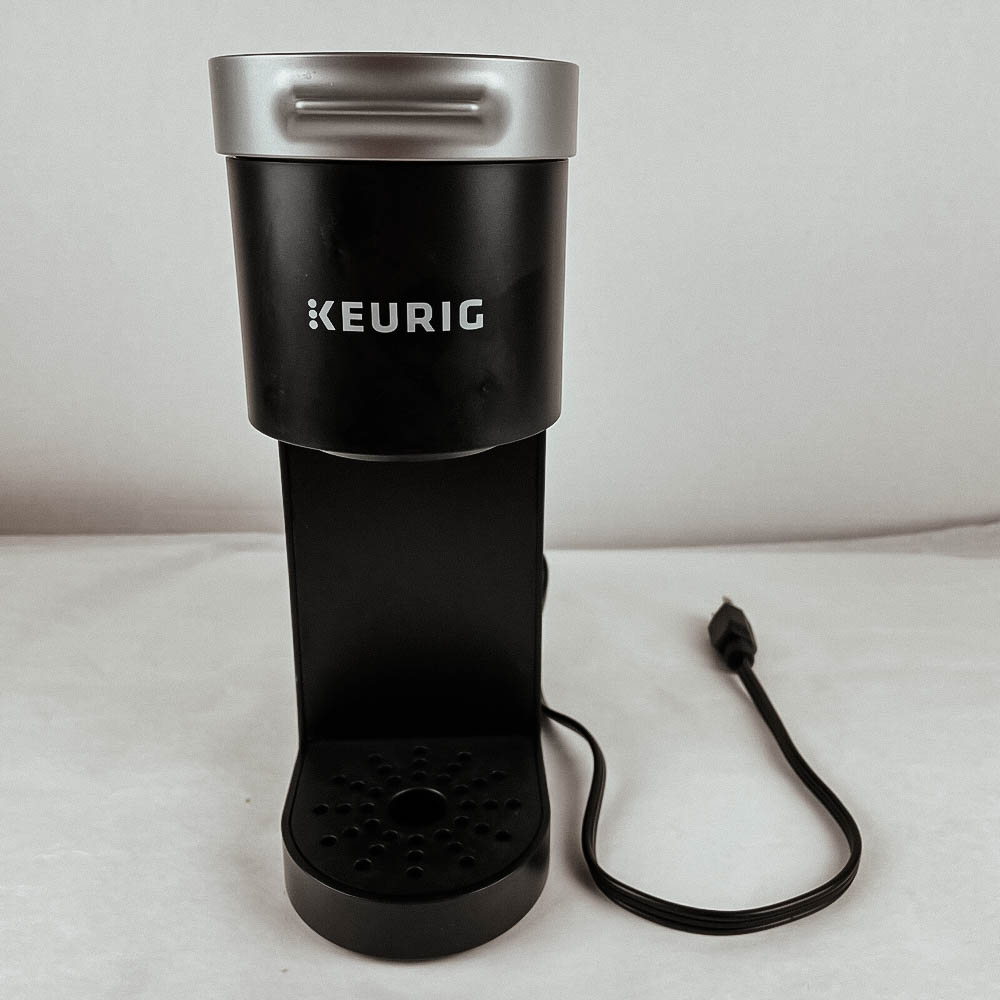
Look:
The Keurig Mini is also called the Keurig Single-Serve. It is Keurig’s slimmest and most environmentally-mindful coffee brewer in production.
Now:
The Keurig mini is relatively easy to use, but its compact design makes it just as easily susceptible to malfunctions such as leaking.
2. Keurig K40
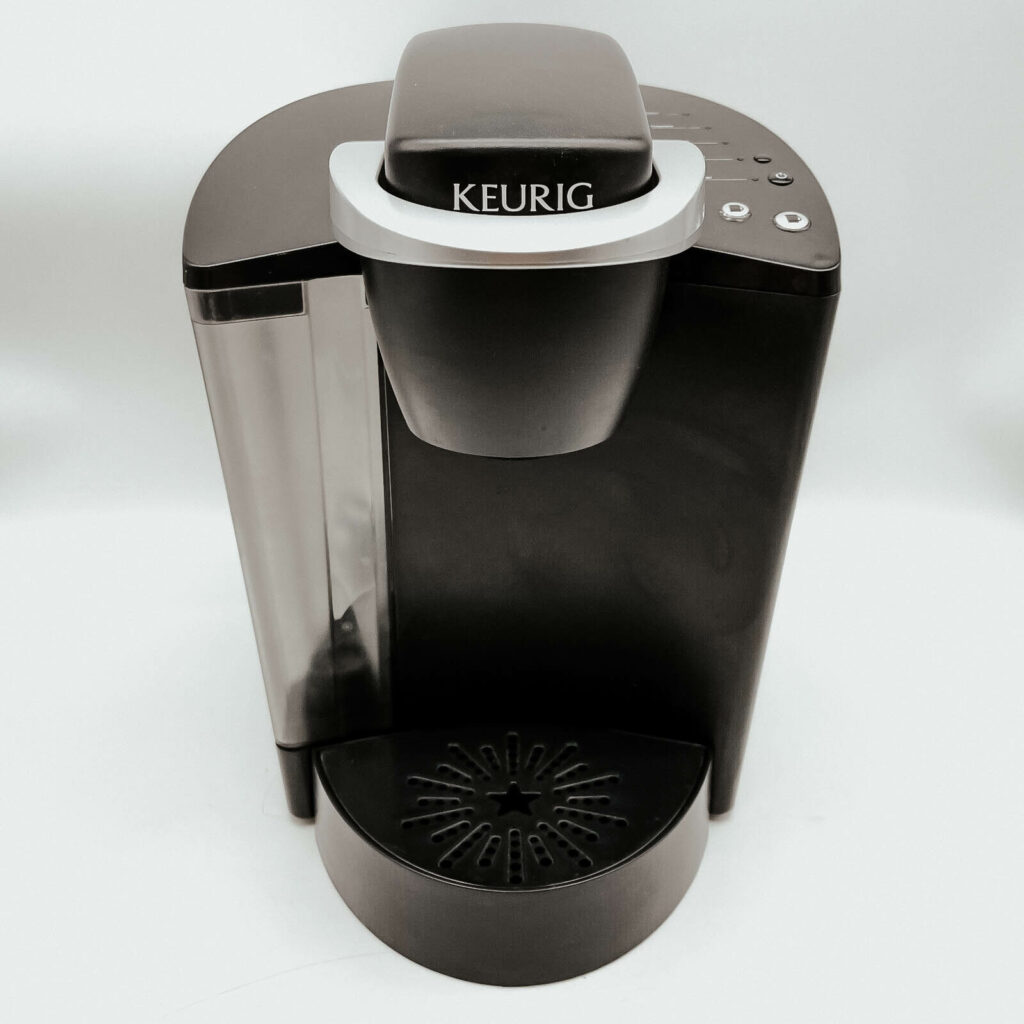
Fact:
The Keurig K40 Elite Brewer is a single-serve, K-cup compatible coffee brewer released in 2013. It is an iconic model that is simple to operate and usually makes the coffee-making experience stress-free.
However:
This model lacks a water filter starter kit and other special features that make it prone to leakages.
3. Keurig 2.0
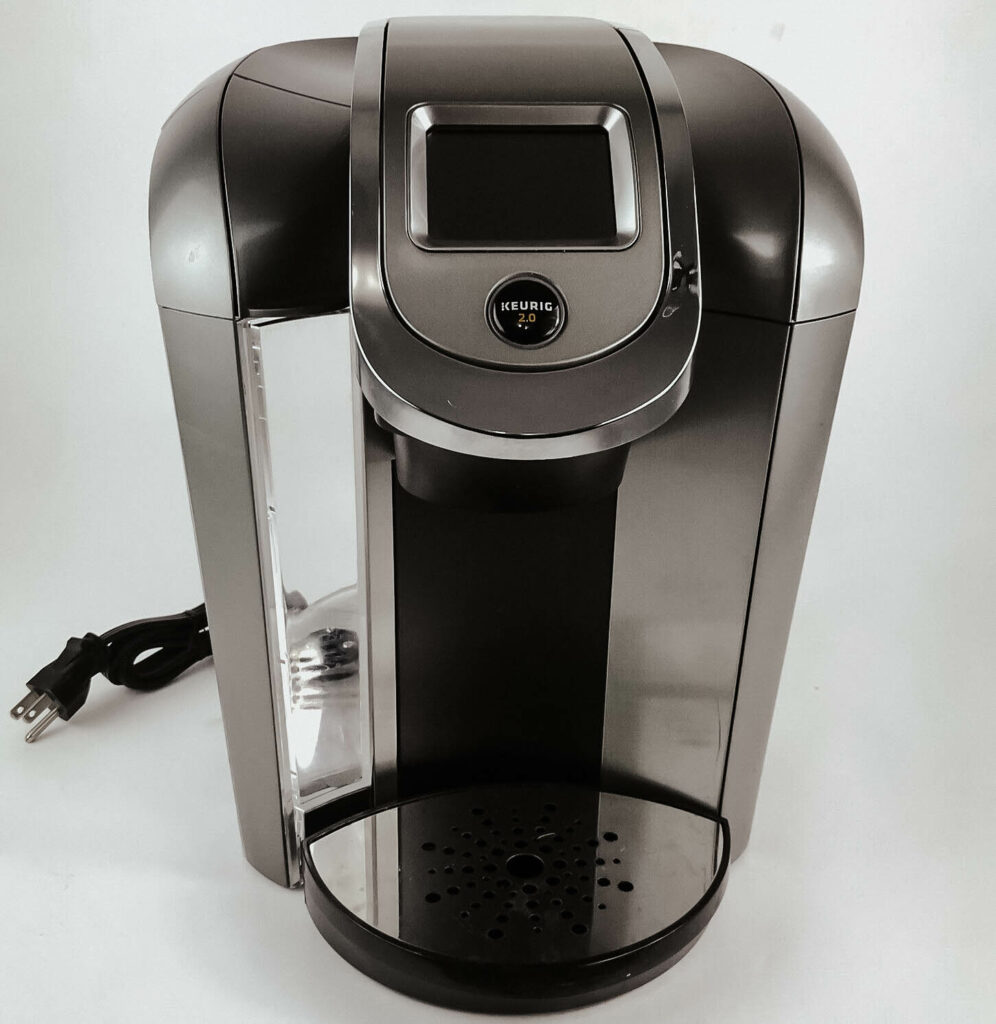
Here’s the thing:
The Keurig 2.0 coffee maker (also known as the Keurig 200) is a model equipped with a unique system for coffee brewing.
However:
They were eventually terminated after clients’ backlash in 2019 concerning malfunctions, including leaks from the bottom of the brewer.
Conclusion
Fact:
Your Keurig coffee machine is designed to make the coffee-making routine easier and not harder for you.
Hence:
If your Keurig is leaking from the bottom, you want to get it fixed as soon as possible.
As such:
You should try these simple solutions to get your Keurig back to its prime state.
- Avoid overfilling the water reservoir
- Replace the cracked water tank
- Replace or tighten the faulty water hose
- Descale and unclog your Keurig machine
- Clear the valve pump
- Replace the damaged O-Ring
Certainly:
Your Keurig should be in excellent condition and free from leakage after implementing these easy fixes.
Not to take all the credit but do let us know if you tried some of the highlighted solutions and found them helpful.
Remember: Your opinions and additions are important to us; don’t hesitate to share them in the comment section below!
Frequently Asked Questions
Your Keurig could be leaking after brewing for various reasons. These typically include overfilling the water reservoir, a damaged tank, or a clogged system.
Fill the reservoir with equal parts of Keurig descaling solution or white vinegar and water, then run a brewing cycle.
Then:
Drain out the tank, and don’t forget to run several rinse cycles to eliminate leftover debris and the descaling solution thoroughly.
Depending on the cause of the leak, you have a range of solutions for a leaking Keurig.
Certainly:
You would have to replace any damaged parts, including the water reservoir, O-Ring, or the water hose. You could also unclog your Keurig and avoid overfilling the water tank.
With proper maintenance and cleaning, your Keurig can serve you for an estimated three to five years.
In addition:
You should watch out for signs of a malfunctioning Keurig to troubleshoot these problems or replace your Keurig.
You should replace your Keurig after spotting tell-tale signs that it is malfunctioning beyond repair.
For example:
If your coffee comes out lukewarm or watered down, your Keurig takes ages to brew or is leaky; then a replacement is due.