
Let’s be honest:
For coffee lovers like us, nothing is worse than being met with the gritty taste of leftover grounds in our cup of coffee. As you spit the (surprisingly edible) coffee sediment out of your mouth in disgust, you decide that you’ve had enough.
Does this sound like you?
We deeply sympathize with you and are here to save you from this unpleasant experience.
Obviously:
You want to know what compromises your coffee’s elegance and how to eradicate the nuisance.
To this end:
We have compiled and reviewed helpful recommendations and the answers you seek in this article.
Try these suggestions when your Keurig leaves coffee grounds in your cup.
Table of Contents
Keurig Is Leaving Coffee Grounds In Your Cup
Similar to the causes, there are multiple remedies for a Keurig that leaves coffee grounds in your cup. It would help to use a coarser grind, less coffee, and the right coffee filter. You should also clean the exit needle and brew basket, dampen the filter, and ultimately descale your Keurig.
1. Clean and Unclog Your Keurig’s Exit Needle
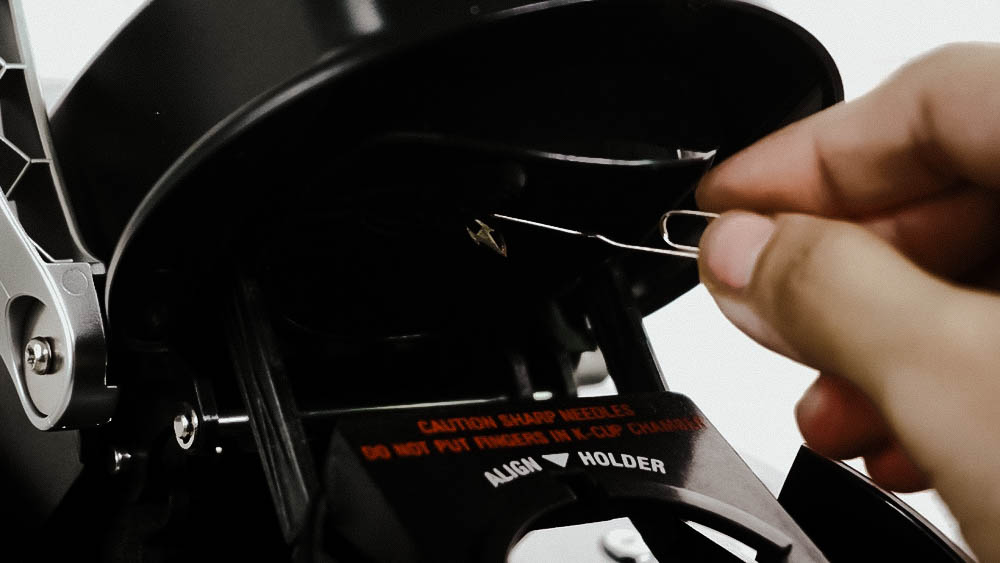
Possibly:
Your Keurig could leave coffee grounds in your cup after brewing because its exit needle is clogged.
As it happens:
Debris, such as coffee grounds, could get lodged in your Keurig’s exit needle, causing it to spew into your cup.
Here’s what to do:
Run several water-only rinse cycles to flush out the lodged debris and then run some more to ensure residual debris is cleared.
You can also:
Straighten out one end of a paper clip and use it to clear out the stuck debris from your Keurig’s exit needle.
After this:
Your Keurig should be back to serving you smooth, delicious cups of coffee free from coffee grounds and sludge.
Remember to:
Form a habit of running water-only rinse cycles to prevent clogs that are harmful to your machine and coffee.
2. Wash Your Keurig’s Brew Basket Thoroughly and Ensure It is in Place
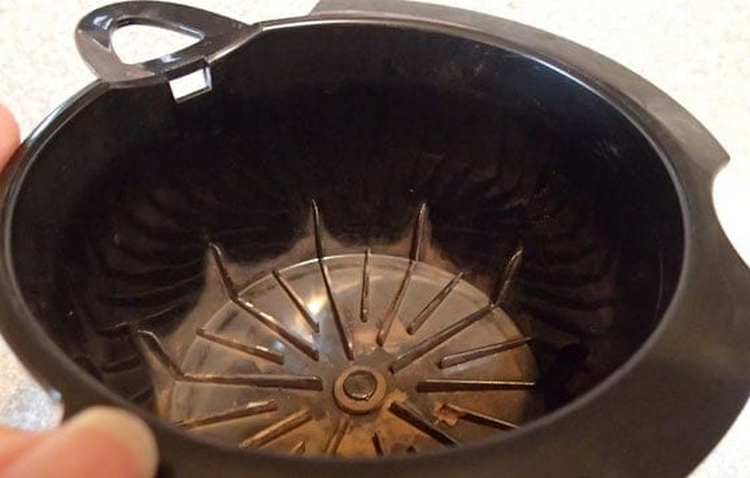
Listen:
Your Keurig coffee maker might leave coffee grounds in your cup after a brew because of an unclean or improperly set brew basket.
You see:
When the brew basket is unclean and improperly placed, unwanted coffee grounds could get past, reaching your cup of coffee. We know you don’t want that.
So:
Detach the brew basket from your Keurig by twisting and lifting it, then wash it thoroughly with soap and warm water.
Then:
Place it tightly and securely into the Keurig coffee machine, ensuring it is properly positioned. You can then run a rinse cycle to check for leftover coffee grounds.
Indeed:
Your Keurig should be in perfect working condition after trying out this suggestion.
3. Use a Dampened Paper Filter with Your K-Cup for Finely Ground Coffee
Know this:
When using finely ground coffee, coffee grounds will likely escape your K-Cup reusable filter resulting in very muddy coffee.
So:
If you want your coffee to be sediment free, use a paper filter with your reusable K-Cup. It will serve as a protective layer to keep the grounds from infiltrating your brew.
In addition:
It will help if you dampen the paper filter in the K-Cup with warm water before a brew.
Doing this ensures the paper adheres to the walls of your K-Cup, drastically reducing the chances of a coffee grind bypass.
Plus:
The paper filter also adds a slight papery flavor to your coffee, making it much tastier.
Try it out!
4. Ensure You’re Using the Right Reusable Coffee Filter for your Keurig

Note:
You should pay attention to the compatibility of your reusable coffee filter with your Keurig coffee machine.
Why?
The wrong size or type of coffee filter will result in a poor fit in your Keurig, producing ground-filled coffee.
You must:
Use the right coffee filter for your Keurig to keep the grounds out of your steaming cup of coffee.
5. Descale Your Keurig Coffee Brewer
Undoubtedly:
The descaling process is crucial to the functionality of your Keurig coffee maker. For most of the defects your device may suffer, descaling should effectively solve them.
Here’s why:
Mineral compounds (limescale) build up over time and reduce your device’s functionality.
Of course:
If your Keurig leaves coffee grounds in your cup after a brew, then descaling surely is an effective solution.
Here’s what to do:
Fill your Keurig reservoir with an equal mixture of descaling solution or white vinegar and water, and then run a brewing cycle.
After this:
Let the mixture sit in the water reservoir to break down the limescale. Then, get rid of the solution and run several water-only rinse cycles to eliminate residual debris.
Done? Splendid!
Now your Keurig should be good as new, and your coffee silky smooth.
6. Use a Slightly Coarser Coffee Grind with Your Keurig Reusable Filter
Here’s a tip:
Try to use coarsely ground coffee when using the K-Cup reusable coffee filter.
Wonder why?
Using too fine a grind (similar to espresso) could cause water to overflow into the space between the filter paper and reusable filters.
This overflow results in the infiltration of coffee grounds into the running brew.
Also:
Even without the extra paper filter layer, the water could force some coffee grounds through the filter holes.
So:
Using slightly coarser grinds will help you to avoid this irritating problem. Plus, coarse grinds will give your coffee a more tender taste.
7. Avoid Using Too Much Coffee Grind in Your K-Cup
Sometimes:
Your Keurig might be leaving coffee grounds in your coffee after a brew, not because it is faulty but due to some user error.
Now:
An example of such a user error is overfilling your K-Cup. This error will certainly end in one unappealing muddy cup of coffee saturated with coffee grounds.
Well:
To ensure you’re using the appropriate measurement of coffee for your Keurig, fill the mesh basket to the bottom of the brown band.
It should be an estimated 2.5 teaspoons of coffee grind, which is perfect for your Keurig coffee machine.
Note:
The coffee grind in the mesh basket should measure approximately three to five centimeters.
At the end of the day:
Your Keurig should serve elegant cups of coffee if you adhere to these measurements.
Models Most Affected
Here’s the thing:
Any Keurig coffee maker could leave coffee sediments in your cup after brewing. Sometimes, the problem could even be caused by a user error.
However:
These Keurig models are the most prone to this problem:
1. Keurig 2.0
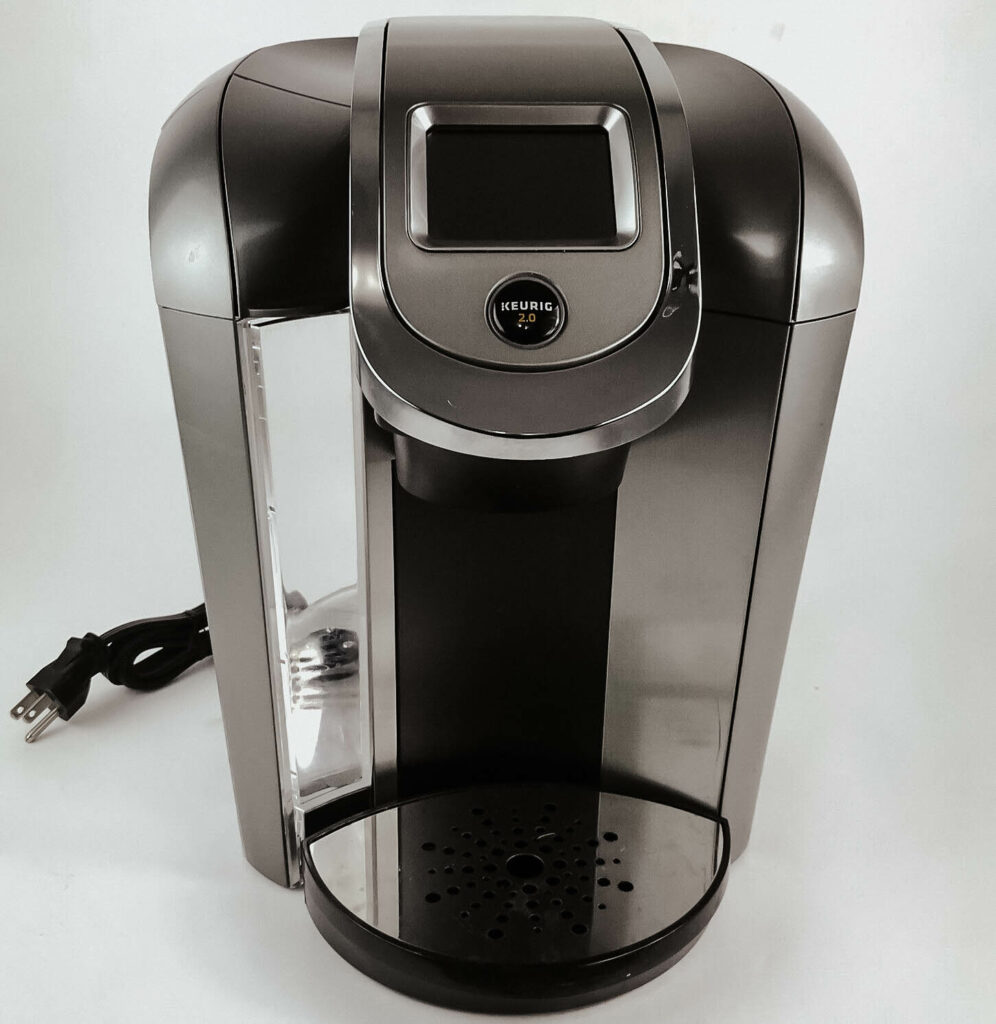
Look:
The Keurig 2.0 coffee maker (Keurig 200) is a model that is claimed to provide an efficient system for coffee brewing.
However:
After clients’ backlash in 2019 concerning defects and subpar quality, they were discontinued.
In addition:
Many consumers complained that their Keurig 2.0 was leaving coffee grounds in their cups.
2. Keurig Duo
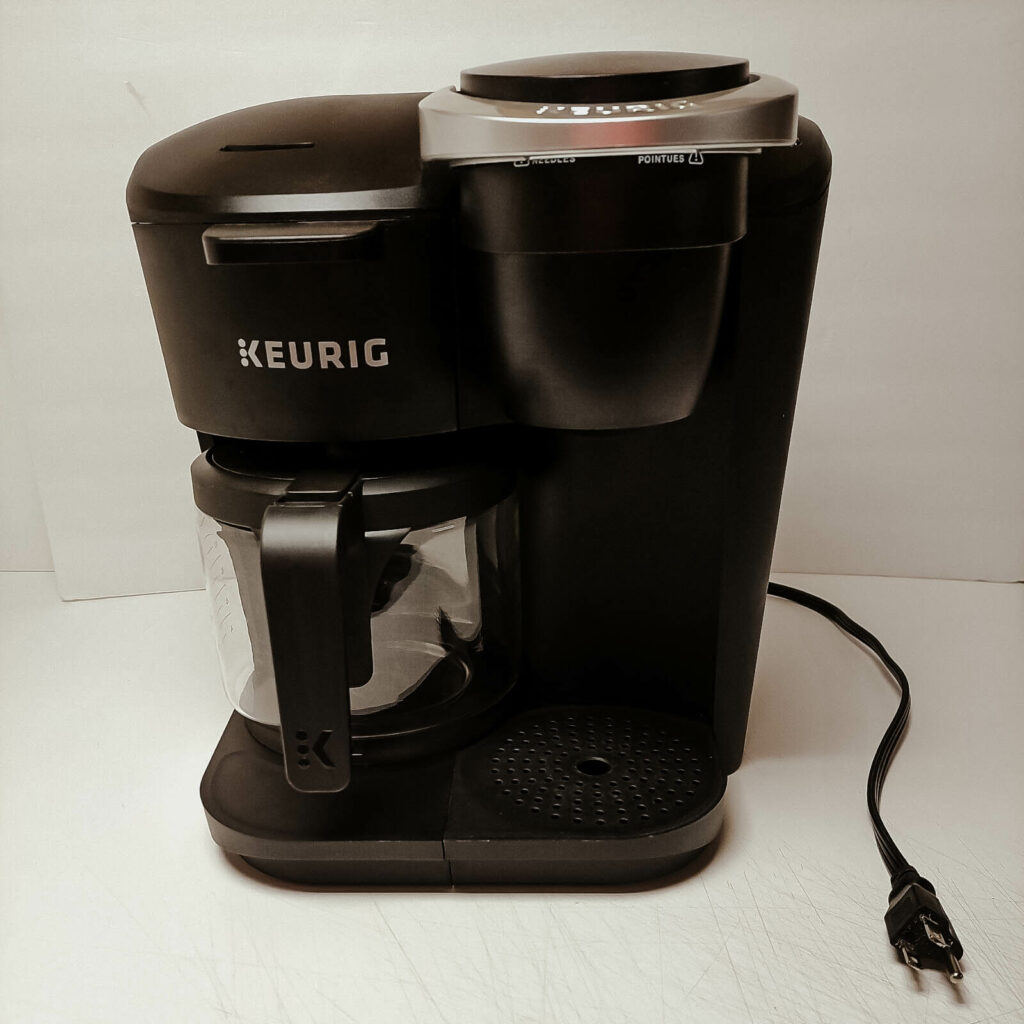
Now:
The Keurig Duo (K-Duo) is a Keurig model that is easy to use and typically brews quality coffee. It also features an auto brew addition and a movable water reservoir.
But:
This model is also prone to malfunctions that cause it to leave coffee grounds in the cup after a brew.
Conclusion
Definitely:
It is a serious mood killer when your Keurig coffee machine serves muddy cups of coffee saturated with distasteful coffee residue.
As such:
Your immediate “caffeine-fueled” priority should be finding working solutions to restore the necessary quality of your brewed cups of coffee.
To that end:
Here are some useful troubleshooting recommendations to try:
- Clean and unclog your Keurig’s exit needle
- Wash your Keurig’s brew basket and ensure it is in place
- Use a dampened paper filter with your K-Cup for finely ground coffee
- Ensure you’re using the right reusable coffee filter for your Keurig
- Descale your Keurig
- Use a slightly coarser coffee grind
- Avoid using too much coffee grind
Undoubtedly:
After implementing any of these easy fixes and suggestions, your Keurig should be in excellent condition, and your coffee should be residue-free.
Anyway:
Let us know which of our recommendations you try out and how your Keurig and coffee responded to them.
Remember:
We value your input and would love to know your additions, opinions, and questions.
Please share them with us in the comment section below!
Frequently Asked Questions
Your Keurig is leaving coffee grounds in the cup, most likely because the exit needle that punctures the K-Cup is clogged with grounds.
Note that:
You can clear the needle with running water or a straightened paper clip.
You may get coffee grounds in your cup after using a coffee maker for various reasons.
However:
The most common is a clogged exit needle which can be remedied by a rinse cycle or manual dislodge with a paper clip.
You have two available methods to try when you need to clean your Keurig exit needles.
You could either:
Run a brewing cycle with plain water and without a K-Cup pod, or clear up lodged debris with a straightened paper clip.
To prevent or curb coffee grounds in your coffee, try to use coarsely ground coffee and only tamp espresso coffee.
Also:
Dampening your coffee filter helps to stop coffee sediments from getting through
as they will stick to the sides of the filter basket.
You can certainly run vinegar through your Keurig coffee maker.
In fact:
White vinegar is an effective alternative to Keurig’s descaling solution and will thoroughly break down mineral compounds clogging your Keurig.
The “black stuff” at the bottom of your coffee cup is sludge, an oily substance resulting from coffee sediment.
You see:
Some coffee grounds could escape your coffee maker’s filtering system, dissolve partially and settle at the bottom of the cup.
Coffee filters are important because they extract potentially harmful oils known as diterpenes from coffee. They help to strain and retain uneven coffee grounds to avoid clogs and sludge. Though possible, not using a coffee filter when making coffee with a coffee maker is significantly detrimental.