Here’s the thing:
I’ve spent years mastering the art of brewing the perfect cup of coffee, and trust me, the last thing you’d want is to ruin your new Keurig machine.
So, in this guide, I’ll walk you through a few common mistakes to avoid with your shiny new gadget.
Table of Contents
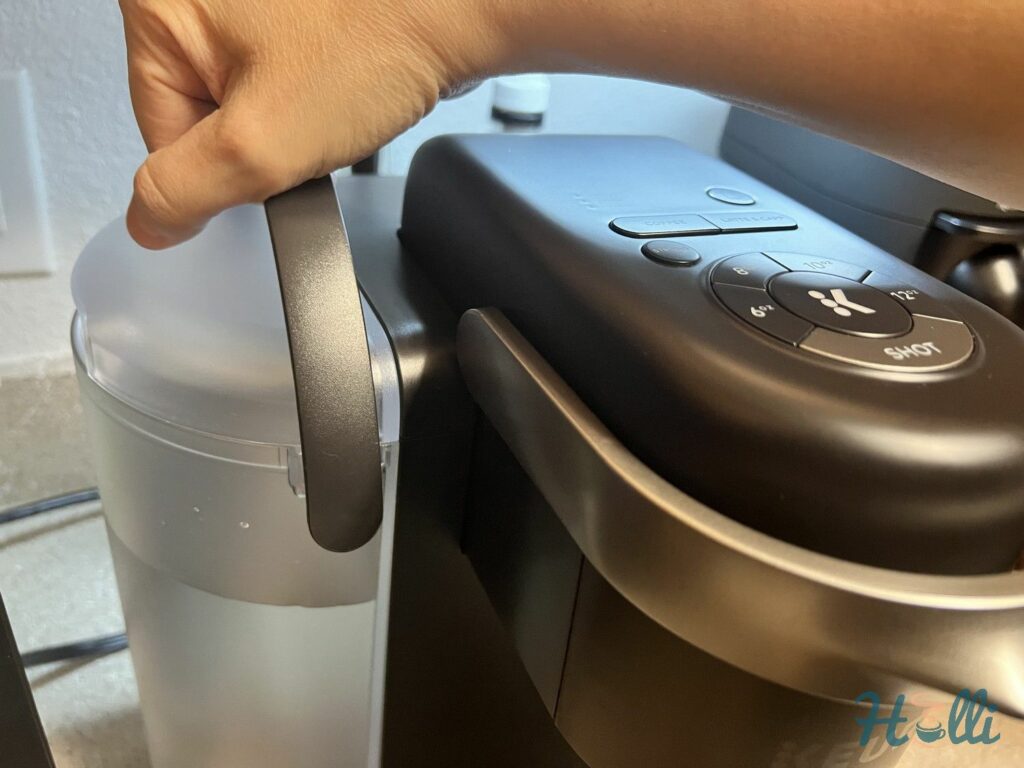
1) Never Remove the Water Tank During Brewing

When you’re in the middle of brewing a perfect cup of coffee, it’s tempting to think you can get by with a quick water tank removal. Let me be clear – this will cost you dearly. This tiny misstep can inflict significant damage on your precious Keurig machine.
Sadly:
This Keurig user had to learn the hard way. “There was an oven mitten under the Keurig’s reservoir, and I didn’t notice. It’s dark, lights aren’t on… I turned the Keurig on, and it ran for like 5 seconds and didn’t sputter out a drop of water. Then I turned off.”
That was all it took to ruin a perfectly good Keurig brewer.
You see:
Even an accidental bump or slight misalignment can effectively disrupt the brewing process. A disruption of this sort may even break your machine, which I’m sure you’ll want to avoid.
I’ve found that Keurig is adamant about this directive in their manuals and on warning stickers. They’ve done their research, and the evidence is clear.
You might want to consider this when cleaning your Keurig reservoir. Be sure to resit it properly after.
Also:
It’s crucial to understand that Keurig machines are not just appliances. They’re precise systems that demand respect. Regular cleaning is critical, but so is correct handling. This includes the careful management of the water tank during brewing.
2) Avoid Using Distilled Water
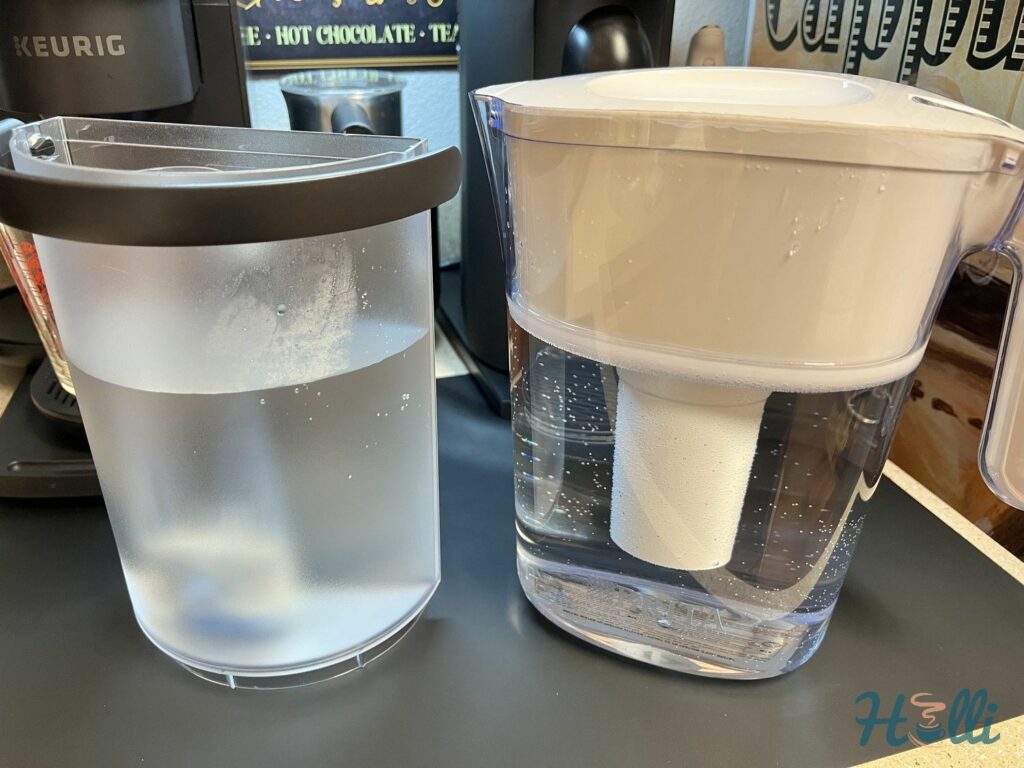
Never use distilled water in your Keurig machine. It’s crucial to remember that these machines need water with minerals to function correctly.
Now:
This might seem a bit odd, but there’s a good reason for it. The absence of these minerals in distilled water can harm the machine’s heating element. Not only can it lead to long-term damage, but it also negatively impacts the taste of your coffee.
As this Reddit user states, “A problem can occur with very pure liquids and very clean surfaces. Bubbles tend to form more easily on impurities. In pure water, it is difficult for bubbles to form.”
Furthermore:
Your brewer requires boiling water for the pump to function properly. Some might think of a workaround, such as adding minerals to distilled water.
However, I’d advise against this. It’s more practical to use tap, filtered, or bottled water. Ensure it’s not distilled so your Keurig machine can run smoothly.

Stepping away from water, let’s discuss maintenance. Your Keurig might run into issues after extended usage caused by clogging and mineral buildup.
Thankfully:
This can be remedied by frequently descaling your coffee maker. You can also follow the steps below to clean the individual parts:
- Unplug the machine. Safety first, always!
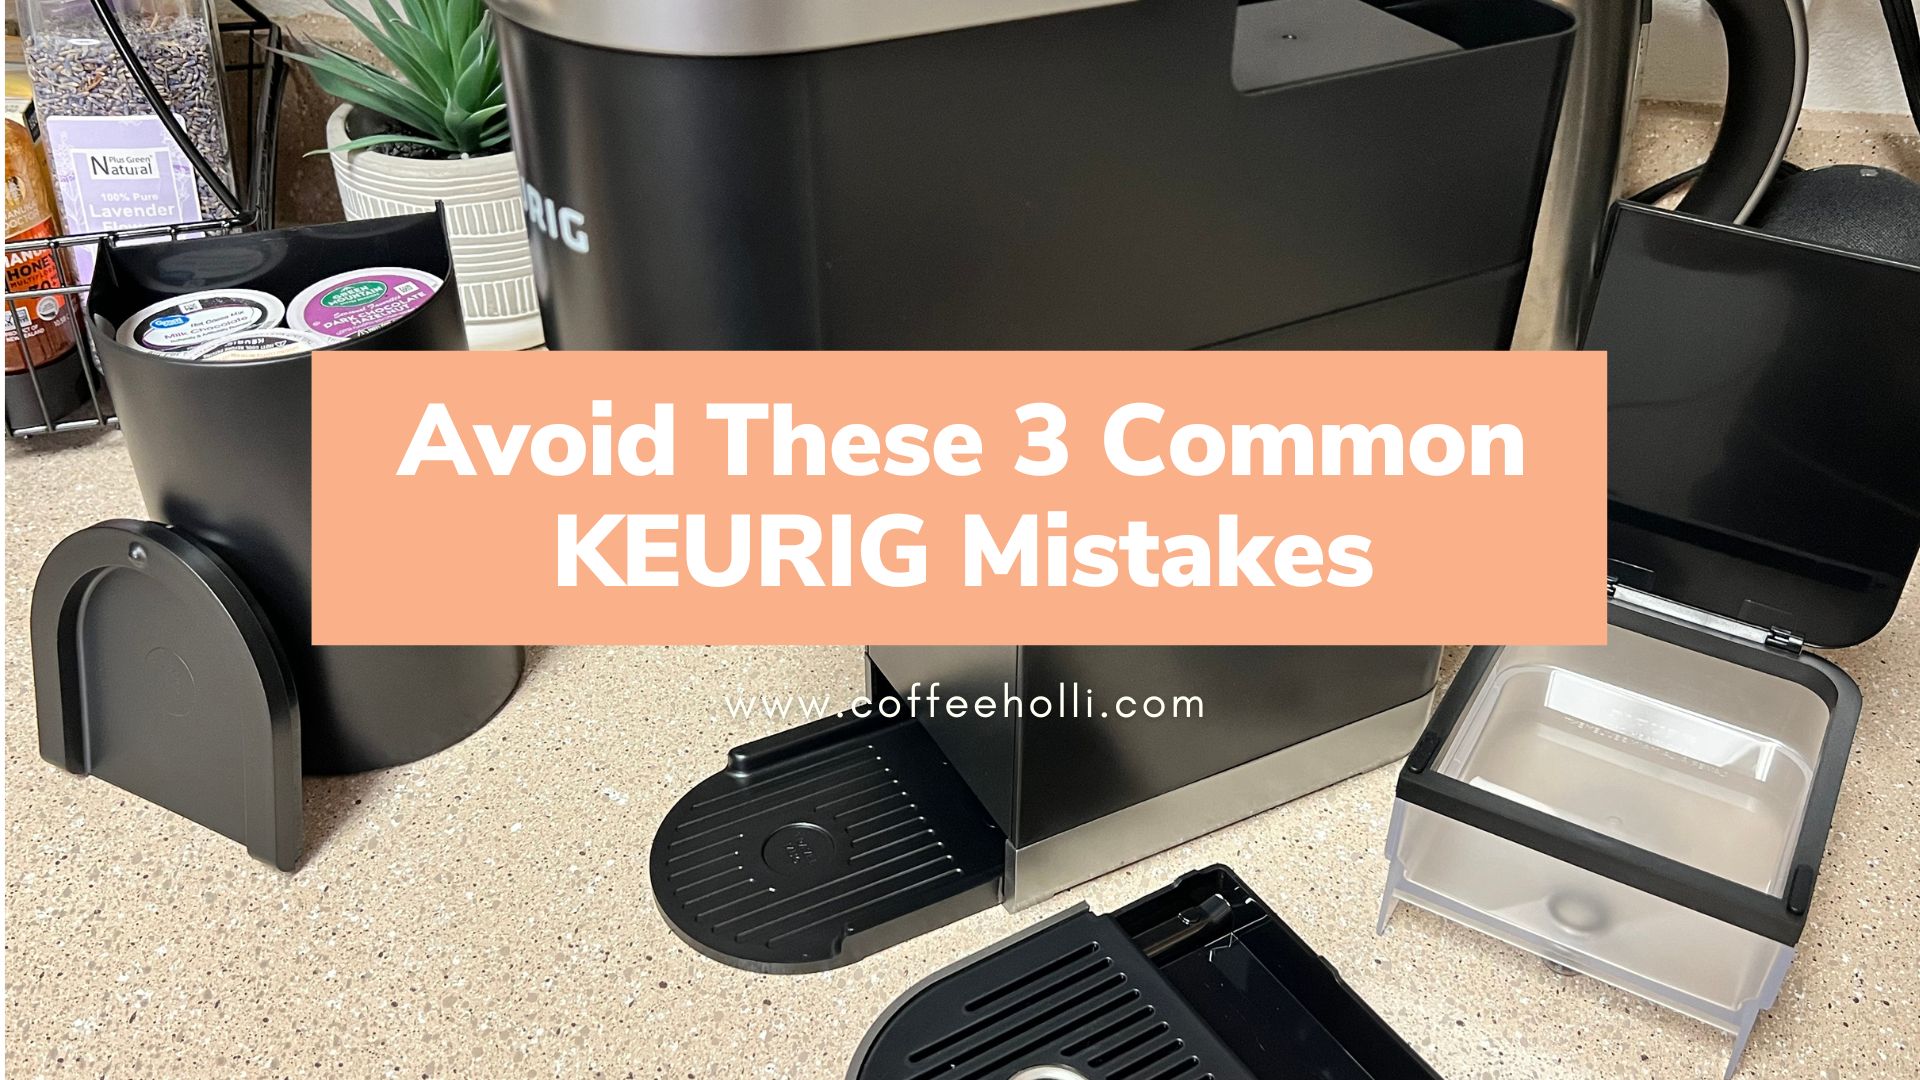
- Disassemble it gently, removing the water tank, lid, cup rest stand, and the K-cup holder.
- Clean the detached parts with warm, soapy water, rinse thoroughly, and leave them to dry.
- Partially unbend a paperclip and carefully insert it into each of the three tiny holes that pierce the K-cup (these are the likeliest to get clogged).
Remember, you can’t break anything just by wiggling a paperclip. The importance lies in thoroughly cleaning these holes to ensure you get the best possible coffee.
You can take this one step further by filling your reservoir with a descaling solution and running a descale cycle.
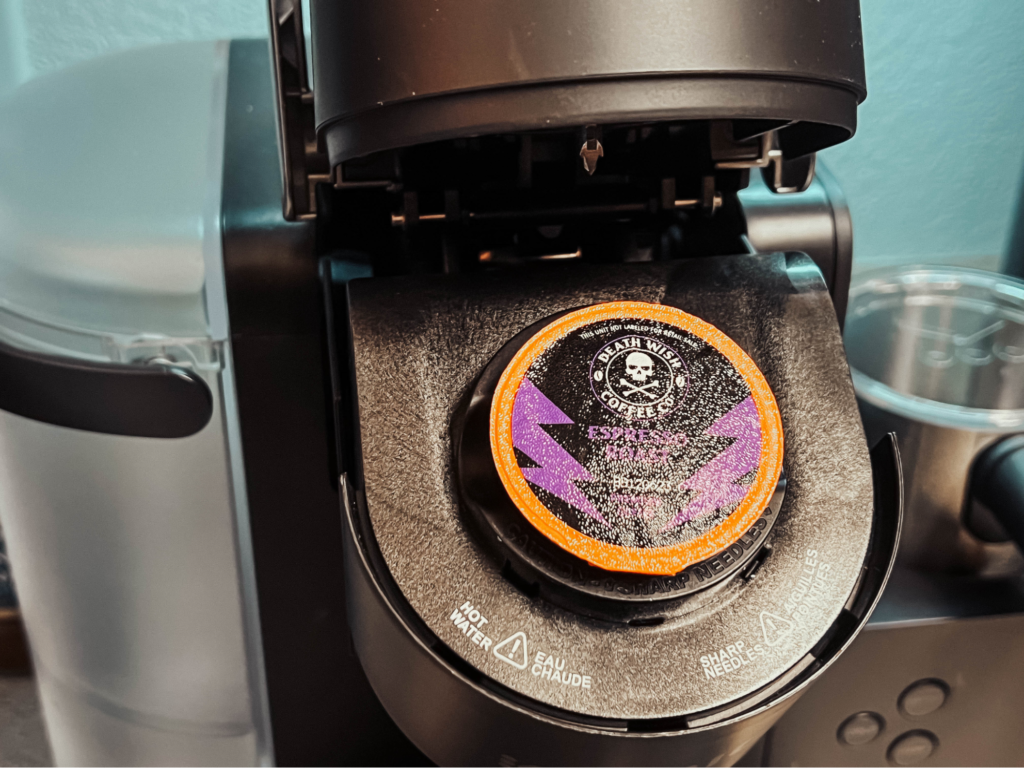
3) Do Not Leave a K-Cup in the Machine After Brewing

It might not seem like a big deal at the time, but leaving a K-Cup in the brewer after use could lead to some serious health complications.
As this user elegantly puts it, “It’s kind of gross to leave a used K-Cup in the holder. I realize it’s mostly sealed up, but it’s still wet and nasty. Need to open up the holder to let it dry out.”
Also:
If you’ve already taken the step to open up the brew head, you might as well take the K-Cup out and begin the process of safely recycling it. The sooner, the better.
The problem, as it turns out, is quite simple at its core. Coffee grounds and oils from the K-Cups can accumulate and block the needles, disrupting the brewing process.
This realization hit me hard when I encountered a brewing halt after neglecting to remove a K-Cup. It was a wake-up call to the importance of this seemingly small action.
So:
The fix I’ve adopted, which I want to share with you all, involves two steps.
First, always remove the K-Cup immediately after your coffee is brewed. This habit alone can prevent the buildup that leads to clogs.
Second, perform a freshwater rinse through your Keurig after every few cups of coffee without inserting a K-Cup. This routine helps flush out any lingering residue and clear the brewing path.
We can help each other avoid these common pitfalls. Take heed of the points and experiences shared above and continue supporting one another in our coffee journeys.


