
From one coffee lover to another, I’ve learned that the secret to that impeccable morning brew lies in a clean water tank.
I remember the first time my Keurig’s brew tasted off. It wasn’t the beans or the water – it was the neglected water tank.
Over time, I’ve gathered some tried-and-true tricks to keep my brewer at its best.
And trust me, it’s made all the difference. Let me share my insights with you. Dive in!
Table of Contents
Materials You’ll Need
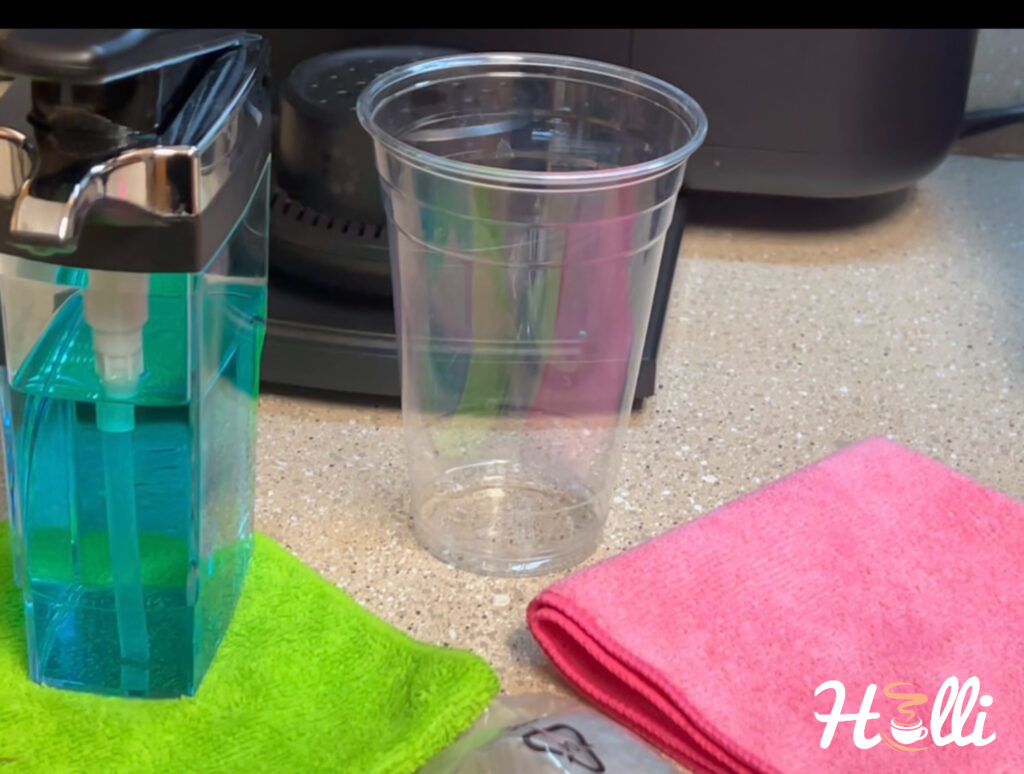
Here’s a list of the cleaning supplies you’ll need to clean your Keurig water tank.
- Mild dish soap for washing the water tank.
- Two microfiber cleaning clothes—one for cleaning and the other for drying.
- A replacement water filter for the water tank.
- A cup of filtered water.
- Purified water to refill the water tank once you’re done.
Step-by-Step Cleaning Guide
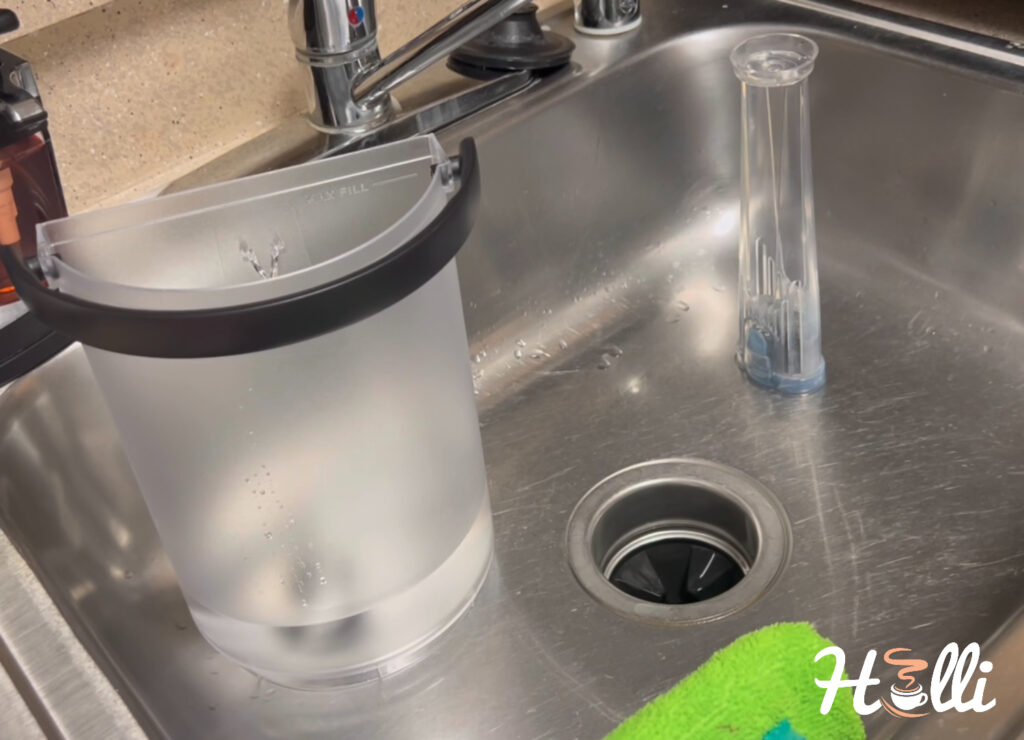
Step 1: Detaching the Water Tank for Cleaning
Before my fingers even touch the water tank, I always ensure my Keurig is unplugged. I learned the hard way once and trust me, it’s a mistake you don’t want to repeat. Safety first, always!
Now, here’s a tip from my countless cleaning sessions:
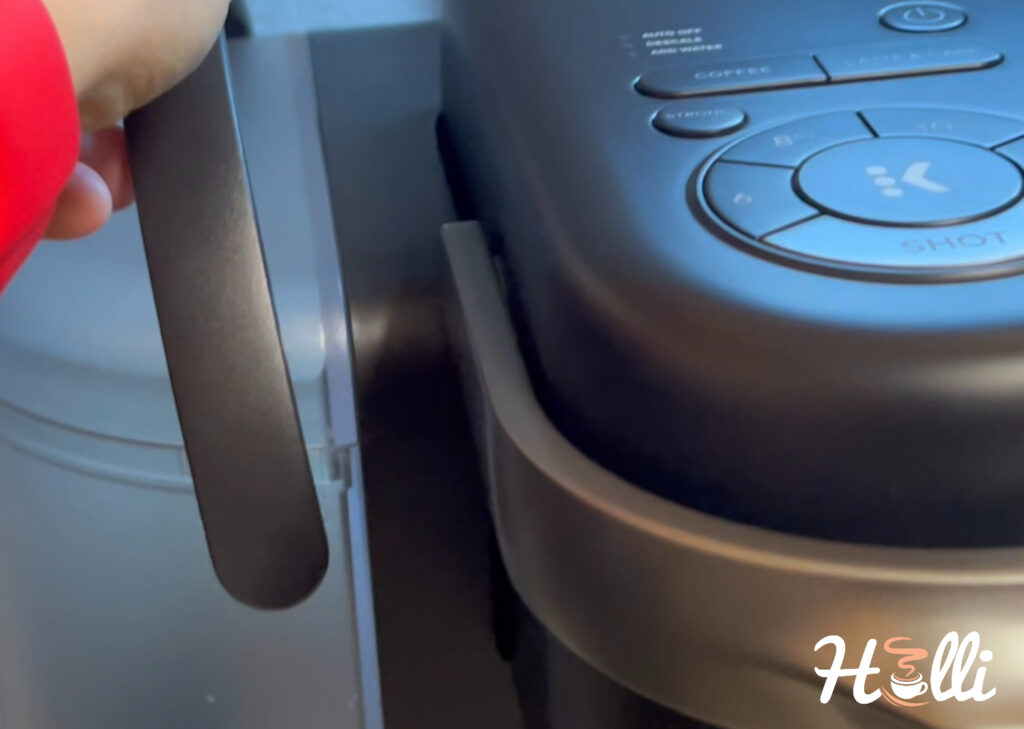
Lift the handle on the side. It’s like unlocking the door to the water tank’s world. With that, detaching it from your Keurig becomes a breeze.
Step 2: Disassembling the Water Tank
Having safely detached the water tank, it’s time to delve deeper. As a coffee enthusiast and Keurig owner myself, I remember my first time taking apart this machine; trust me, the learning curve is worth it.
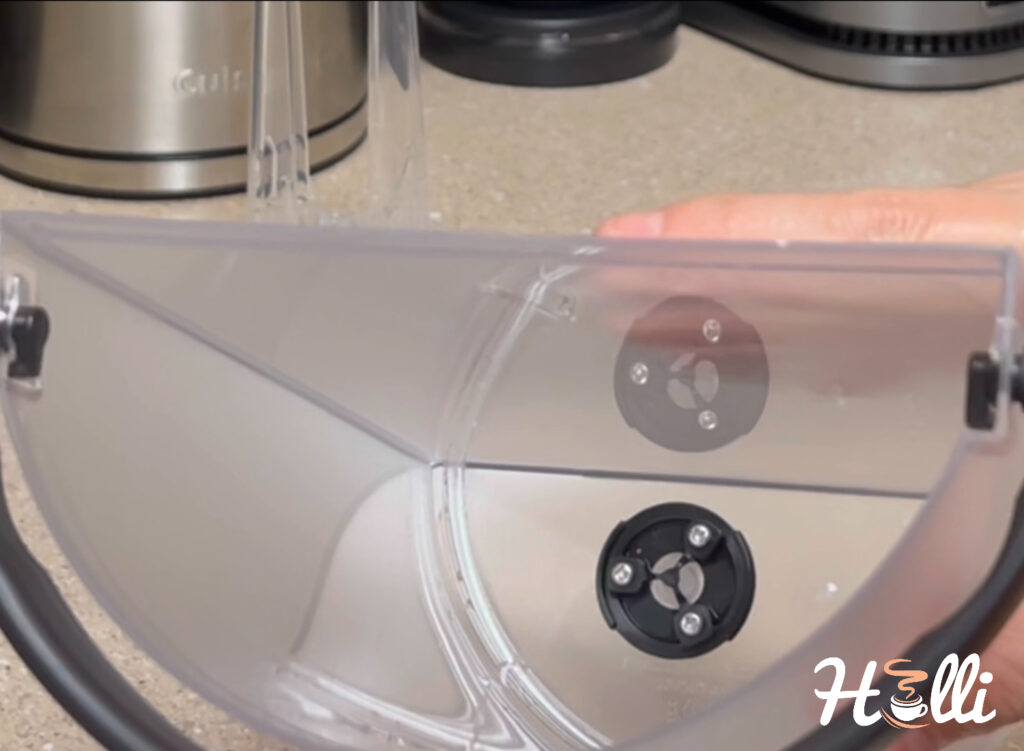
First on our list? That top cover of the water tank. Gently pry it off.
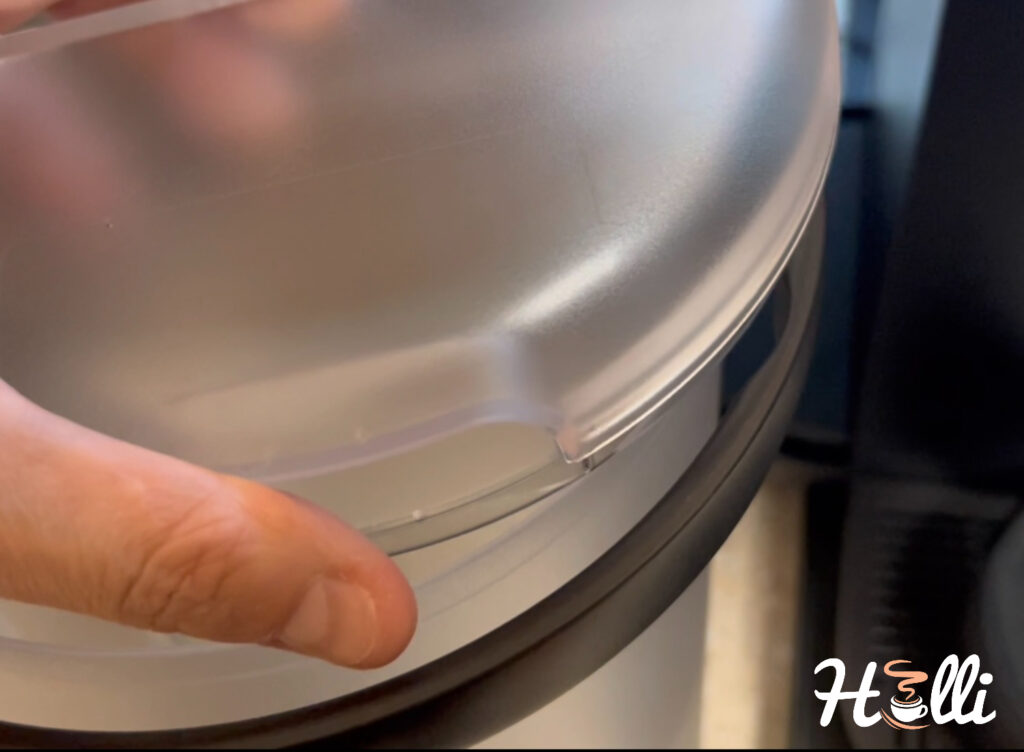
Now, when you peer inside, there’s an interesting discovery. You’ll spot a long tube anchoring the base. That, my friends, is our water filter holder – the guardian of the water filter.
Here’s a tip from my own playbook:
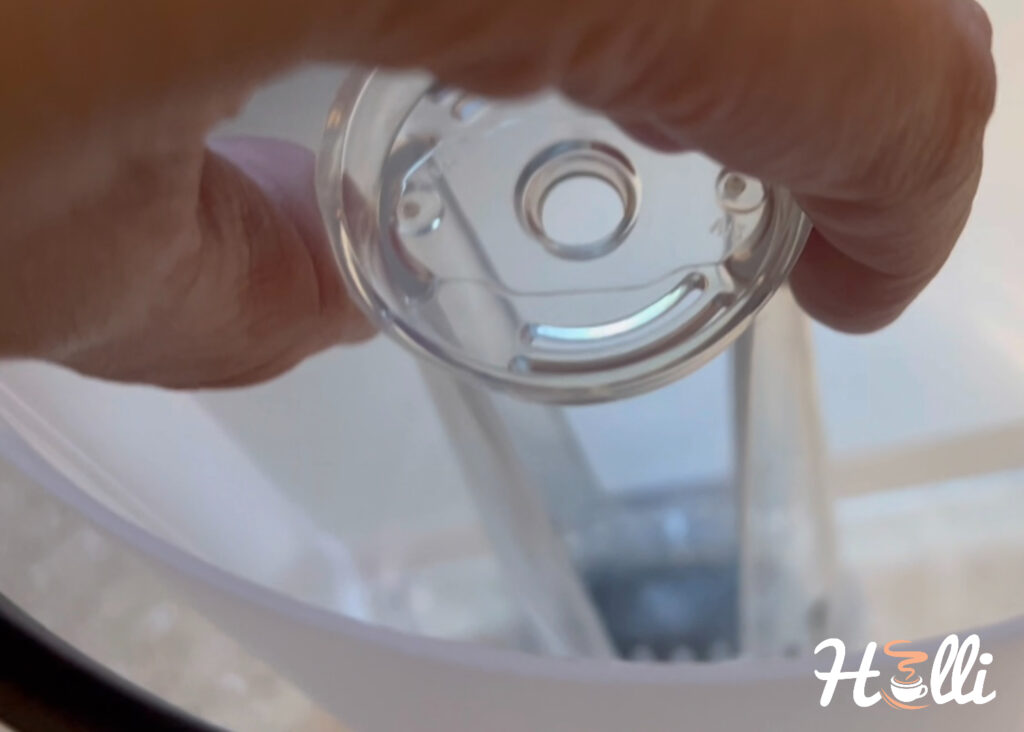
Firmly hold the top of this holder and give it a gentle tug upwards. And voilà! The filter holder and the snugly seated filter should come right out.
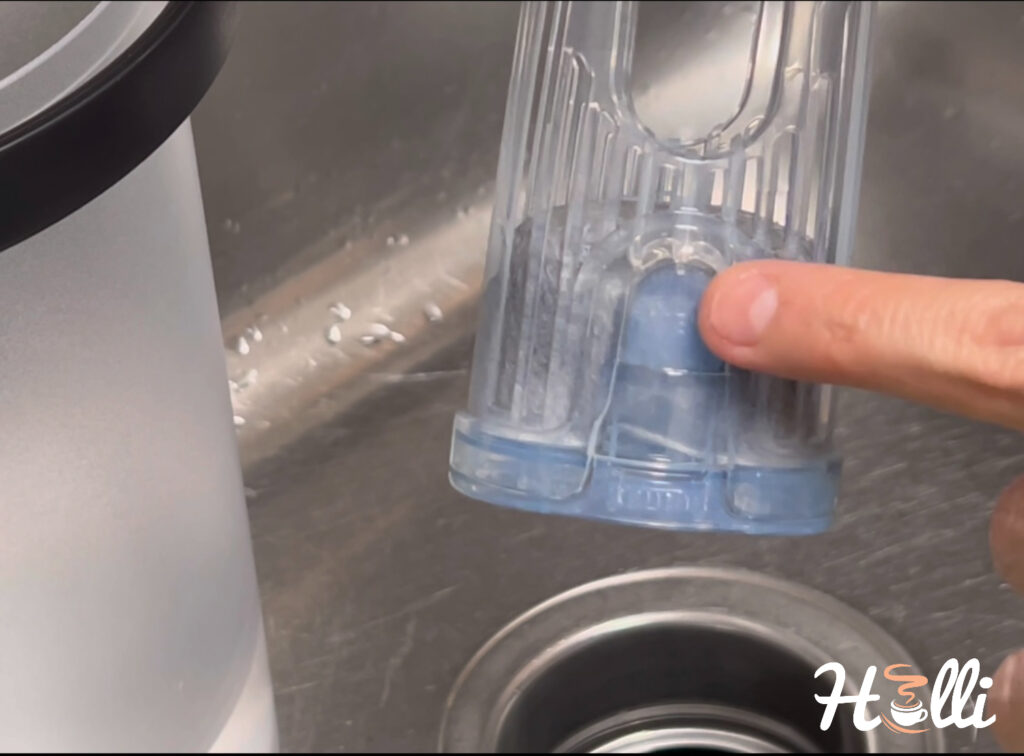
Step 3: Removing the Old Water Filter
Okay, let’s dive in:
Having the water filter holder in hand means you’re halfway there. But now, we need to tackle that old filter nestled inside.
From my numerous DIY ventures, I’ve gathered a slick little hack to make this step a breeze.
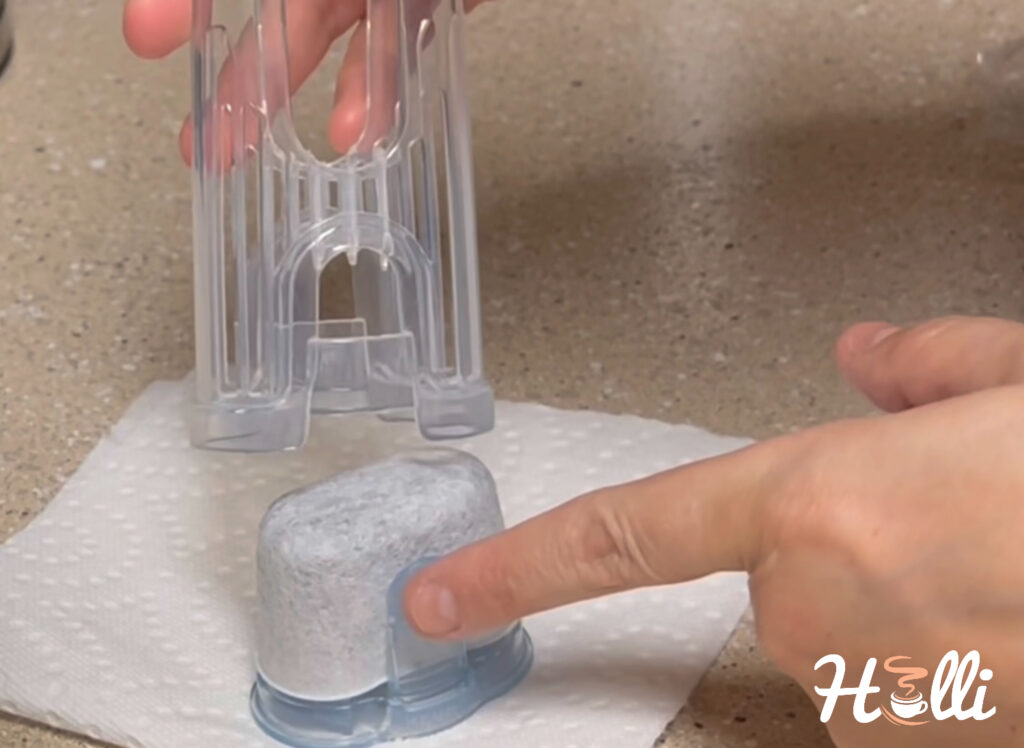
Take a moment. Examine the holder closely. Do you see those two little indents near the base? Ah-ha! Those are the locking tabs, the little rascals that keep the filter tightly snuggled.
Here’s what you do:
Press down on those indents simultaneously and gently pry the holder’s bottom. Voila! The old filter should pop right out alongside the cover.
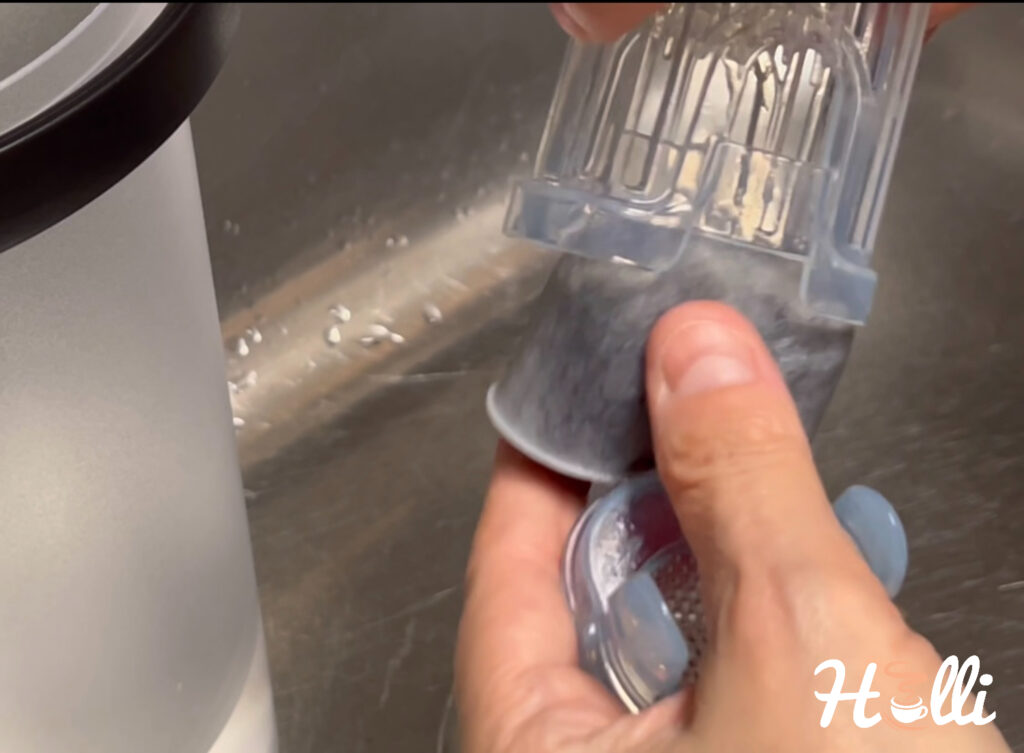
But, here’s a heads-up:
Sometimes, that filter is stubborn. Even after you’ve removed the cover, it clings on inside. Should this be your fate, don’t stress. Just reach in, grip it firmly, and coax it out.

Once free, give that old filter a proper goodbye and gear up for the next stage.
Step 4: Cleaning the Water Tank’s Components
Alright, onto one of my favorite parts:
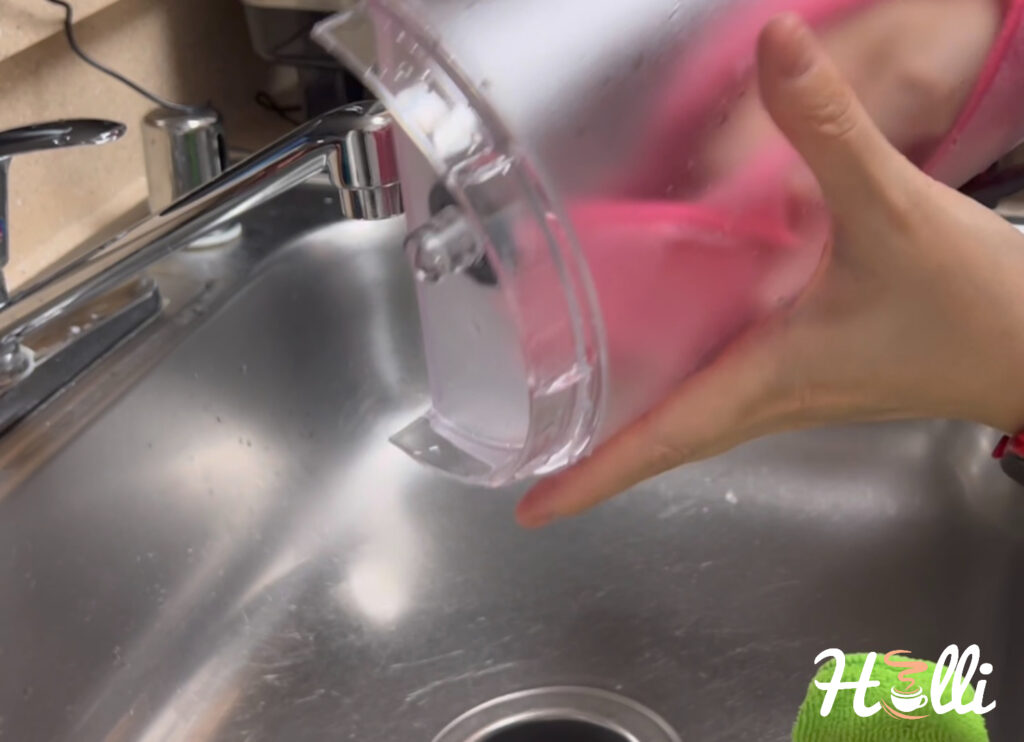
Cleaning the water tank and filter holder is essential, and it’s a step I’ve mastered over time. Gather up some mild dish soap, warm (or even hot) water, and let’s pick the perfect cloth for this task.
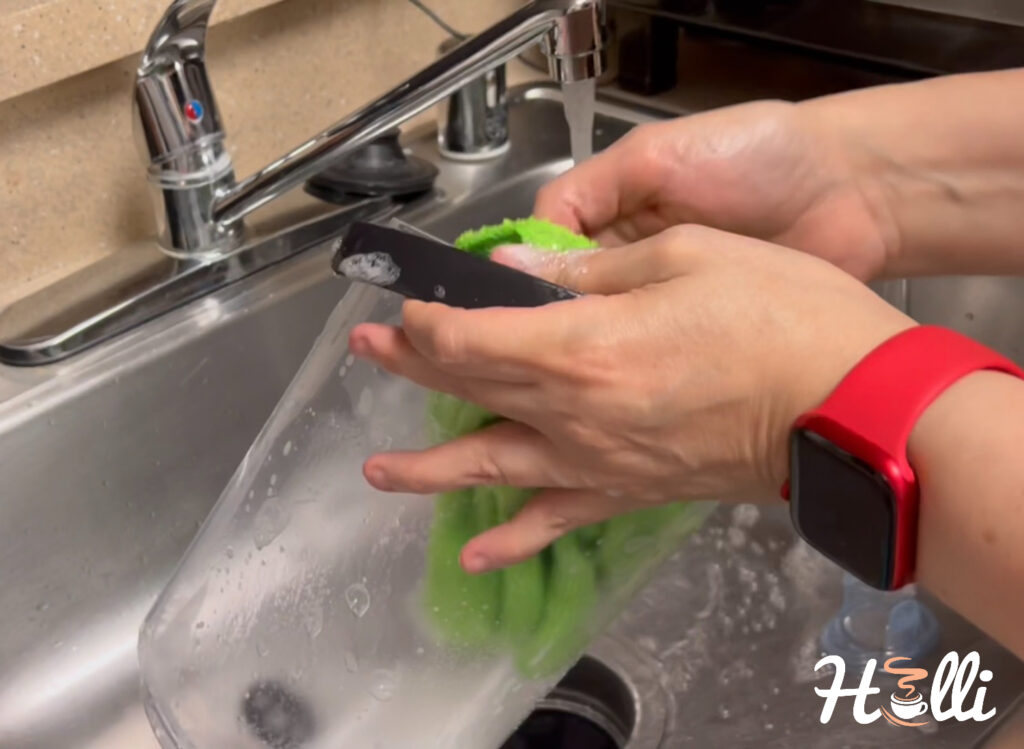
Now, from personal experience, I can’t rave enough about using a microfiber cleaning cloth. Trust me on this; it’s a game-changer. Not only is it gentle – ensuring no unsightly scratches – but it’s also a dream for navigating those tricky, tight spots.
Give each component some love and a good scrub. After, rinse them well. As for the microfiber cloth, rinse out most of the soap and keep it handy. You’ll need it for the upcoming steps.
Step 5: Prepping the Water Filter
With all the parts of the water tank now squeaky clean, it’s time to insert a new water filter into the filter holder.

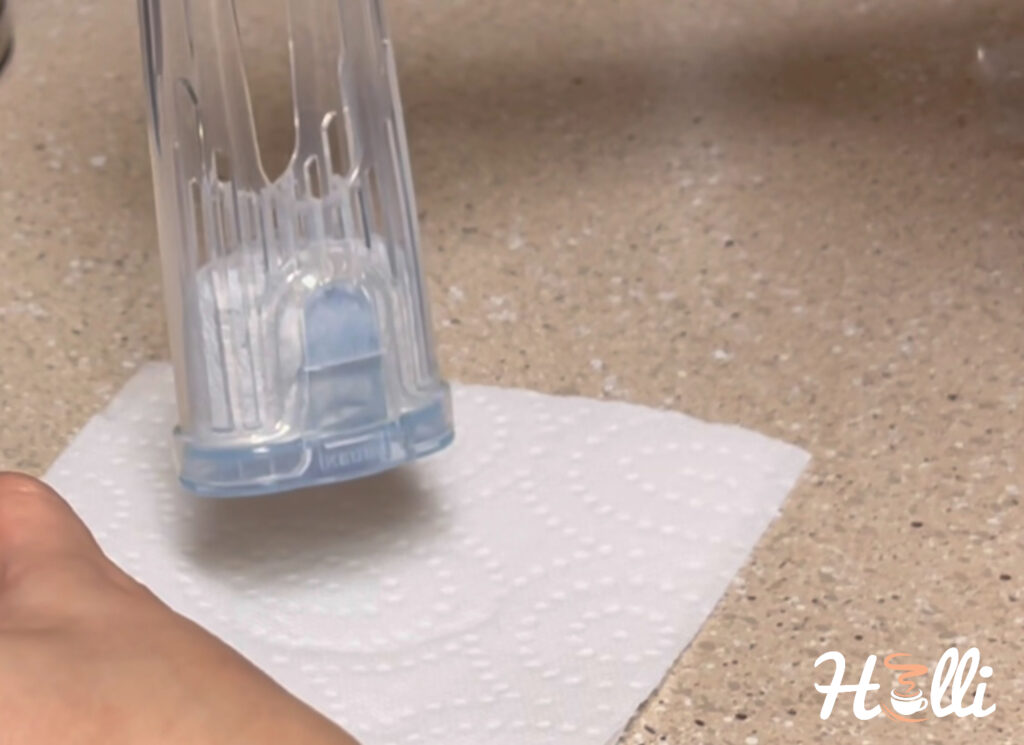
Remove the packaging around the new filter and hold up the filter by the dome. Next, insert the flat portion of the new filter into the bottom half of the holder.

After securing the filter to the bottom half of the holder, grab the top half. Place the top half directly on top of the bottom half and press it into place.
You’ll be rewarded with a satisfying click, which shows you’ve properly aligned the filter holder.
Step 6: Filter Priming
Next up, grab the cup of filtered water you placed on the kitchen counter. Place the bottom half of the filter holder inside the cup and allow it to sit for five minutes.
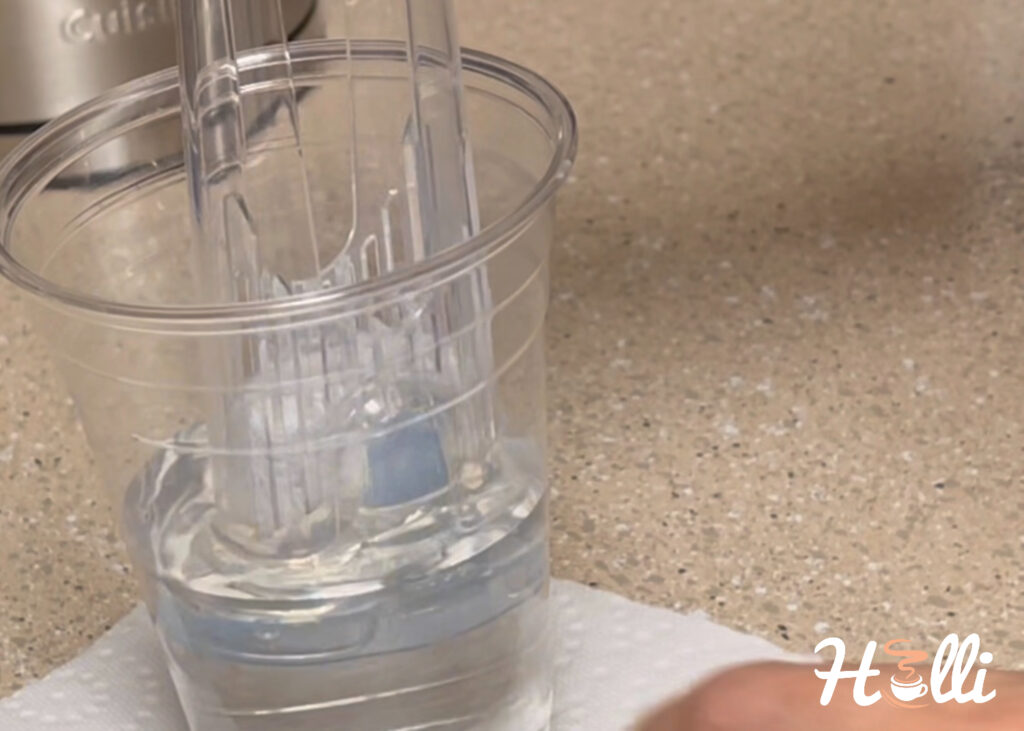
You’re doing this to rinse out the water filter before putting it back into the water tank.
While waiting for the filter to sit, use the second cleaning cloth to dry the other water tank’s components.
Once again, I recommend using a microfiber washcloth for this since they’re lint-free. Also, they’ll speed up the drying process.
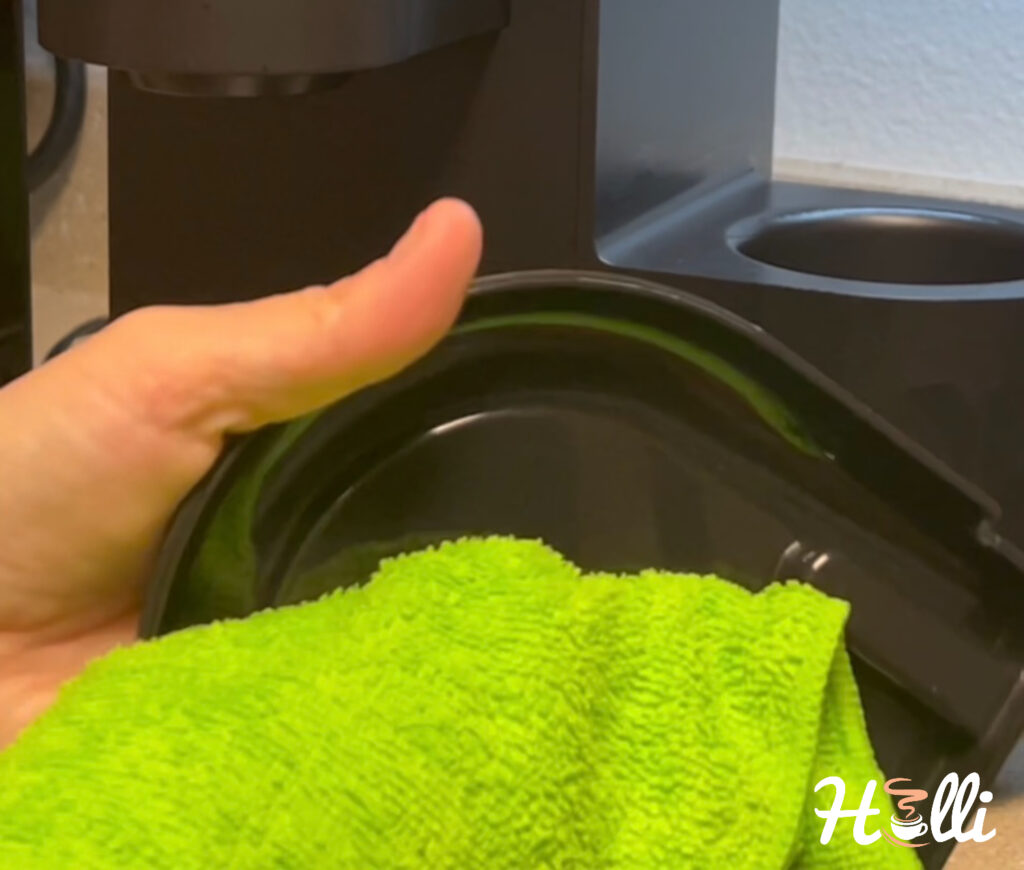
Step 7: Wiping Down the Keurig
Since you’re still waiting for the filter to sit, this is a great time to wipe down your coffeemaker.
Remember the first cleaning cloth you used to wash the water tank? It’s time for it to make a comeback.
Use that cloth to wipe down your Keurig.
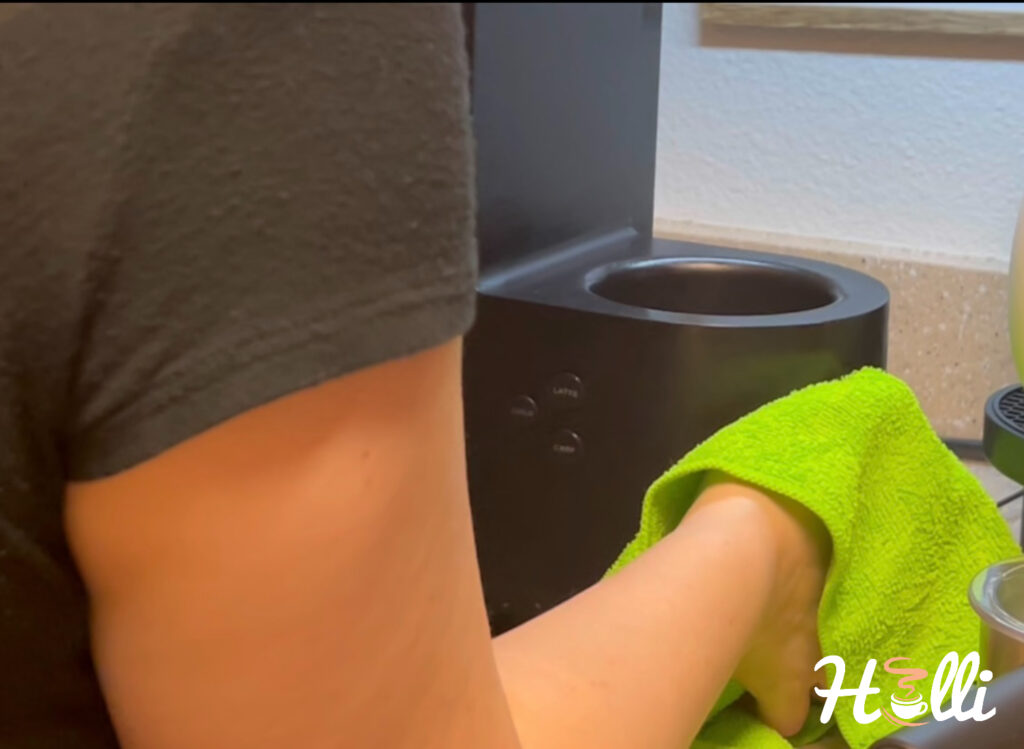
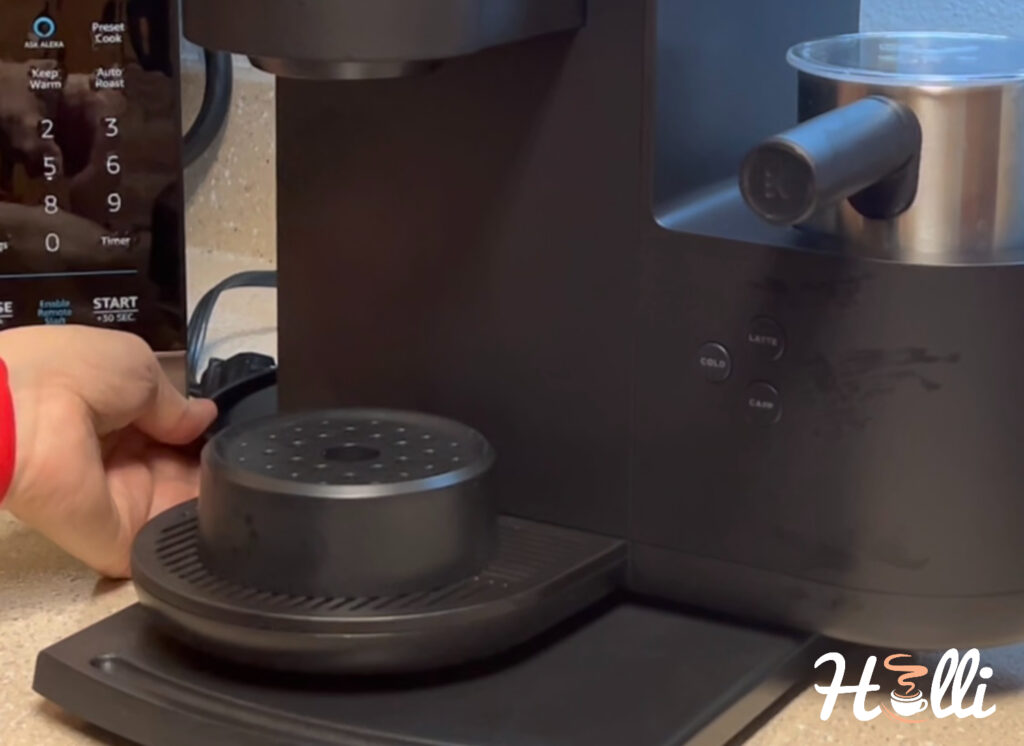
Be sure to remove the drip dray and drain any coffee spills on it.
Once you’re done cleaning your brewer, be sure to return all the attachments to their rightful positions.
Step 8: Check on the Water Filter
Once you’ve finished drying the water tank’s compartments and wiping down the Keurig, it’s time to check on the water filter. Swish the water filter back and forth in the filtered water.
After a few minutes, the filtered water will go from clear to cloudy.
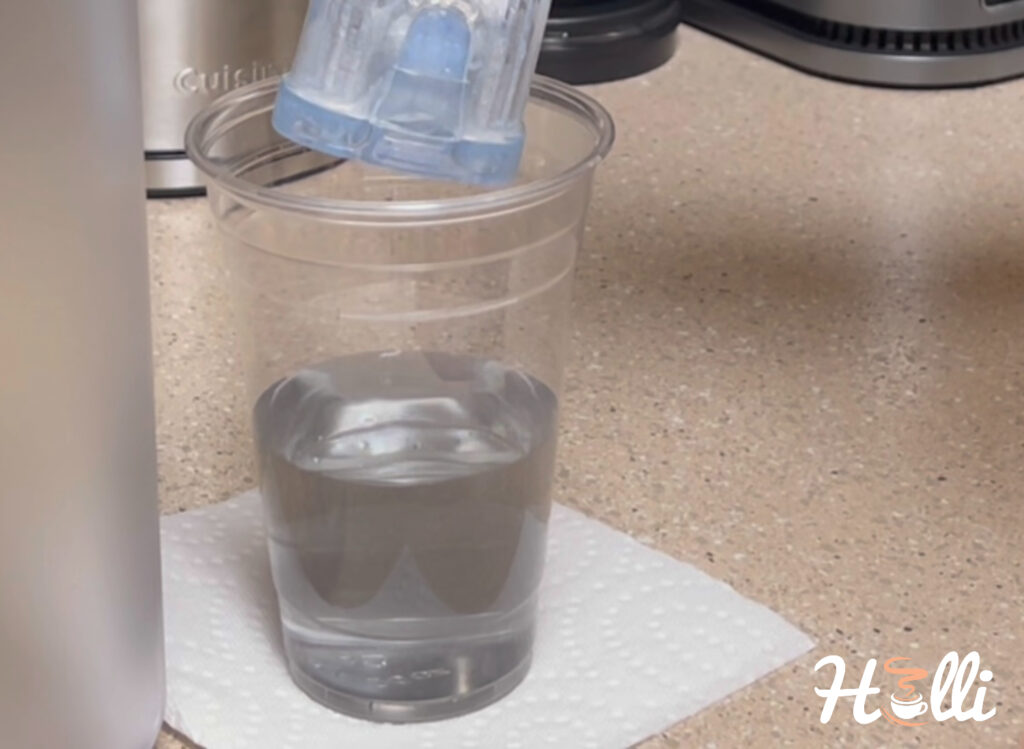
At this point, you can remove the filter holder from the cup and discard the filtered water.
Step 9: Reassembling the Water Tank
In the next phase, you’ll reassemble the water tank. Grab the dried water tank and look inside so you can see where the water filter holder goes.
Then, carefully insert the filter holder into the water tank.
Next, place the tank on the kitchen counter and gently press down on the holder. This will ensure it stays in place.
Step 10: Refilling the Water Tank
Afterward, you’ll need to prep the water tank for your Keurig by filling it with purified water.
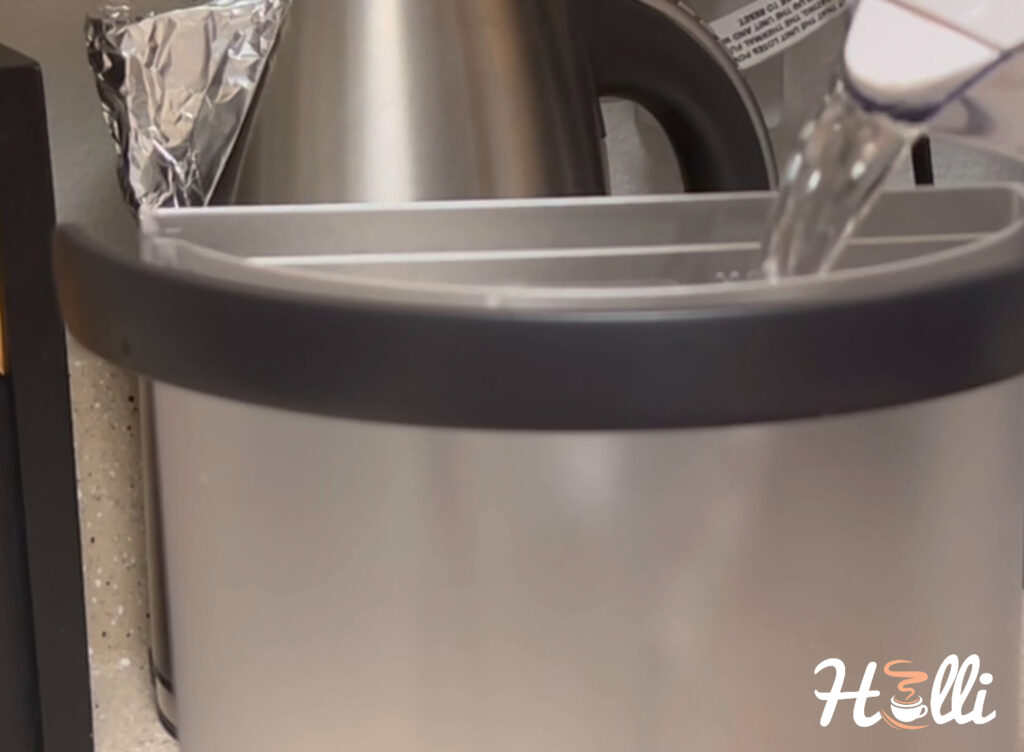
Pro tip: Never fill your Keurig with distilled water. It will damage the heating elements and cause more problems for you.
Anyways, once you’ve filled the tank with water, cover it with its lid.
Step 11: Finishing Touches
Finally, you’ll need to return the water tank to its rightful position. You’ll notice an indentation on the side of the Keurig where the water tank goes.
Line up the flat side of the water tank with the notches with your Keurig.
Then, gently slide the tank in place and lower the handle.
And there you have it!
Before you go, here’s some expert advice. Be sure to repeat this exercise every two to three months. This will ensure your coffee machine produces flavorful cups and remains in good shape for a long time.
Happy brewing!