As a Keurig user for almost six years and having tested numerous models, I’ve encountered the dreaded “Prime” error just like many others in a morning rush.
I’ve discussed this issue with various users, some even voicing their frustrations on platforms like Reddit.
But there’s no need to panic. Understanding what this error means and the steps to resolve it is simpler than it seems.
Let’s dive into unraveling this common Keurig conundrum!
Table of Contents
What is the “Prime” Error?
When my Keurig started flashing “Prime,” I admit, I was a bit taken aback. It’s a warning that many Keurig users, myself included, have encountered, and it’s not as daunting as it sounds. It doesn’t mean your beloved coffee machine is on its last legs.
Let me break it down:
The “Prime” message is often a signal of mineral build-up inside your machine. Hard water, commonly used in households, can be a culprit, leading to residue and limescale clogging up the inner workings of your coffee maker. It’s a sneaky problem, gradually building up until it obstructs water flow, triggering that dreaded “Prime” alert.
As a regular in Keurig user groups, I’ve seen this issue pop up time and time again. Waking up to a “Prime” message is not the ideal start to any coffee lover’s day. From what I’ve gathered and experienced, here’s what it usually boils down to:
- A dirty water reservoir is preventing your machine from brewing.
- The reservoir isn’t seated properly, messing with the water flow.
- The machine’s needles are clogged and need a good cleaning.
In simple terms, “Prime” is your Keurig’s way of saying, “Hey, there’s a hiccup with the water flow here.” It’s a call to action to get things flowing smoothly again.
Here’s the deal:
The most effective fix is descaling your coffee maker. It’s crucial not to ignore this alert. The longer you wait, the more you’re gambling with your machine’s health.
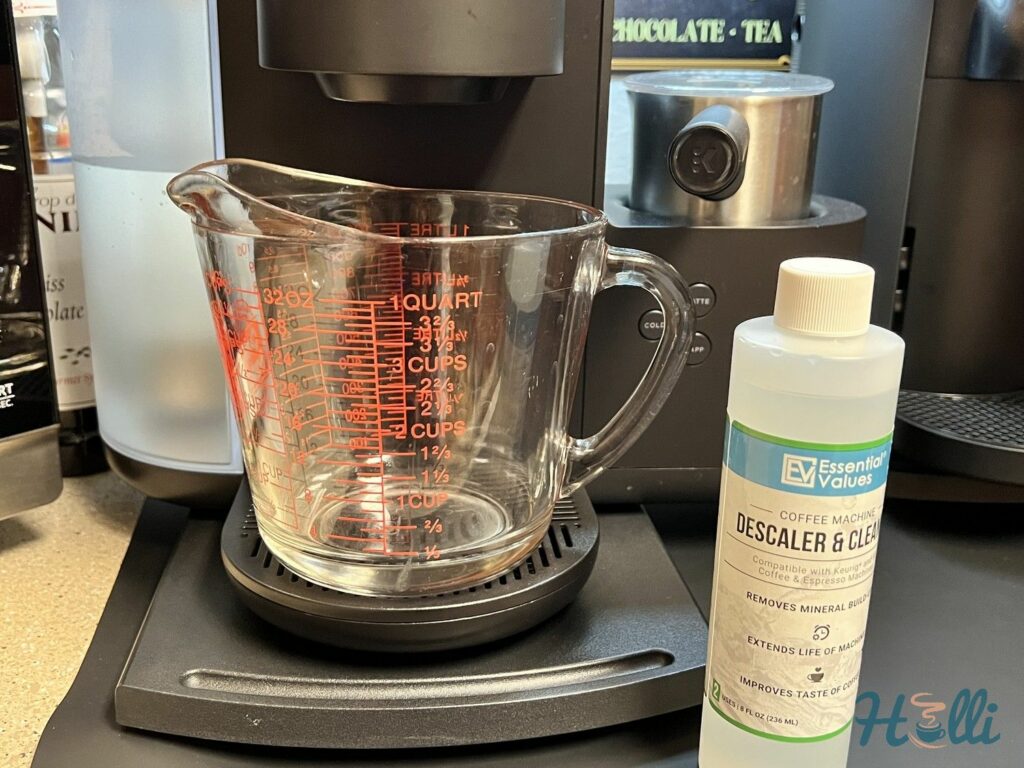
Interestingly, a Reddit user I came across shared that they descale their Keurig every month. After much discussion and advice swapping in our Keurig community, I’ve found that descaling every two weeks can yield even better results. It’s all about giving your brewer the care it needs – and trust me, your future self (and your wallet) will thank you for it.
Preparing for Troubleshooting
I’ve tackled several Keurig coffee makers with various issues. From both my experiences and insights shared by other Keurig users, I’ve put together a comprehensive troubleshooting guide.
Let’s get started:
Keep in mind: This whole process will take about 10 minutes. Make sure you have enough time set aside to focus on this.
Step 1: Cleaning the Water Reservoir
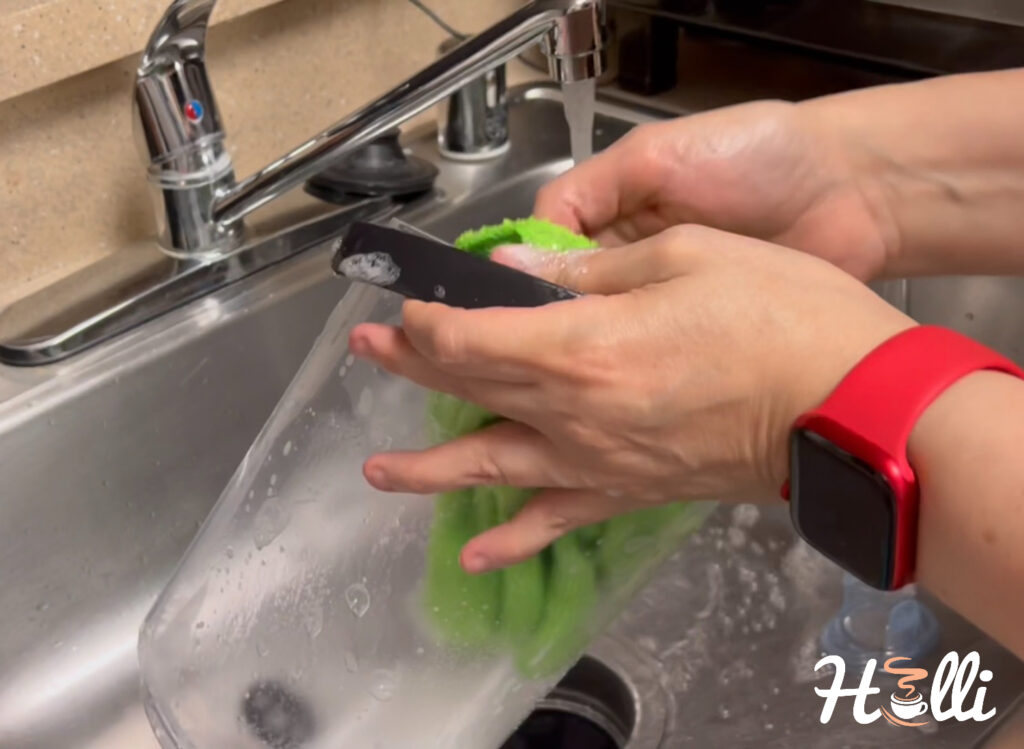
The “Prime” error often stems from issues with the water reservoir. Regular cleaning can significantly extend the life of your brewer. Start by removing the reservoir and opening its lid.
In my experience, gentle dish soap and a soft, non-abrasive cloth work wonders for a manual clean. During cleaning, keep an eye out for any debris, mineral deposits, or residue.
And here’s a tip I picked up from a Keurig group:
A Q-tip can be a game-changer for reaching those tricky spots inside the reservoir.
But there’s more:
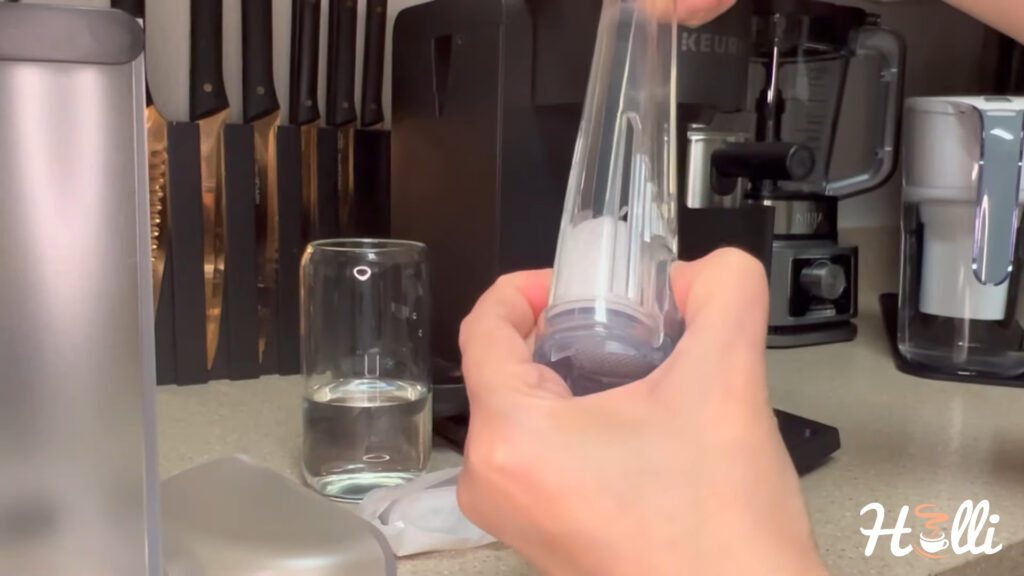
Regularly rinsing the water filter under the tap is another effective way to keep things running smoothly. A deep clean doesn’t just fix the “Prime” error; it also prolongs your machine’s lifespan.
What else?
Consider replacing your water filter, especially if it’s old and worn out. An ineffective filter is less likely to do its job properly, contributing to issues with your Keurig.
Step 2: Carefully Replacing the Water Reservoir
I’ve learned a crucial lesson – never rush the reassembly especially when it comes to the water reservoir.
Let me explain:
It’s more than just popping the reservoir back in place. It’s about precision. A hurried job can lead to many problems, which I’ve seen plenty of times in various Keurig user groups.
Picture this:
The reservoir must sit perfectly in its designated spot. If it’s even slightly askew, you could be looking at pressure issues within the brewer. I’ve seen cases where this pressure has led to pump damage. Trust me, that’s an expense you want to avoid.
Step 3: The First Brew Test
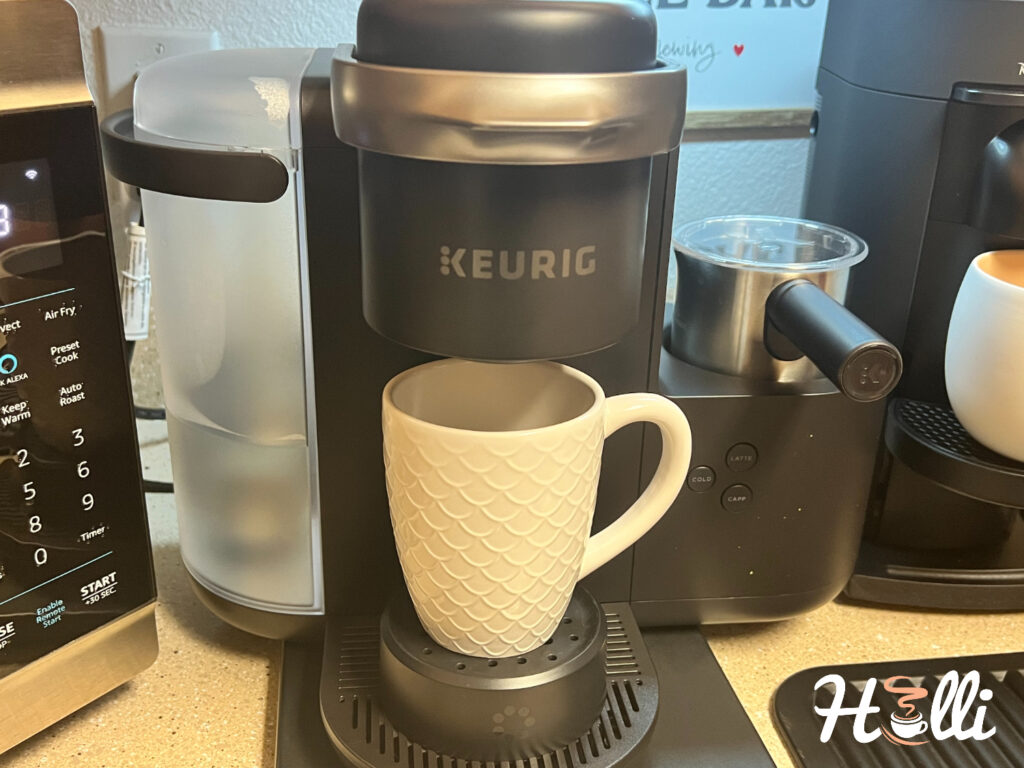
Once you’ve got everything back in place, it’s time for the big test.
Here’s what I usually do:
Plug the brewer back in and run three six-ounce water-only cycles. I like to use a mix of vinegar and water—it’s great for clearing out any leftover debris.
And here’s a tip from my own experience:
Hold off on brewing your coffee just yet. Why? Well, if there are still cleaning residues in the system, it might affect the taste of your brew. Instead, wait until after the third cycle and check if that “Prime” error message has disappeared.
This approach has worked wonders for me and others I’ve interacted with in Keurig groups. It’s all about patience and precision.
Additional Troubleshooting Steps
Over time, I’ve also had the chance to exchange tips and experiences with other Keurig owners in various online groups. Here’s what I’ve learned about additional troubleshooting steps:
First off, descaling is key. Many users, including myself, swear by a regular descaling routine. For some, doing this at the end of every month works wonders. I’ve found that a bi-monthly schedule keeps my Keurig in top shape, prolonging its lifespan and reducing the frequency of error messages.
Here’s my video tutorial:
But sometimes, the issue digs deeper. For example, a dirty filter screen or a clogged brewing needle can be the hidden culprits behind persistent problems. These fixes aren’t as quick, but they’re crucial:
- Cleaning the Needle: This small part plays a big role. A clogged needle, often overlooked, can completely disrupt your Keurig’s functionality. Regularly checking and clearing any blockages here is vital.
My video tutorial:
- Filter Screen Maintenance: Another common issue is a clogged filter screen, which can impede water flow. Regular cleaning of this component is essential to maintain smooth operation.
Even with these steps, if the “Prime” error persists, I always recommend checking the specific user manual for your Keurig model. These machines have their quirks, and often, the manual will have model-specific solutions.
Finally:
For those who prefer visual guidance, how-to videos can be incredibly helpful. I’ve often directed Keurig users to specific video tutorials, which can be especially useful for hands-on learning and following along during troubleshooting. Check our YouTube channel.
Conclusion
Remember, there are many angles you can use to attack this problem. Try to exhaust every option methodically, and the odds will be in your favor.
However:
Feel free to leave a comment if nothing seems to work for you. And you can always reach out to Keurig customer service for challenging brewer faults. They are always willing to lend a helping hand!

