
Today, I’m excited to walk you through the simple yet crucial task of changing your Keurig filter.
Regularly swapping out your water filter every three months not only keeps your machine in top condition but also guarantees the finest-tasting coffee. Remember, using water filters is key to filtering out impurities for that perfect brew.
Let’s get started on this journey to fresher coffee!
Table of Contents
What You’ll Need

First things first, let’s get everything we need on the table. It’s essential to be prepared before we dive into changing the Keurig filter. So, here’s what I always gather:
- A Glass or Bowl of Water: This is for pre-soaking the new filter. It’s a crucial step to ensure that the filter is ready to work effectively. I typically use a bowl that’s big enough to completely submerge the filter.
- A New Filter: Obviously, the star of the show. I make sure to have the correct filter compatible with my Keurig model. It’s always good to check the model number if you’re not sure.
- An Empty water reservoir: Before starting, I ensure that the water reservoir is completely empty. It makes the process much cleaner and easier.
Step-by-Step Process: How to Change the Keurig Filter
Here’s my personal step-by-step guide based on my own experience, with some additional tricks and tips for a seamless process.
Step 1: Removing the Old Filter
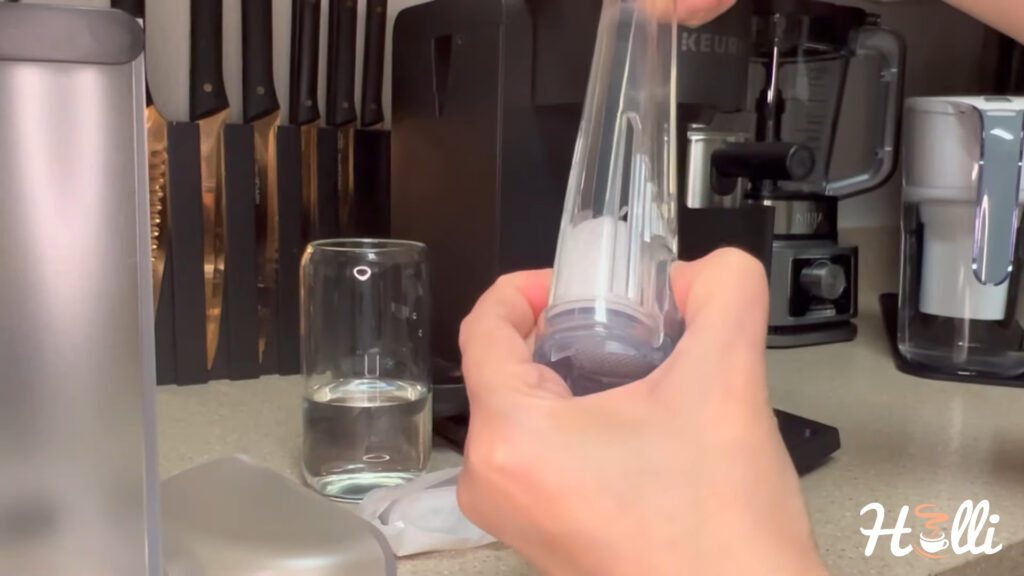
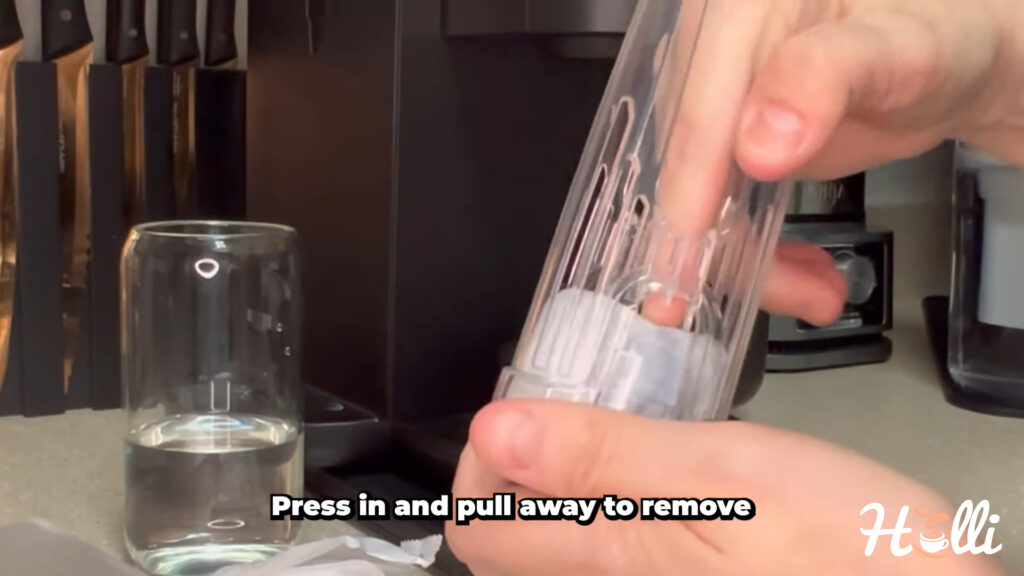
First, I ensure the old water filter is removed. I grasp the sides of the lower water filter holder, press them in, and then gently pull away from the upper holder to release the used filter. It’s important to discard the old filter properly.
A little trick I use is to gently wiggle the filter holder if it feels a bit snug, as this eases its release.
Step 2: Preparing the New Filter
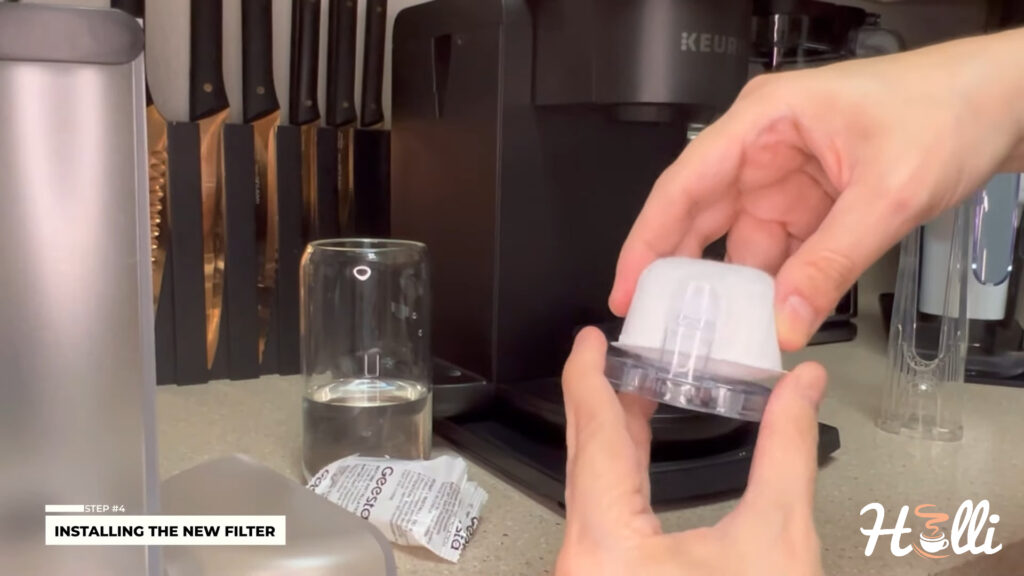
After discarding the old filter, I make it a point to rinse the mesh of the lower water filter holder. Then, I take the new water filter and carefully attach it to the rinsed holder, ensuring it snaps into place with the upper holder. A distinctive click sound confirms it’s properly secured. Rinsing the mesh not only removes old residues but also prepares it for better filtration.
Step 3: Activating the Filter
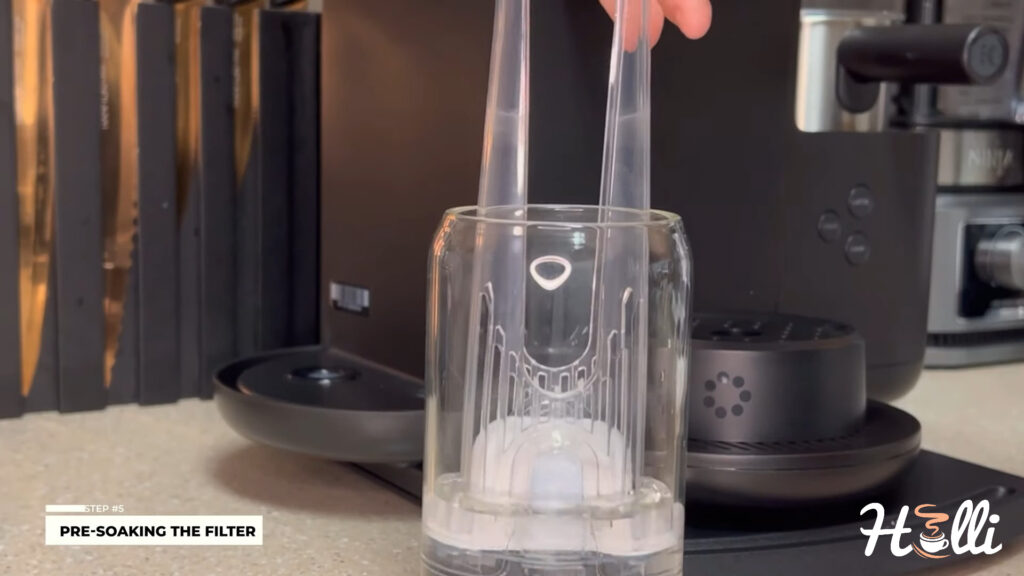
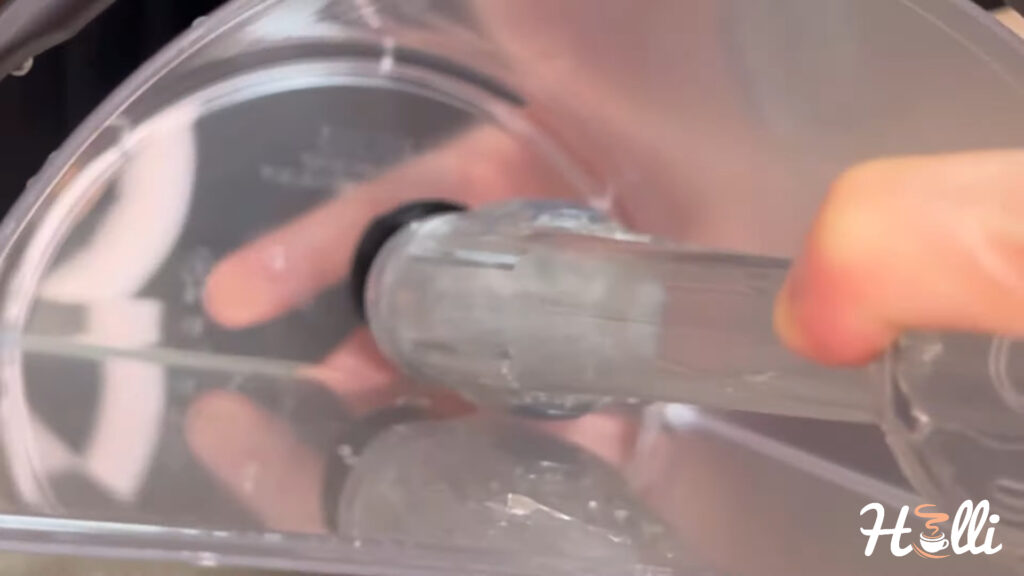
Next, I dip the entire water filter holder with the new filter into a glass of water for about 30 seconds. This step is crucial as it activates the charcoal inside the filter, which is essential for optimal performance. I use room temperature water for activation, as extreme temperatures might affect the charcoal’s efficacy.
Step 4: Reassembling and Filling
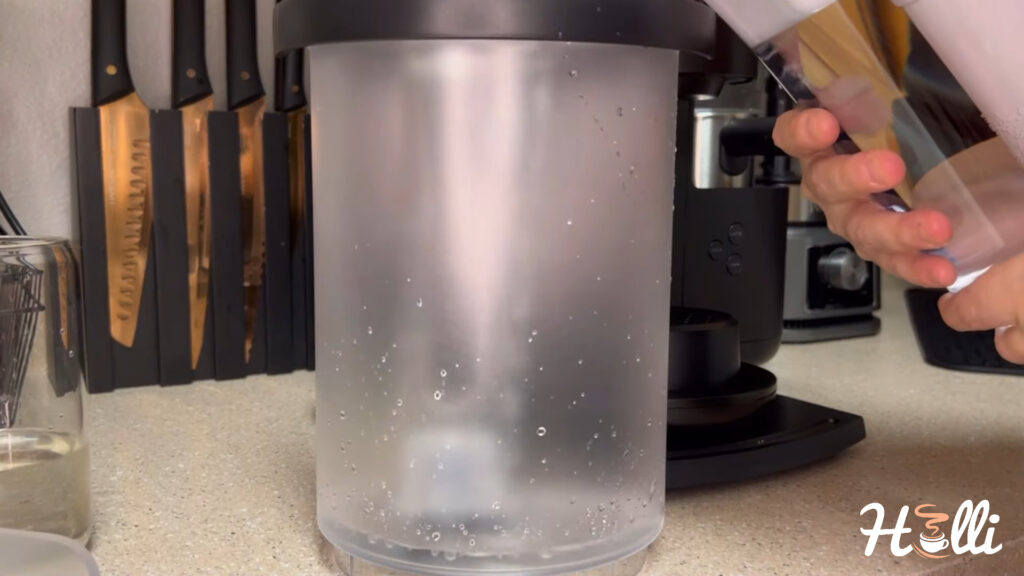
Once the filter is activated, I place it back into the freshly cleaned water reservoir. Then, I fill the reservoir with filtered water up to the indicated fill line. I always ensure there’s enough water to brew a few cups and run a water cycle. Using filtered water not only improves the taste but also prolongs the life of the new filter.
Step 5: Running a Water Cycle
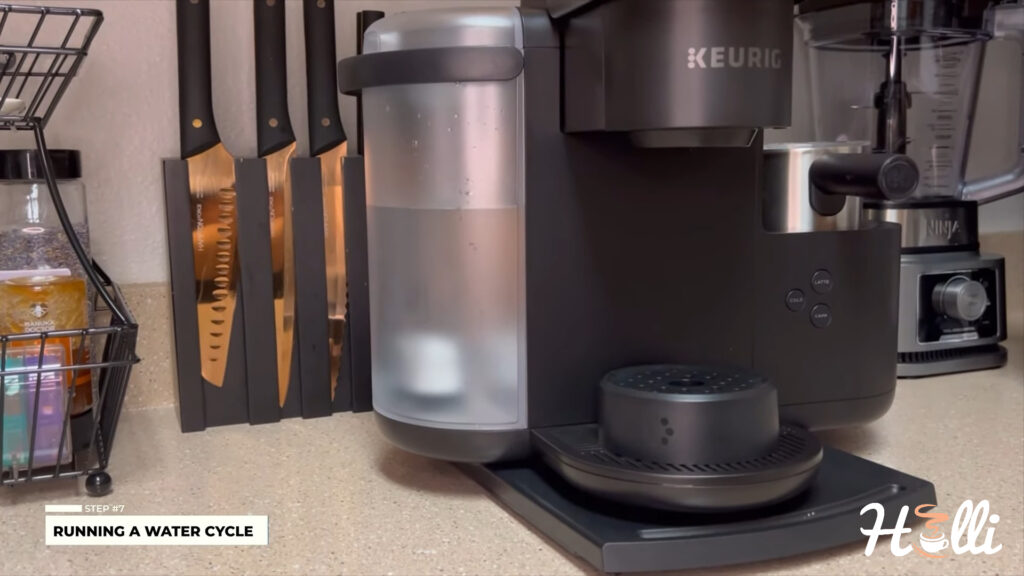
To wrap up, I slide the water reservoir back into the machine and run a water cycle. This step is essential to flush out any residual charcoal or impurities from the new filter, ensuring that every sip of coffee is as fresh and clean as possible.
I run two water cycles – one immediately after filter replacement and another before my first cup of coffee.
Wrapping Up…
I can’t stress enough how a fresh filter can transform your coffee experience. It’s remarkable how such a simple change elevates every sip, bringing out the full richness and aroma of your coffee.
Personally, I’ve found that with a new Keurig filter, my morning cup feels more indulgent, more pleasurable.
Transitioning to a fresh filter might seem like a small step, but its impact on your coffee’s taste is significant. It’s an easy yet effective way to enhance your daily coffee ritual. So, cheers to enjoying a more delightful cup each day!
That doesn’t look like the bottom of my reservoir , l have the slim style Keurig, what filter do l use if any?
I have the K-Cafe model, but the K-Slim model also has a filter and the process is exactly the same. You can buy cartridges on Amazon https://amzn.to/3sUI41a
My husband liked my Keurig one-cup because of how well it works, and I never seem to have to buy a new one. He happens to go through coffee pots maybe 1–1 1/2 years. Then I was at my daughter’s the next day, and she had a Keurig coffee pot. Really, a Keurig! My husband wanted to buy it on the way home on sale for $99. He said yours works non-stop, doesn’t stop. Did I say it was a pot on the left side and single-serve on the right? 😃 Laughing at my changing man.
Thank you for sharing your experience with your Keurig coffee maker! It’s awesome that your husband loves it for its durability and non-stop brewing. 😃 If you ever want to explore another great coffee experience, I’d recommend giving Nespresso a try. The taste and convenience might surprise you, and who knows, it might even change your coffee maker preferences!