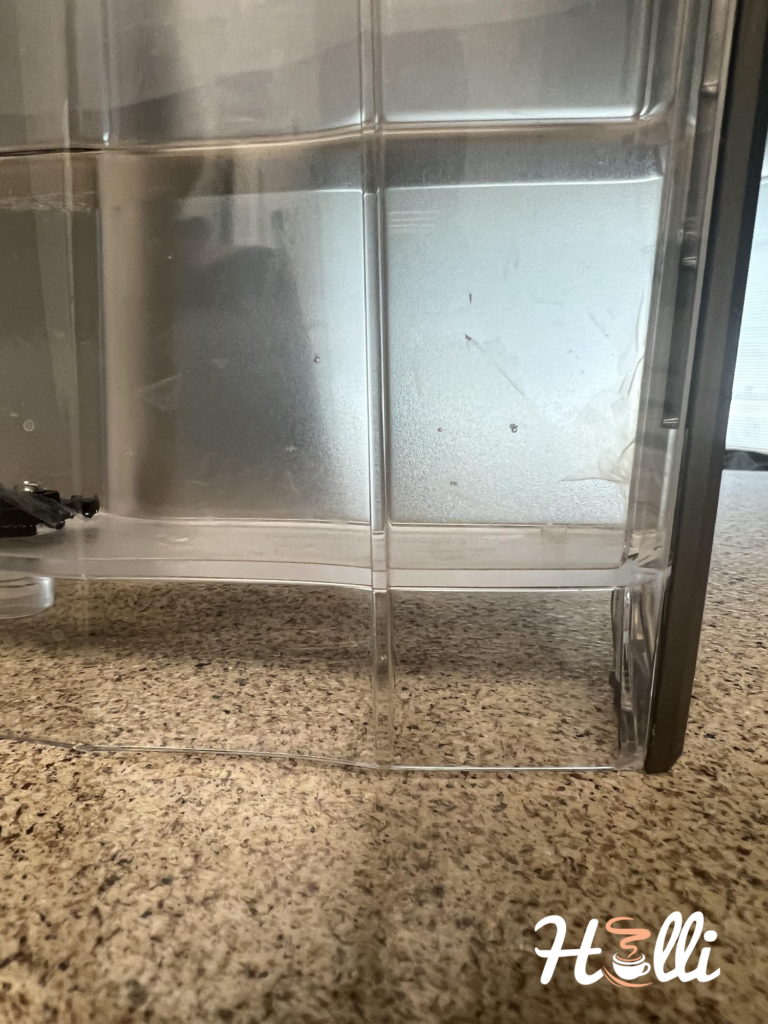
Water is needed when brewing a good cup of coffee, and most Keurig coffee makers come with a reservoir that facilitates at least one brew.
Subsequently:
A common question among Keurig users is how long water can sit in these reservoirs. This especially applies to those who like to prepare before the morning or evening and don’t want to damage their coffee makers.
In any case:
One misconception some users have is that it’s okay to leave water in their reservoirs for days because it’s just water.
But this isn’t so. Here are some of my thoughts and experiences as a Keurig user.

Table of Contents
How Long Can You Leave Water in Your Keurig Reservoir?
Changing the water in your reservoir at least once a day is wise. Why? Stale water affects your coffee’s taste and can promote bacterial growth and mineral buildup, potentially harming your machine. Keeping the water fresh ensures both a delicious brew and the longevity of your Keurig.

I wondered how other Keurig users feel about this. So, I asked them! By so doing, I got a lot of insights about some of the crazy experiences Keurig owners have had.
But, I digress. Let’s circle back.
Now:
One user from a Keurig Facebook group, Sarah, shared, “I never leave water in my Keurig overnight. I empty it every evening – it’s become a part of my kitchen routine.”
Another user, Mark, mentioned something that caught my eye: “I once left water in for a week, and the taste of my coffee was off. Plus, I noticed some scaling issues started developing.”
Why is this important?
Well:
It shows that leaving water in your reservoir doesn’t just affect the taste of your coffee. It also disrupts the regular operation of your coffee maker and could lead to scale issues, damaged motors, and more.
I cannot overemphasize the importance of something as simple as emptying and cleaning your reservoir before calling it a night.
You see:
Keurig water reservoirs come in different shapes and sizes but weren’t designed with long-term storage in mind. The water in them easily flows into your machine and could cause blockages, bacteria, scale build-up, and much worse.


From my experience:
I’ve seen Keurigs malfunctioning primarily due to neglect in water management. The internal build-up from old water can lead to clogs and even affect the heating elements.
What to Do If Water Has Been Left in the Reservoir for Too Long?
Considering what we’ve covered so far, you might be tempted to panic if you regularly leave water sitting in your reservoir.
Conveniently:
Here are some easy steps to follow if you’ve left water sitting in your reservoir for a long time.
Step 1: Empty the Reservoir
Bacterial growth and mineral buildup can start impacting your coffee quality.
As such, your very first move should be to empty that old water. Don’t compromise on the quality of your daily coffee!
Step 2: Clean the Tank Thoroughly
Next, it’s time to clean the water reservoir. After all, a clean Keurig makes an excellent cup of java! Some warm, soapy water does wonders here.
Typically:
The steps you need to follow are pretty straightforward, but that might change depending on what shape or size of the reservoir you own.
Be sure to take precautions like unplugging your coffee maker before you begin.
Step 3: Rinse and Repeat
After cleaning, don’t rush—rinse the reservoir properly. It’s critical to ensure all soap traces are gone before moving on.
Optionally:
You could automate this task by taking advantage of Keurig rinse pods. They are incredibly convenient and get the job done.
Step 4: Fresh Water For Fresh Coffee
Fill the system with fresh water. We can’t stress enough the importance of using fresh water to brew coffee. It does make a difference!
Step 5: Run a Rinse Cycle
Running a rinse cycle after filling your reservoir with fresh water is the final step in this cleaning process. It may seem a tad over the top, but it is well worth the effort.
This is the best way to use the aforementioned rinse pods, and the first brew after this cycle speaks for its necessity.
Final Thoughts
Not every habit we adopt is good, and in this case, leaving water in your Keurig reservoir for a long time is wrong on so many levels.
You see:
Doing so could ruin the taste of your coffee and damage your machine. To avoid such issues, empty your reservoir every night before bed.
However:
If you’re having any other problems with your Keurig brewer, either contact Keurig customer service or leave a comment in the section below.


