
Hello, fellow Coffee Holli enthusiasts! In this quick guide, I’ll show you how to use Keurig rinse pods to keep your coffee tasting great.
If you’re a daily Keurig user and have noticed your coffee tasting slightly off, this guide, complete with a helpful video, will show you the simple steps to ensure every cup is perfect.
Let’s get started!
Table of Contents
When to Use Keurig Rinse Pods
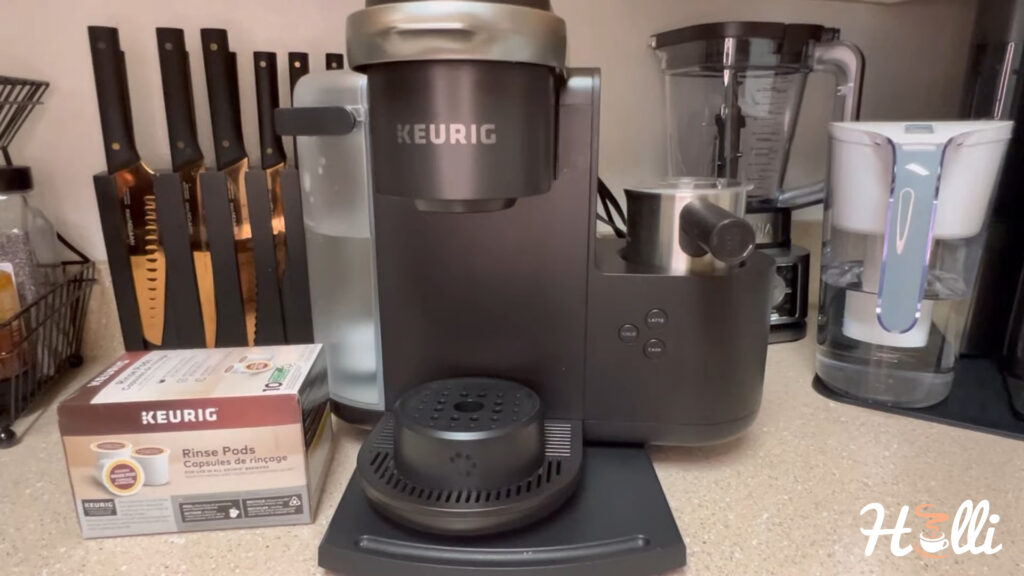
As a devoted Keurig user, I’ve noticed that after a while, my daily coffee started to taste slightly off. You might have experienced the same.
The reason? Residue from leftover coffee grounds or oils. But, there’s an easy fix – Keurig rinse pods.
Now, these aren’t your average K-cups. Their sole purpose is to cleanse the basket and needles in your machine, ensuring each cup of coffee tastes as fresh as the first.
Let’s delve into how and when to use these little lifesavers for optimal results.
Step-by-Step Guide to Using Keurig Rinse Pods
This process is an easy and eco-friendly way to keep your Keurig machine in top condition and ensure every cup of coffee or tea is as fresh as possible.
Step 1: Preparation
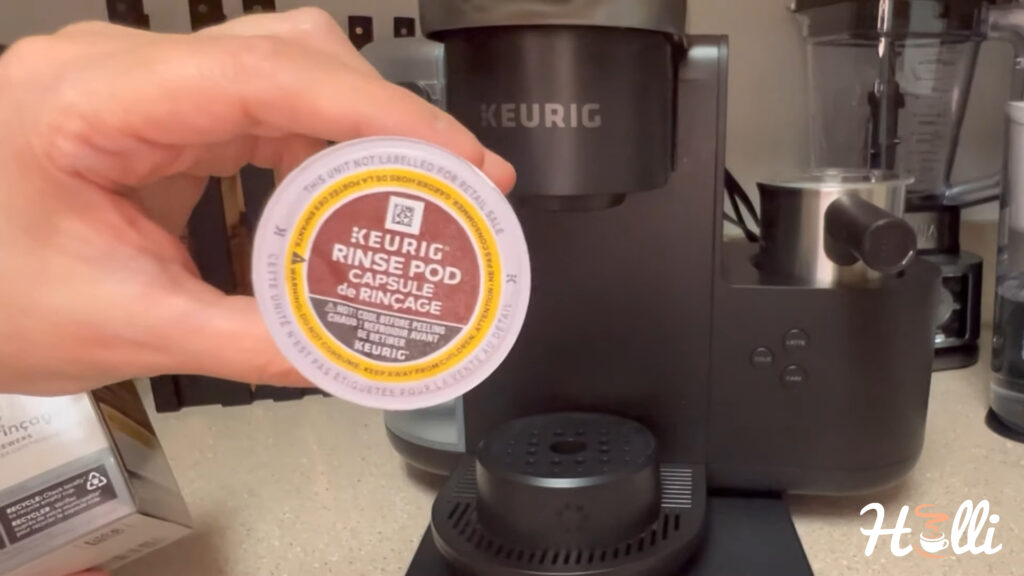
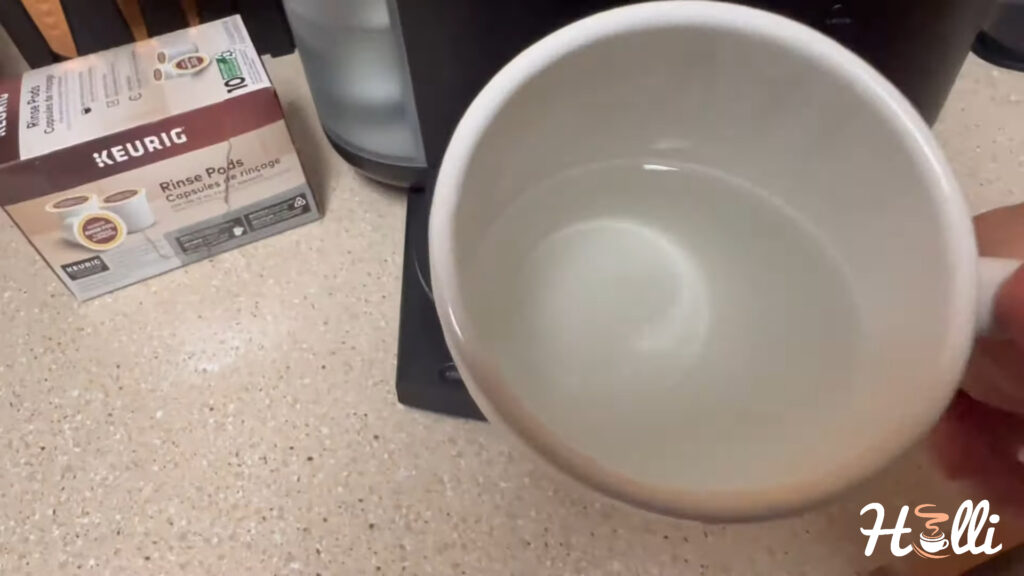
Firstly, let’s get our Keurig ready. Turn it on and check that the water reservoir is filled. Then, place a heat-safe mug in the cup holder and open the chamber. Take a rinse pod, just like you would a regular K-cup, and place it into the basket.

Close the chamber snugly.
Step 2: Initiating the Rinse Cycle

For Keurig K cafe users, press the coffee button, select the eight-ounce option, and then press ‘K’ to start. Rinse pods are incredibly useful for preventing flavor carryover, especially between different brews and descaling sessions. You can step away at this point and let the rinse pod work its magic.
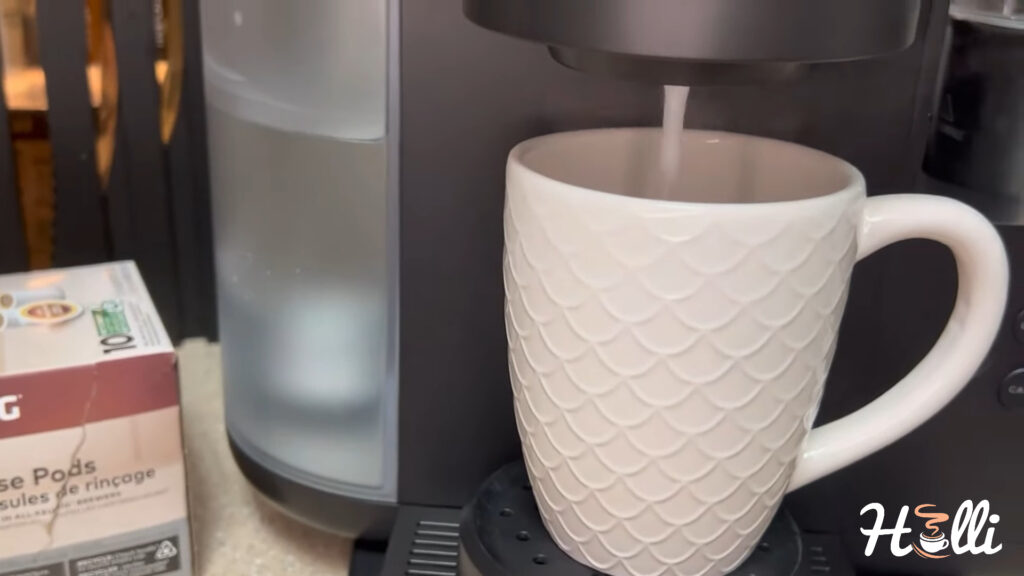
Once the rinse cycle is complete, simply discard the contents of the mug. Don’t worry if the water appears slightly tinted – it’s just the oils and residues being cleaned from your machine.
Step 3: Extra Cleaning (Optional)
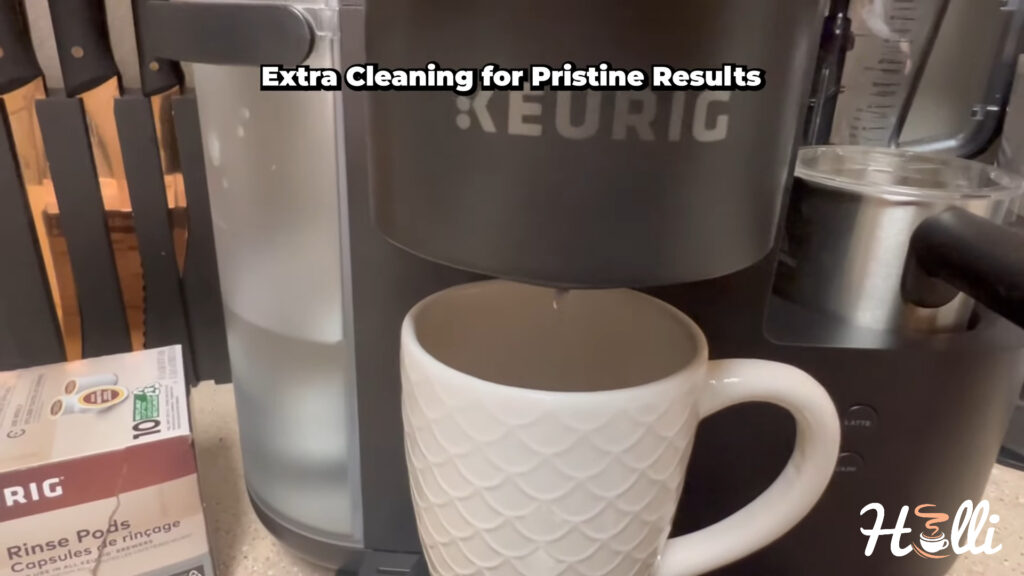
After removing the rinse pod, close the chamber without inserting anything. Brew hot water straight through the basket. This additional step helps ensure all residue is removed from the machine, especially the oils from coffee grounds.
For those who want the freshest taste for every brew, using a rinse pod after each cup of coffee or tea is recommended. Notice the clarity of the water – a clear sign of a well-maintained machine.
There you have it, a simple yet effective way to keep your Keurig machine in pristine condition, ensuring the purest coffee experience every time.
Conclusion
As we wrap up this session, I want to emphasize the importance of regular maintenance for your Keurig machine. Using Keurig Rinse Pods is a simple yet effective step towards that.
Stay connected with Coffee Holli for more useful advice, and here’s to enjoying consistently great coffee. Happy brewing to all!
Where can I get the rinse pods???
Hi. You can purchase it on Amazon – here is the link.