Look:
You’re not having the best morning, and we completely sympathize.
You see:
You’ve filled your Keurig’s water reservoir, but your Keurig is still politely asking you to add more water. What else does it want from you?
Regrettably:
Though affordable and easy to use, Keurig coffee makers are also prone to errors. We know you genuinely want to know what is wrong with your Keurig this time and how to fix it.
Luckily:
We have all the answers you need in this guide. You simply need to follow our recommendations, and your Keurig will work as well as new.
Keep reading to discover the steps to take when your Keurig says, “add water.”
Table of Contents
Keurig Keeps Saying Add Water
Your Keurig indicating that you should add water, especially when the tank is full, is a fairly common issue. You can resolve this problem effectively by cleaning, resetting, filling, and properly placing the water reservoir on the Keurig. Also, try descaling, using filtered or bottled water, or blowing air into Keurig’s overflow pipe.
1. Fill the Water Reservoir to the Required Line
First things first:
Is your water reservoir actually sufficiently filled? It doesn’t hurt to double-check.
We all know that:
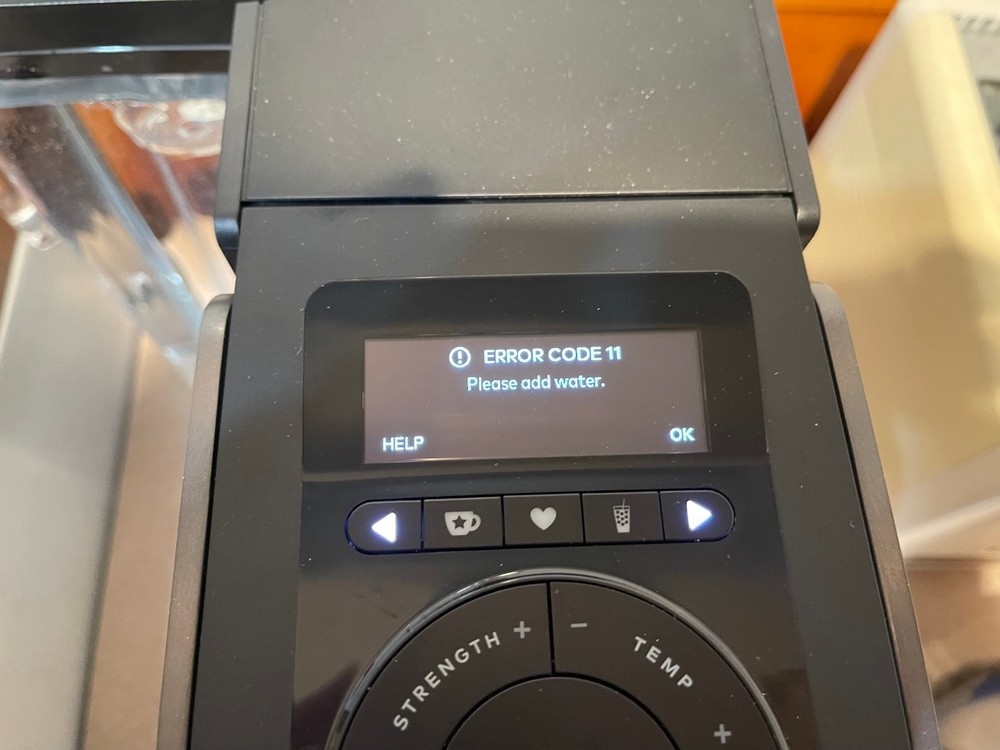
If your water reservoir is not sufficiently filled, the Keurig sensor will detect it and indicate this by telling you to add water.
Do this:
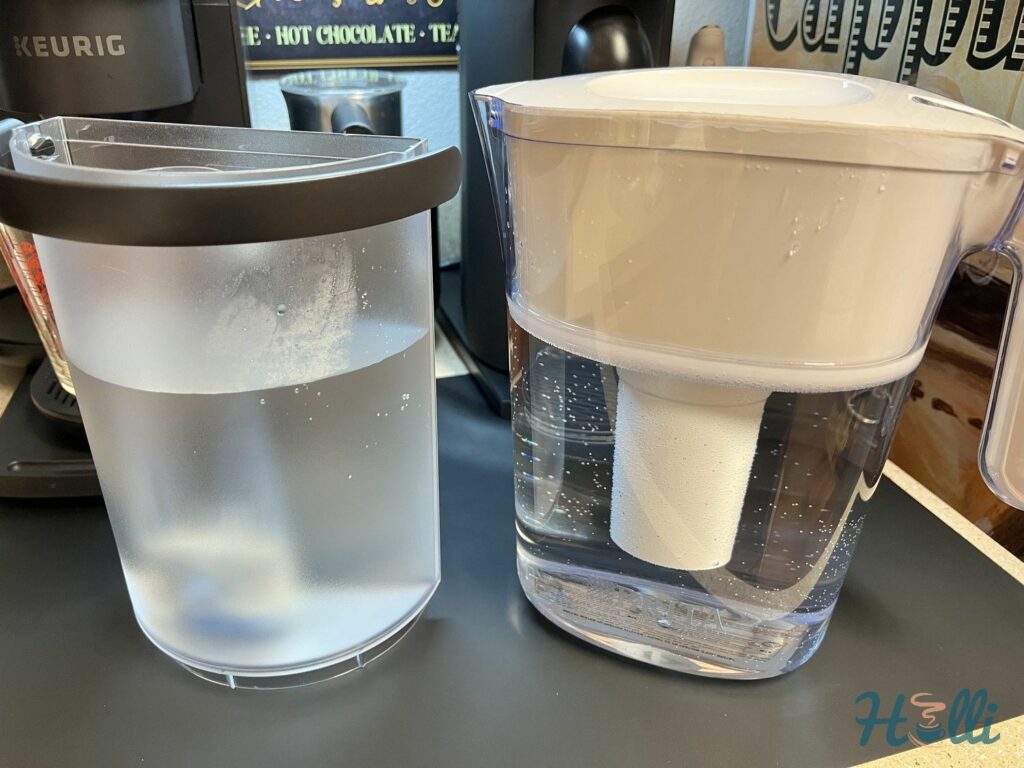
Fill your reservoir with filtered water to the dotted line marking the maximum capacity.
Are you done?
Now that we are certain your reservoir is full, if your Keurig is still saying “add water, ” we have some other tips for you.
2. Clean and Reset the Water Reservoir and Ensure It Is Properly Placed
Here’s the thing:
If your Keurig says “add water” even after you’ve confirmed that the water reservoir is filled sufficiently, it might be a calibration issue.
The water reservoir may be improperly placed such that the Keurig does not recognize that it is full.
Now:
To fix this problem, you must ensure that the water reservoir is correctly aligned with the base of the Keurig coffee maker.
Here’s what to do:
Detach your Keurig’s water reservoir from the machine, drain it and clean it manually with dish soap. Note that not every Keurig water reservoir is dishwasher compatible.
Then:
Refill the tank with filtered water and attach it properly back onto the base of your Keurig. After doing this, the “add water” notification should disappear.
Remember to:
Unplug your Keurig before moving the water reservoir around to reset the machine.
3. Descale Your Coffee Maker

Listen:
Another likely reason your Keurig might be asking you to add water to it is because of a clogged system.
The build-up of mineral compounds, coffee grounds, foil, and other debris gets lodged in your Keurig’s system and disrupts water flow.
Of course:
The solution to this problem is descaling your Keurig. It is not a complicated procedure, and you can easily carry it out.
To descale your Keurig:
Fill your Keurig water reservoir with a mixture of Keurig descaling solution or white vinegar and water. Then, run a brew cycle to flush the system, collecting the water in a mug on the drip tray.
Next:
Leave the solution in the reservoir for a while to decimate the compounded limescale.
After this:
Discard the solution and the water collected in the mug and clean the reservoir thoroughly with dish soap.
Then:
Run several rinse cycles with plain water and no K-Cup pod to eradicate residual debris and ensure your Keurig is fully unclogged.
You should:
Descale your Keurig regularly to prevent malfunctions and enhance the quality of your brewed coffee.
4. Avoid Using Distilled or Unfiltered Water for Your Keurig Coffee Maker
Not everybody knows this but:
The water you use for your Keurig coffee maker is very important because they are sensitive to the precise type of water used. More specifically, Keurigs do not function well with distilled water.
Here’s why:
The Keurig has a magnet in the water reservoir that serves as a sensor for detecting water levels. This sensor requires some degree of solid matter in the water for the electrical current to work.
Now:
Distilled water has little to no solid matter, so the sensors do not recognize it, and your Keurig assumes the tank is empty. This explanation could be why you are receiving the “add water” message.
To resolve this:
Ensure that you use filtered or bottled water instead. Avoid distilled or spring water for your Keurig coffee machine to prevent the “add water” error from occurring.
Also:
Using unfiltered water instigates the collection of mineral deposits and debris in your Keurig, limiting your device’s longevity.
5. Blow Air into the Overflow Pipe
Hopefully:
After attempting all our suggestions above, your Keurig should stop notifying you to add more water to it.
However:
If none of our suggestions seem to work for your Keurig, you should try this crude hack. It is unofficial and unusual, but it works, and your Keurig should be back to normal after trying it.
Off the record:
It would help if you filled the reservoir halfway with filtered water, then blew air into the overflow pipe for about 10 to 15 seconds. It gives the device a kickstart as the air pressure clears any internal obstruction.
Alternatively:
If absolutely nothing works, contact Keurig customer support for assistance.
Models Most Affected
Typically:
Keurig coffee makers could develop a range of faults that can easily be corrected or worked around.
But:
These Keurig models are the most likely to keep asking you to add more water even when they are sufficiently filled.
1. Keurig Duo
Get this:
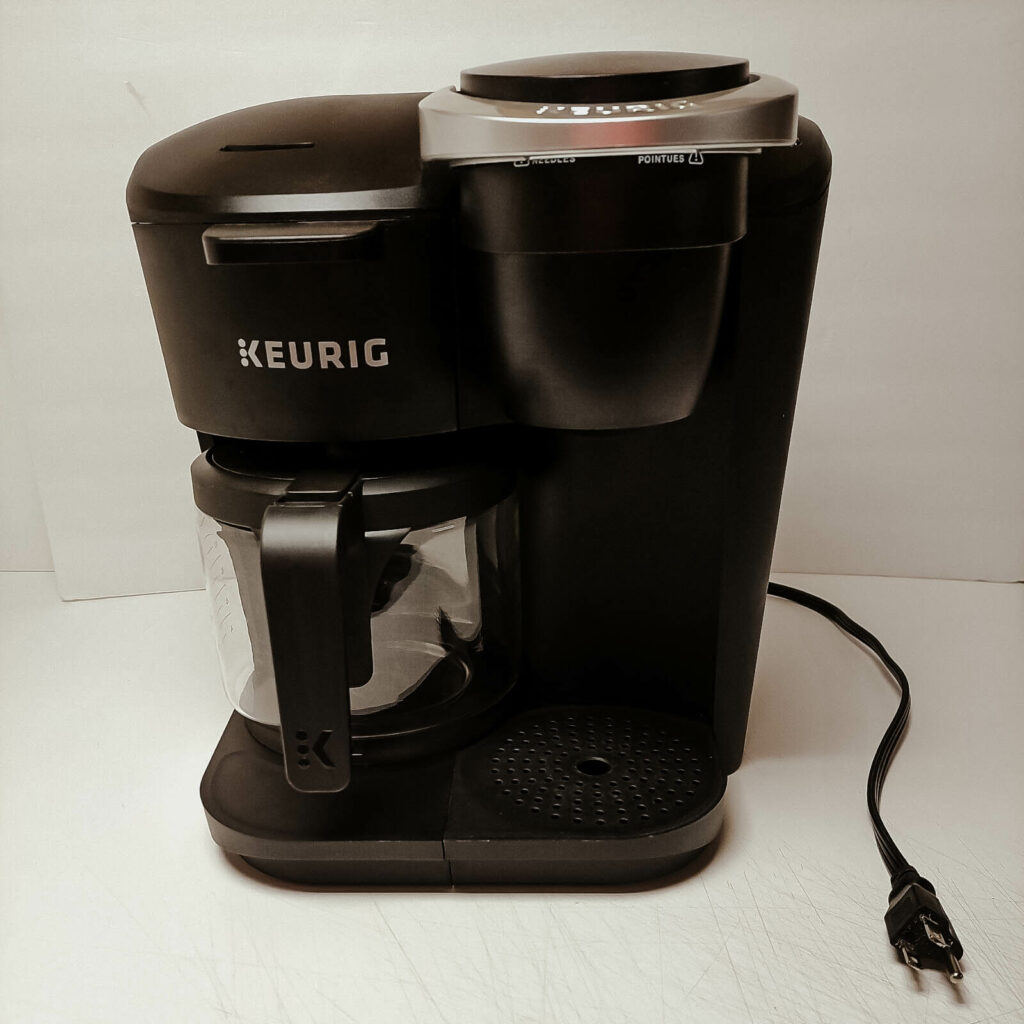
The Keurig Duo (K-Duo) is a single-serve, carafe coffee maker that uses both K-Cup pods and ground coffee to brew cups of coffee. It was designed as a replacement model for the discontinued Keurig K 2.0 (K200-K575).
Note that:
This Keurig version has received numerous complaints concerning the “add water” error.
2. Keurig Supreme
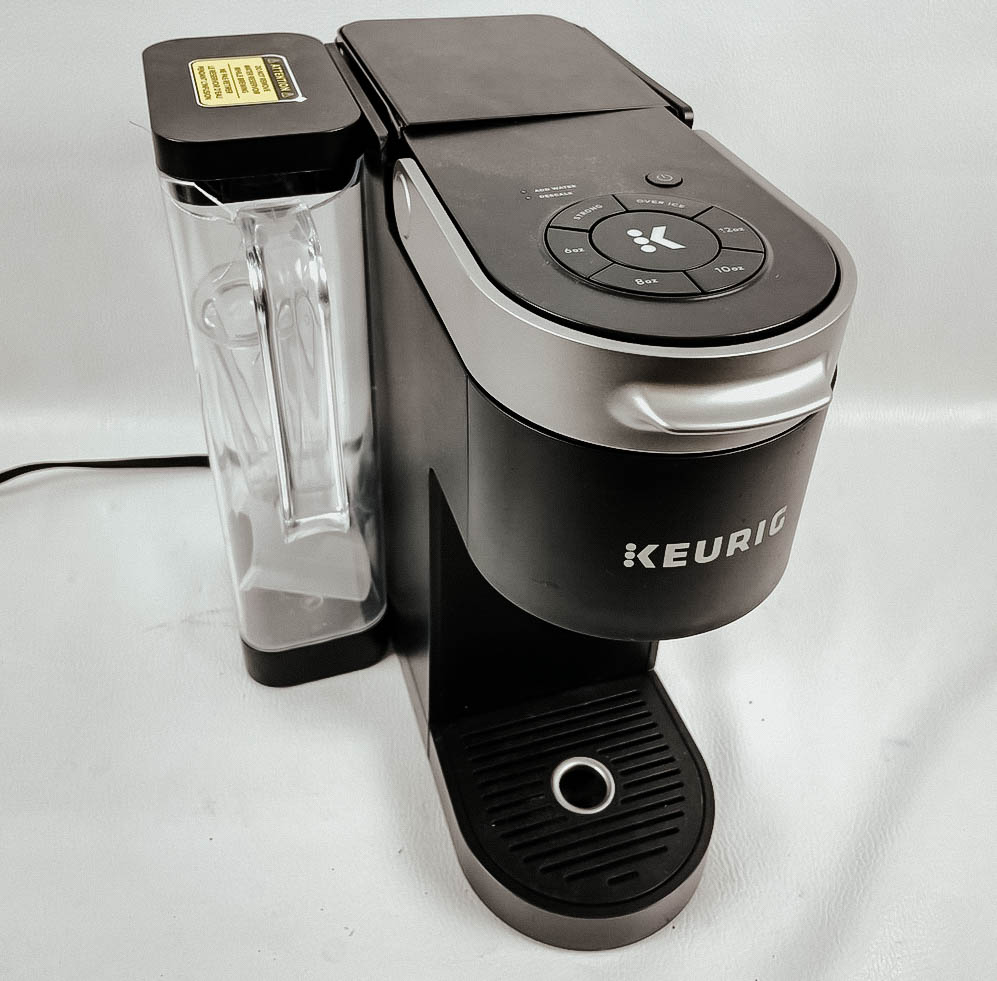
Look:
The Keurig Supreme (K-Supreme) is a smart single-serve coffee maker that is easy to operate and brews customizable cups of coffee.
You have a variety of settings to explore, including strength, temperature, and cup size settings.
However:
This Keurig model, more than others, is prone to showing the “add water” message, though easily correctable.
3. Keurig 2.0
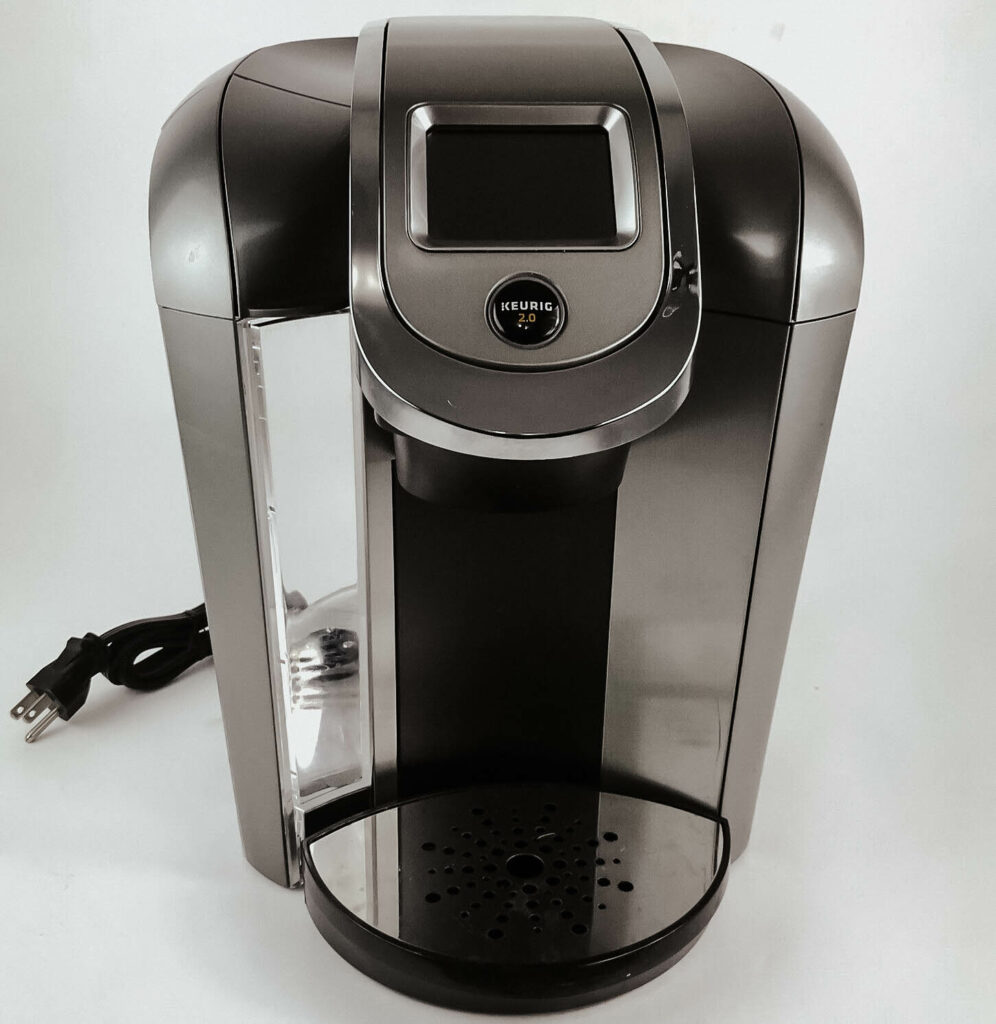
Fact:
In August 2014, Keurig launched the Keurig 2.0 coffee maker featuring a wider capacity for a single-serve brewer.
However:
This model was discontinued after intense customer backlash concerning faults and the new K-Cup system.
You see:
Some customers complained that the brewer kept indicating that it needed more water even when full.
4. Keurig K60
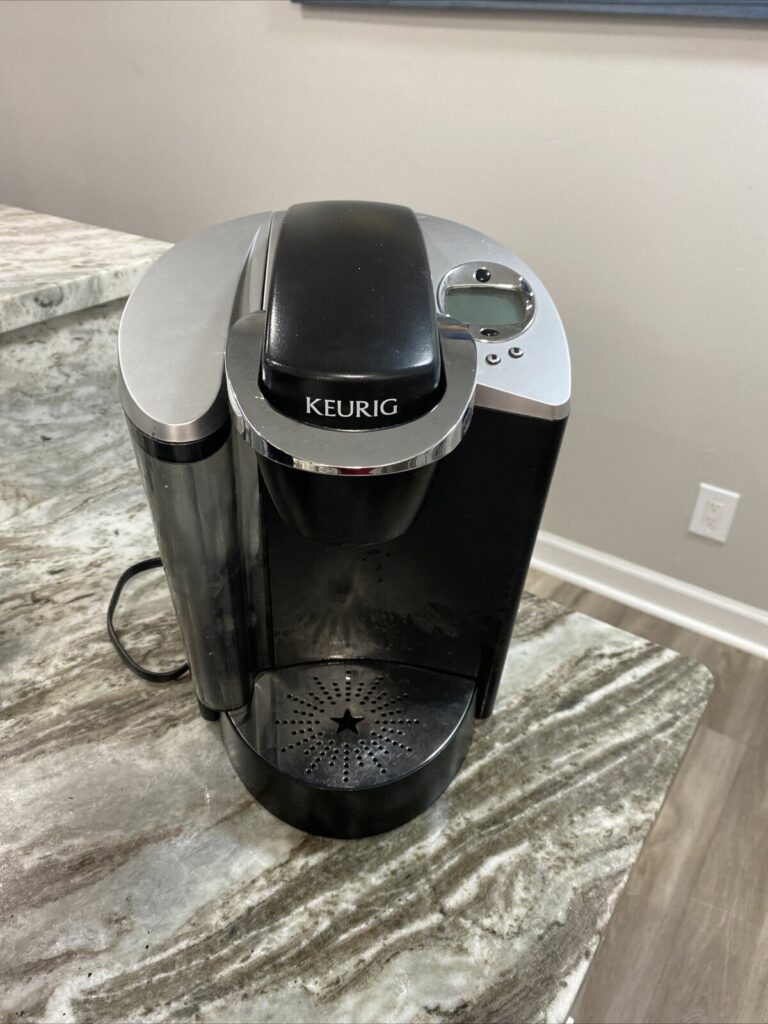
So:
The Keurig K60 is a “mid-luxury” model equipped with a digital LCD, a 60 oz reservoir, and quiet brew technology. It was discontinued and replaced with the K-Select.
Get this:
This Keurig model was susceptible to many defects, including the “add water” error.
5. Keurig B40
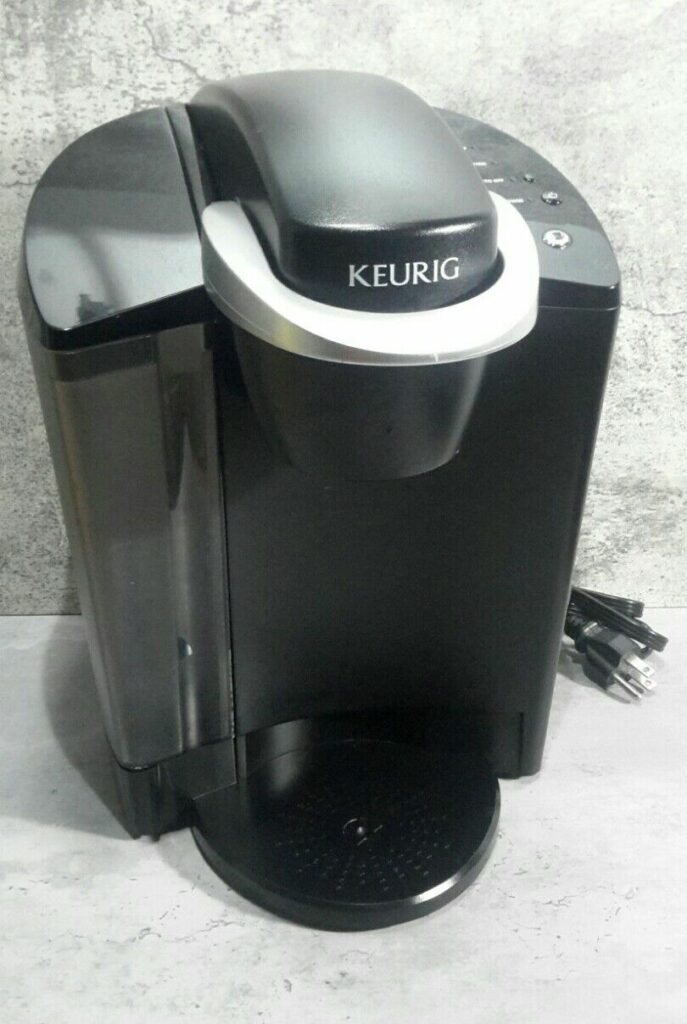
Now:
The Keurig B40 is one of Keurig’s most iconic brewers with a 48 oz water reservoir and an easy-to-use design. It features an automatic power button and a removable drip tray.
However:
This Keurig version was discontinued and replaced by the K40 for its manufacturing defects, including unnecessarily showing the “add water” message.
6. Keurig Vue
Here’s the thing:
The Keurig Vue (V700) is furnished with a color touchscreen display, a 74 oz reservoir, a removable drip tray, and adjustable strength and temperature settings.
It can also brew up to eight cup sizes, each under a minute.
Unfortunately:
Users of this model have complained that their Keurigs keep bringing up the “add water” message even when it is full.
Conclusion
Undoubtedly:
We know how defeating it can be when your Keurig becomes faulty for whatever reason. Adding a defective Keurig to the things you need to take care of can be pretty annoying.
But what can you do?
You need to find out how to get your Keurig to stop indicating that it needs more water.
As such:
You should follow these troubleshooting guidelines to fix your Keurig coffee machine.
- Fill the water reservoir to the required line
- Clean and reset the water reservoir and ensure it is properly placed
- Descale your Keurig coffee maker
- Avoid using distilled water for your Keurig coffee maker
- Blow air into the overflow pipe
Surely:
Your Keurig should stop showing the “add water” error after trying out these useful recommendations. Plus, you can get your much-needed delicious cup of coffee.
In any case:
We would love to get feedback from you. Tell us if these suggestions worked for you and any other tricks you might have discovered.
Remember to leave your questions and additions in the comment section below!
Frequently Asked Questions
Your Keurig could indicate that it requires more water even when it is full for multiple reasons.
These include:
A misaligned and dirty reservoir, using unfiltered or distilled water or a faulty sensor.
Your Keurig keeps asking for more water when it doesn’t need more water because of technical and user errors.
Some of these errors include:
Using distilled water, a dirty water reservoir, or a defective sensor.
Reset your Keurig’s water reservoir by unplugging the coffee maker and detaching the reservoir.
Next, leave it detached for a few minutes, reattach it properly, and power your Keurig back on.
The water sensor is a magnet located in the Keurig water reservoir. It detects water levels and indicates when to refill the coffee maker with water.
Unclogging your Keurig requires several simple rinse cycles with plain water and without a K-Cup pod.
To do this, fill the water reservoir with water, push the brew button, then discard the filthy water it produces.
The troubleshooting recommendations you apply are dependent on your Keurig’s problem. However, there are a few common recommendations you can try.
These include:
Descale your Keurig, unclog your Keurig needles, ensure the reservoir is crack-free, shake out air bubbles, and ensure your Keurig is plugged in.
If your K-Supreme Plus SMART coffee maker is flashing (Add Water), and you fill up the reservoir and the light is still flashing (Add Water), try this.
Step 1: Take the reservoir off the unit and set aside for a moment.
Step 2: The hole where the reservoir sits to supply water, with your finger push in this hole. Water will start to flow out, let all the water come out. Clean up water with towel.
Step 3: Reinstall the reservoir. The screen may now be flashing Dispense Hot Water.
Problem Solved.
Thanks Mark!
How do I descale if the machine won’t work because it say Add Water?
If your Keurig machine is showing the “Add Water” message even though there’s water in the reservoir, this might indicate a sensor issue.
Try this:
Start by removing and cleaning the water reservoir, paying special attention to the sensor area. After cleaning, reattach the reservoir, making sure it’s properly seated. Next, reset the machine by unplugging it for a few minutes and then plugging it back in.
Btw. It would help if you wrote down what model you have.
I turned my whole machine upside down and it fixed it. No tools needed.
Now I can make either make 1 cup or one pot at a time. Before having to turn my machine upside down again. 😉
K-Supreme Plus – our second unit the first started acting up after 8 months returned under warranty. Thanks for all the information on water and add water problem. I like the machine but it is a bit pricy to replace it every year or so!