Struggling to figure out how to use those reusable K-Cups? Maybe you’ve had to pass on your preferred coffee because it wasn’t available for your Keurig, or perhaps you’re eyeing a more eco-friendly, cost-effective coffee routine.
Let me guide you. As someone who’s maneuvered through the ins and outs of Keurig coffee makers for years, I’ve crafted a straightforward, step-by-step tutorial just for you.
Let’s dive in.
Table of Contents
Materials You’ll Need
| Ingredients | Equipment |
|---|---|
| 3 – 4 teaspoons of your favorite coffee ground Recommended: coarse grind | A compatible reusable K-Cup Your Keurig coffee machine A teaspoon or scoop for measuring |
Step-by-Step Process
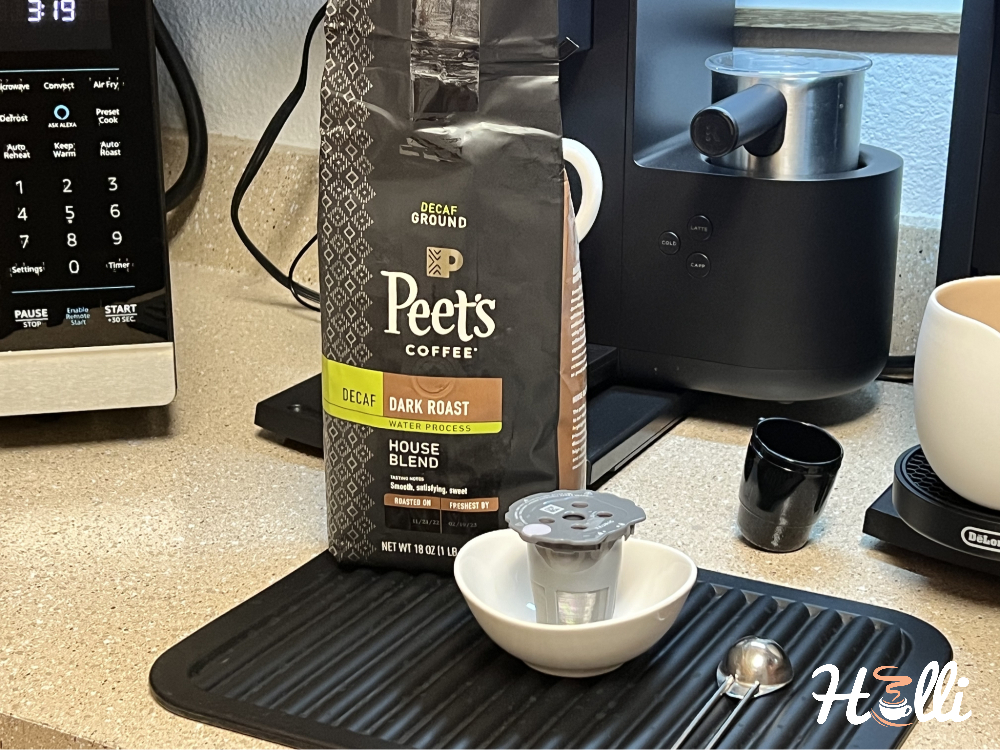
First up, gather your coffee brewing arsenal. Check that everything’s sparkling clean because trust me, even a little residue can spoil your perfect cup of joe.
Got everything? Great.
Now, let’s walk through this, step by step, and I’ll guide you to that flawless brew.
Step 1: Disassembling the Reusable K-Cup
Let’s begin with the basics:
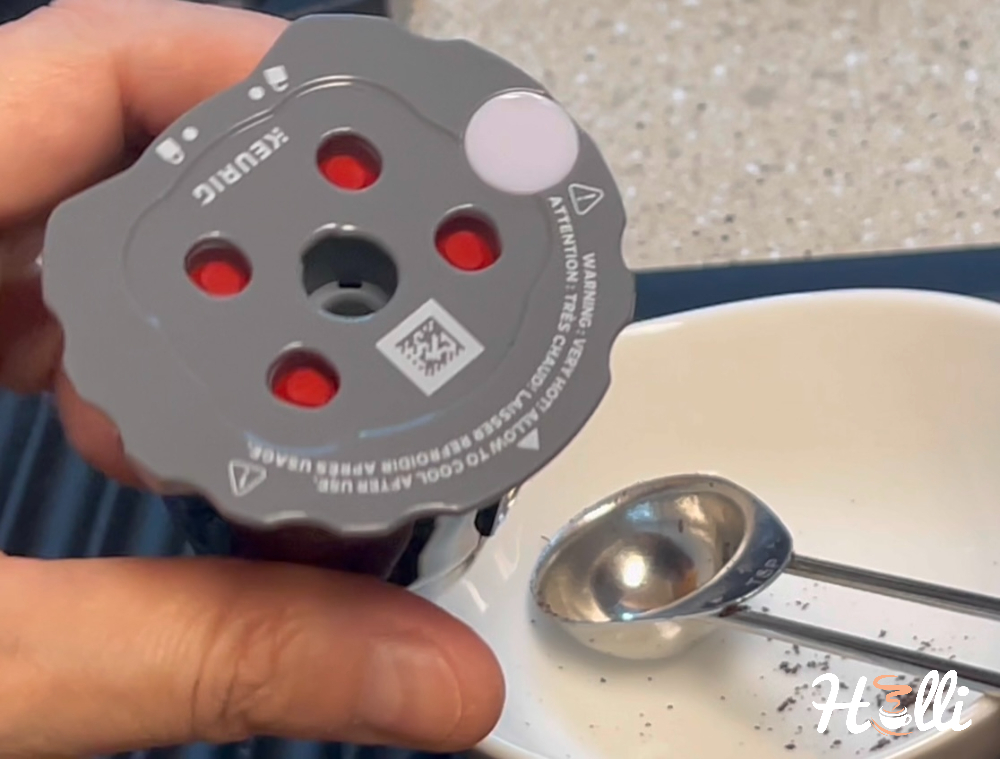
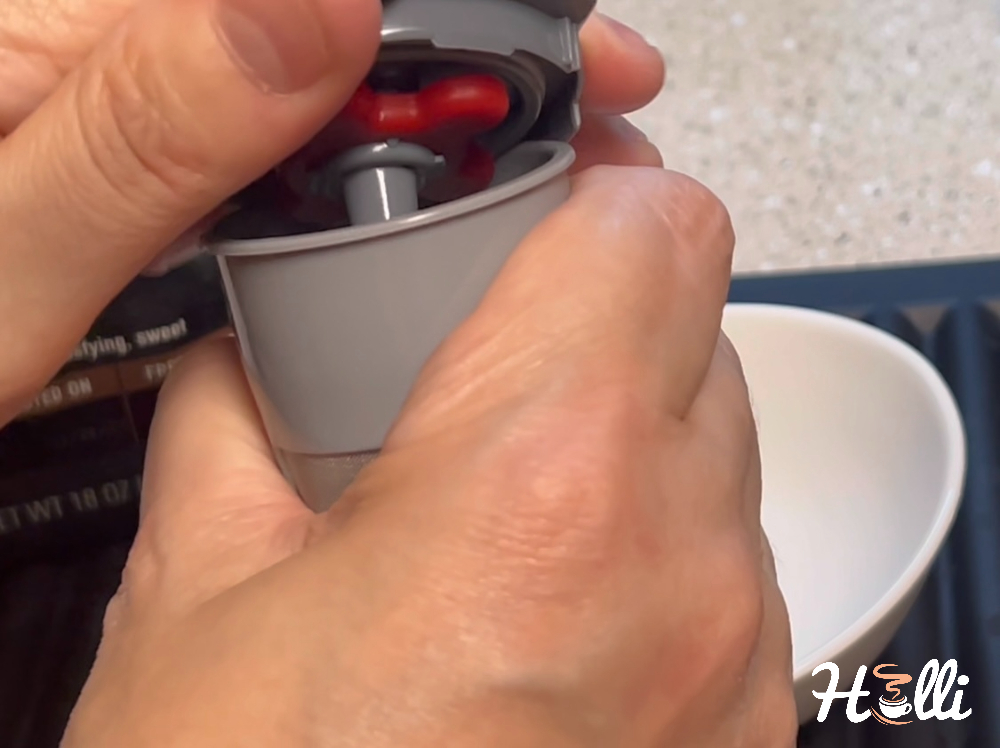
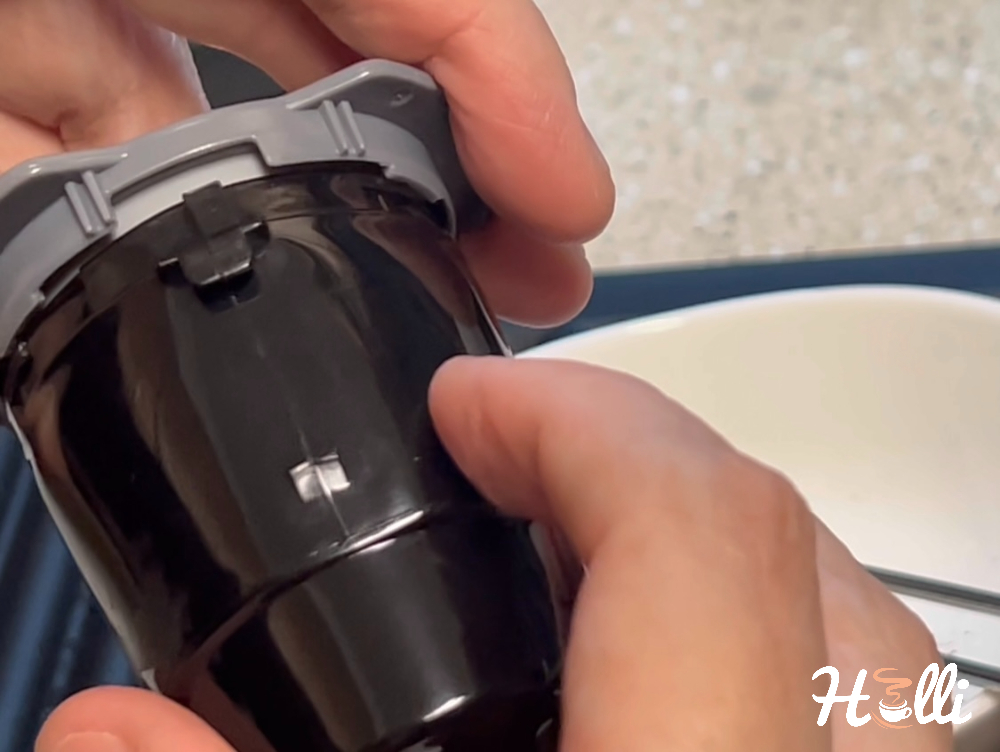
Your reusable K-Cup consists of two main components – the filter and the filter holder. It’s imperative to disassemble these parts correctly to ensure your coffee brews smoothly.
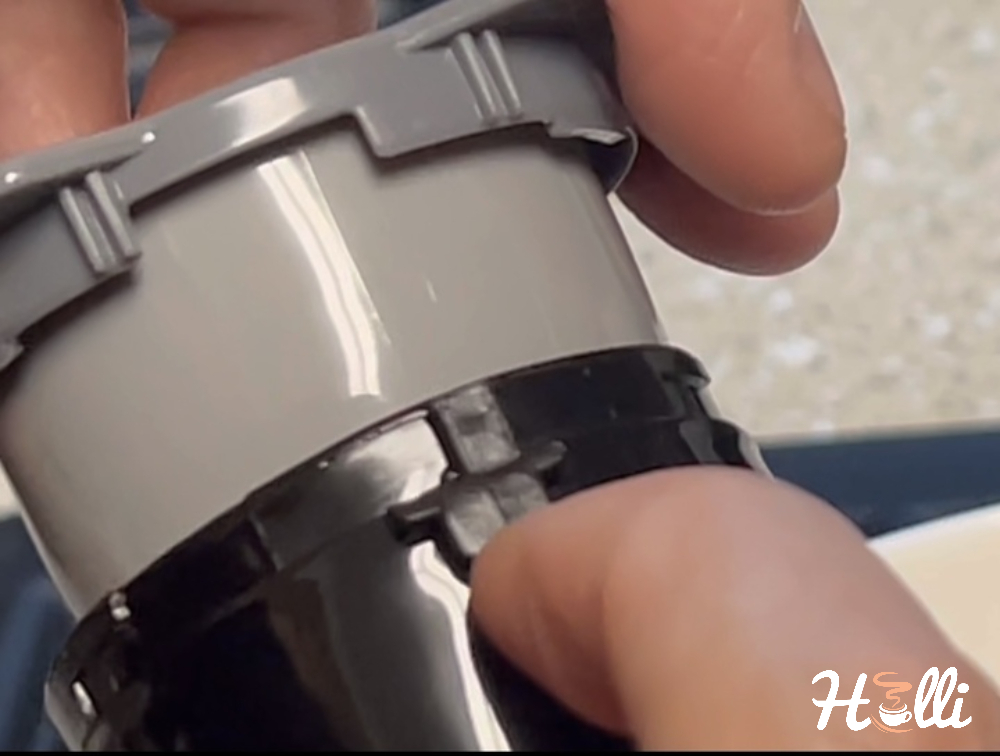
Hold the grey lid firmly with one hand, and with the other, secure the black base. Twist the lid gently but firmly in a counter-clockwise direction and then lift it away. The pieces should separate easily.
You’re now holding the two separated parts.
The next move is to remove the lid from the filter. Simply lift the grey lid off the filter. It’s designed to detach smoothly, granting you access to where you’ll soon add the coffee grounds.
Step 2: Measuring and Adding Coffee Grounds
Precision is key:
To achieve the perfect cup of coffee, the quantity of coffee grounds you add to the K-Cup filter matters immensely.
Here’s how to avoid a mess:
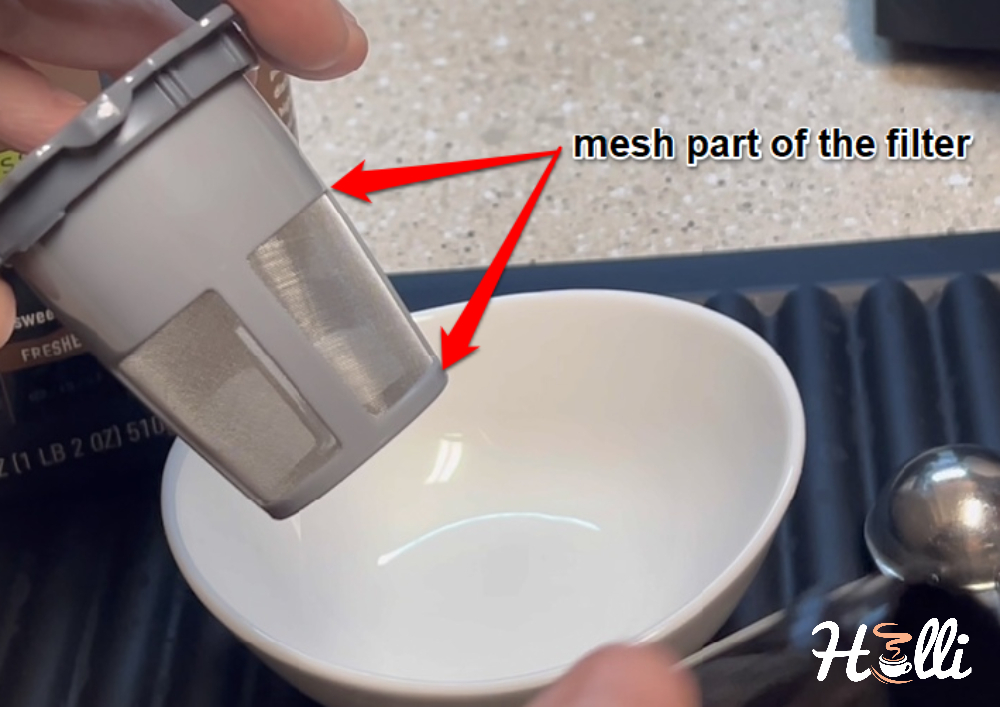
Position your reusable K-Cup filter over a small bowl to catch any stray grounds. It’s a simple trick that keeps your workspace clean.
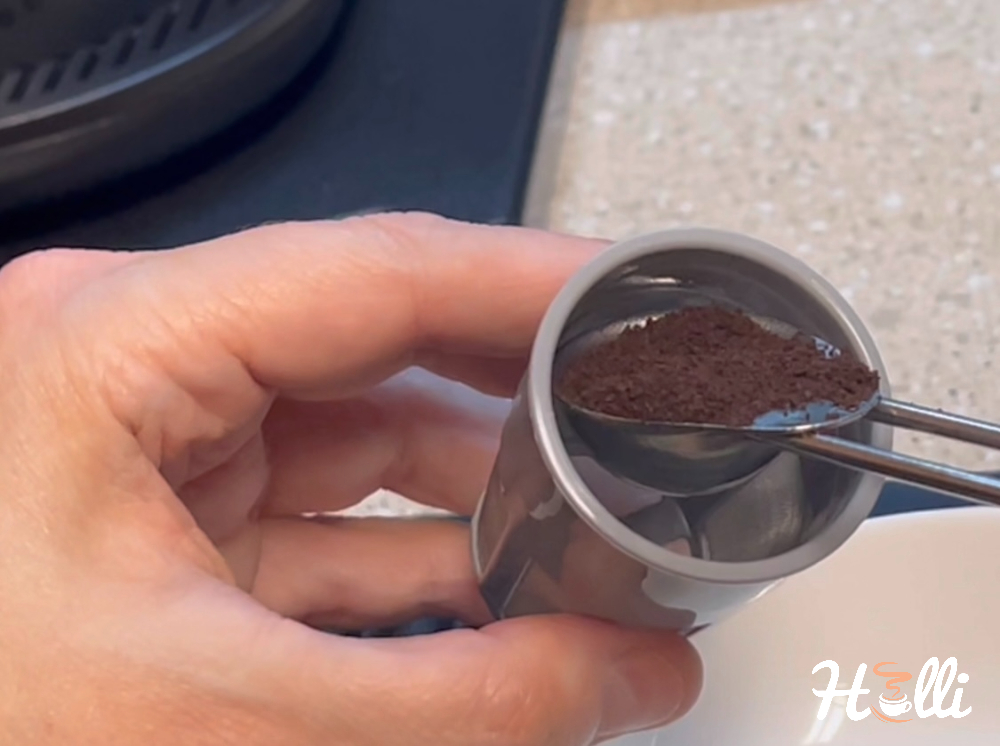
Grab your teaspoon:
Scoop 3 to 4 teaspoons of your chosen coffee grounds into the filter. Aim for the golden ratio that suits your taste—typically, it’s about 2 tablespoons per 6 ounces of water for a standard cup of coffee.
A quick tip:
Do not press the grounds down into the K-Cup. Compressing them can impede the water flow and affect the quality of your brew. Instead, gently shake or use the back of the spoon to level the grounds for consistent flavor extraction.
Remember:
Filling the filter to the very top is not the way to go. Stop adding grounds once you reach just below the rim of the mesh. This allows the water to properly saturate the coffee without the risk of overflow.
Finally:
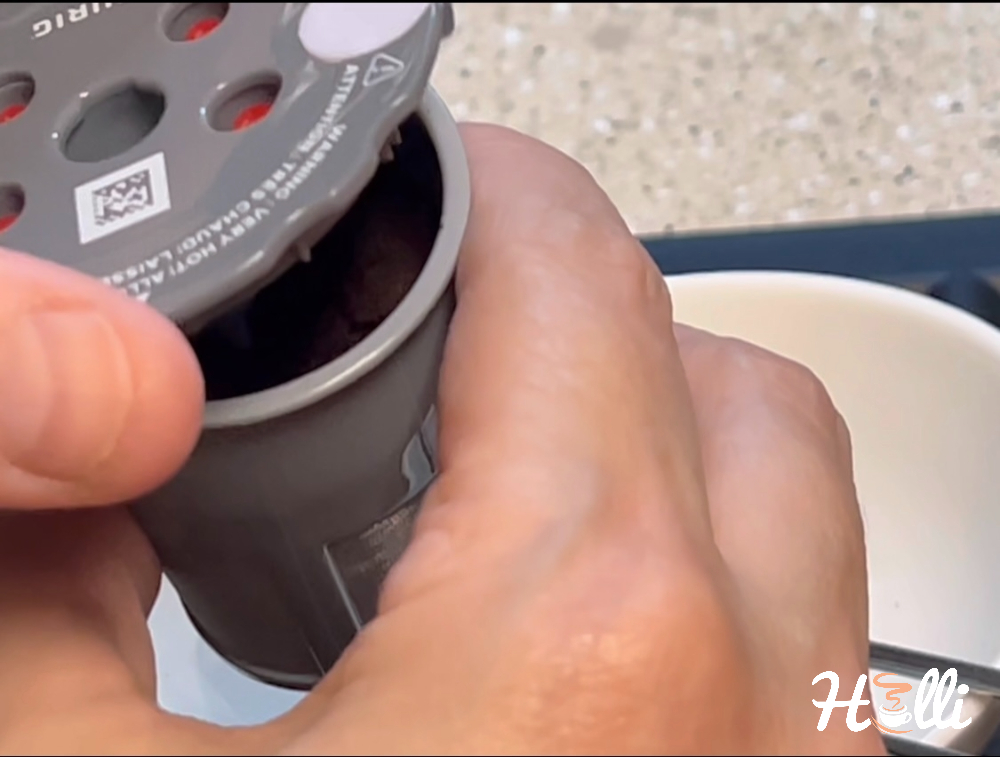
Secure the lid back onto the filter. Press it down firmly to ensure it’s tight. A loose lid can disrupt the brewing process and create quite the havoc. With the lid firmly in place, you’re all set for a clean brew.
Step 3: Inserting the Reusable K-Cup into the Keurig Brewer
Lock and load:
Now that your reusable K-Cup is ready to go, it’s time to put it back into its home base—the filter holder. Align the notches and twist to secure it. You should feel it lock into place with a satisfying click.
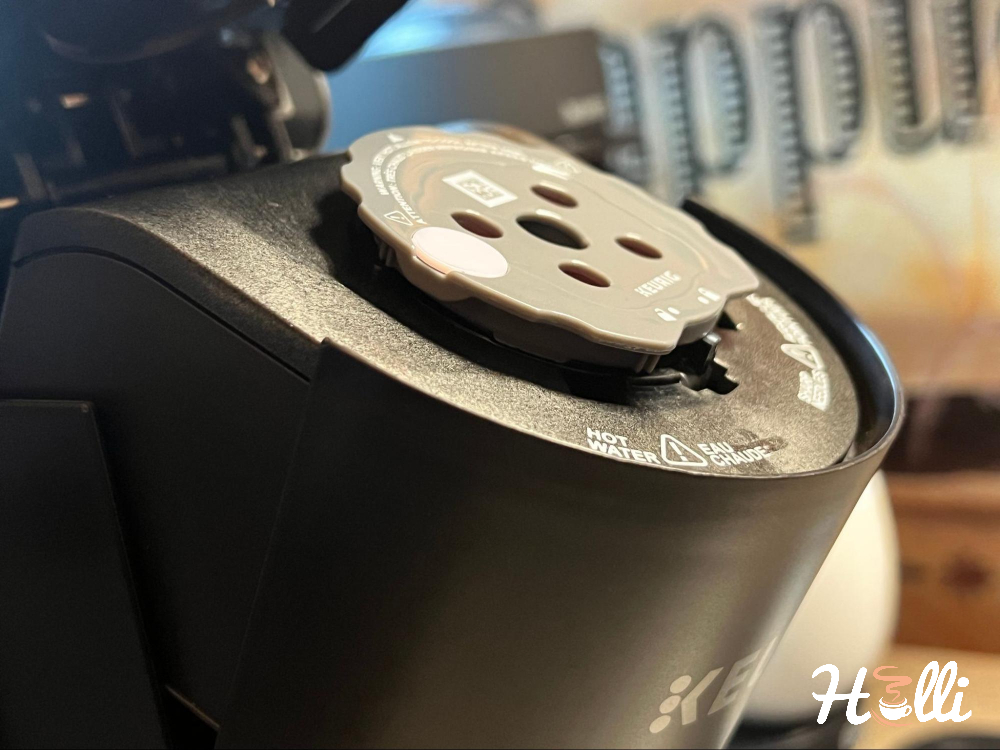
Prepare your Keurig:
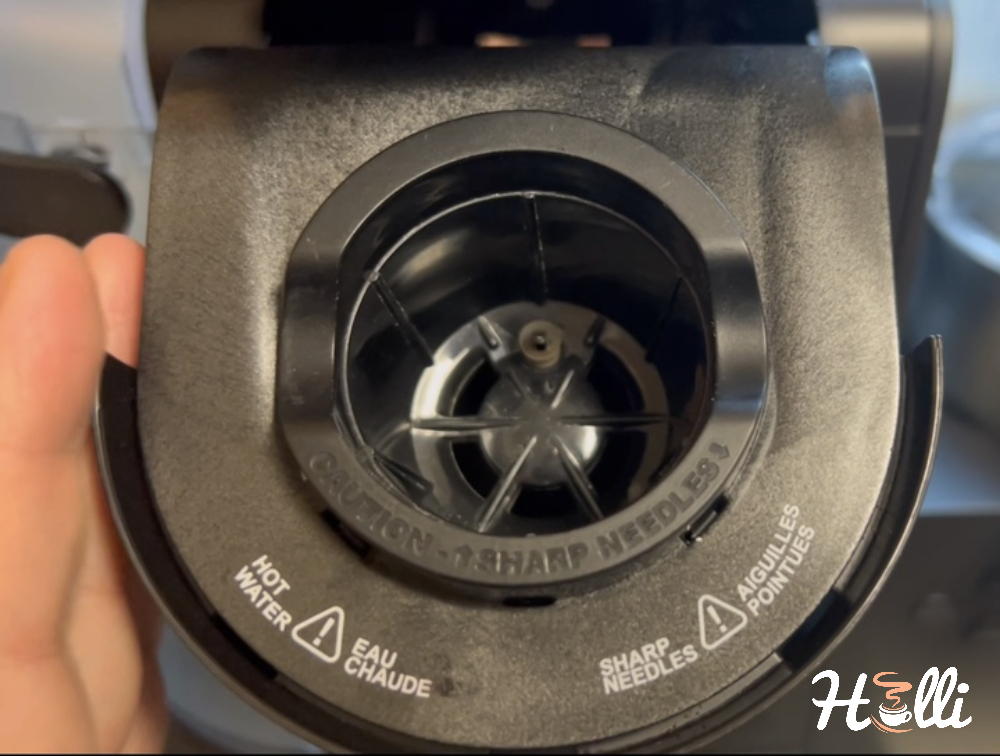
Before you can introduce your reusable K-Cup, you’ll need to remove the brewer’s existing K-Cup holder. It’s a simple process – gently pry the edge and lift it out. Be gentle to avoid damage.
Slot it in:
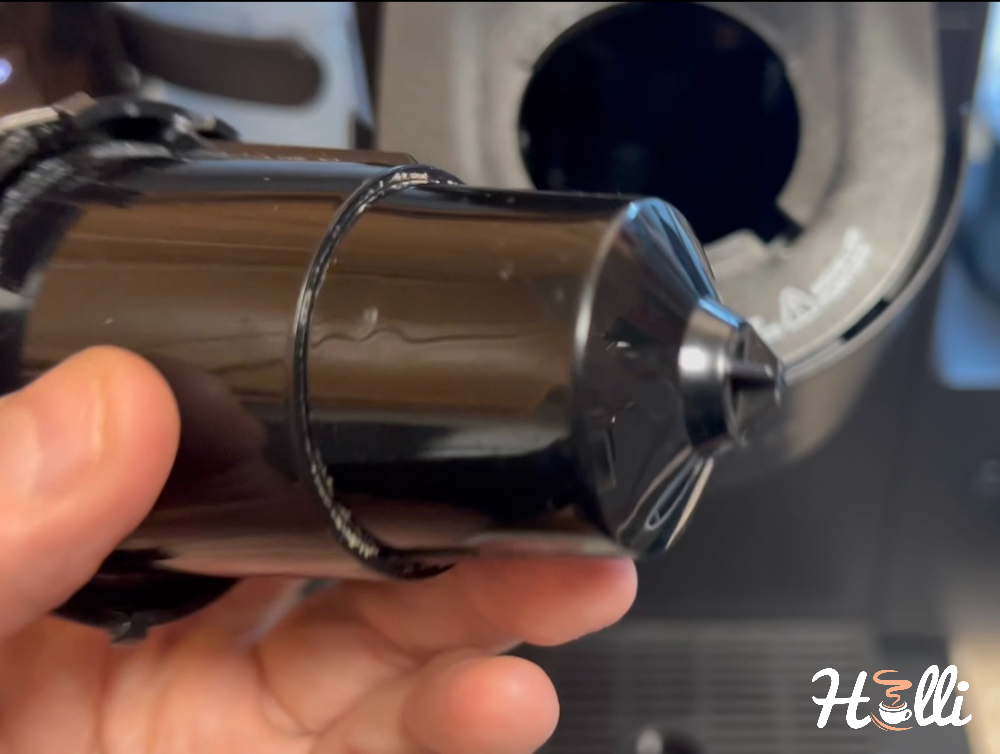
With the original holder out of the way, your reusable K-Cup is up. Tilt it at an angle that aligns with the locking mechanism’s orientation and insert it into the slot created.
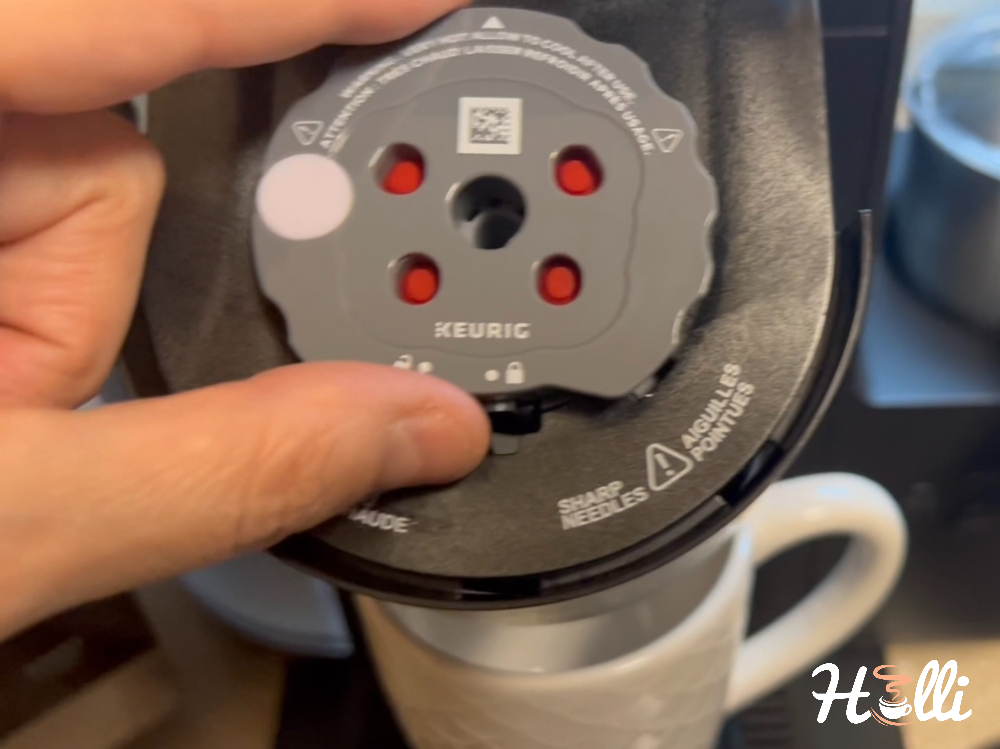
Final checks:
Ensure everything is snug and secure. The size might make you second-guess whether it will fit, but Keurig machines are designed to accommodate these reusable filters.
Close and brew:
With a gentle lower of the lid, your Keurig should close without resistance. Now, you’re all set for a sustainable and satisfying coffee experience.
Step 4: Program Machine for the Perfect Brew
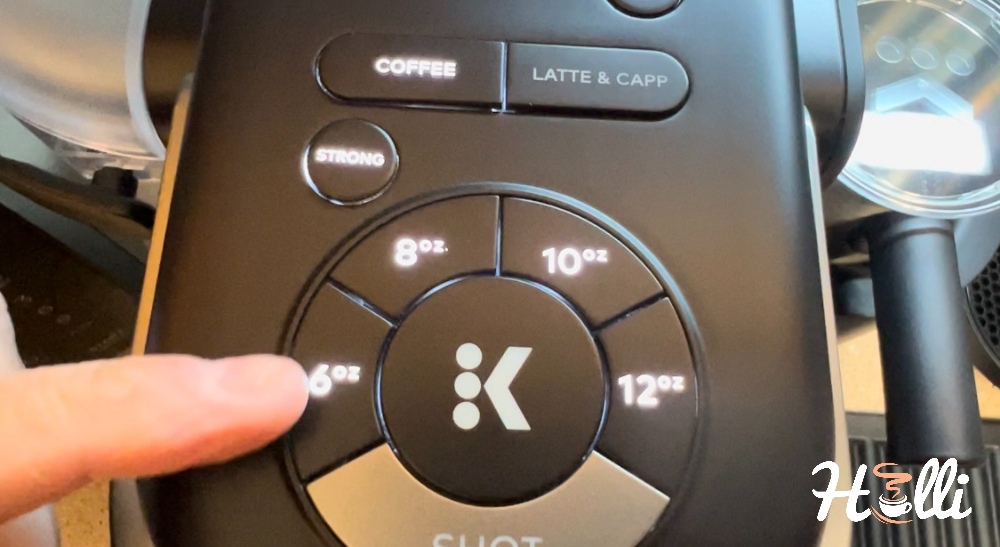
With your freshly prepped reusable K-Cup in place, it’s brewing time. Here’s where you call the shots—choose the brew size and strength that suits you best.
There’s nothing out of the ordinary here. Use your Keurig just like you would with a disposable pod.
Start the brew:
Press the “coffee” icon, select your cup size, and then push the central “K” button—your coffee command center.
Now, take a step back and savor the moment as the machine comes to life, creating your perfect cup of coffee. It’s your personalized pick-me-up, ready in minutes.
Step 5: Cleaning Out the Reusable K-Cup
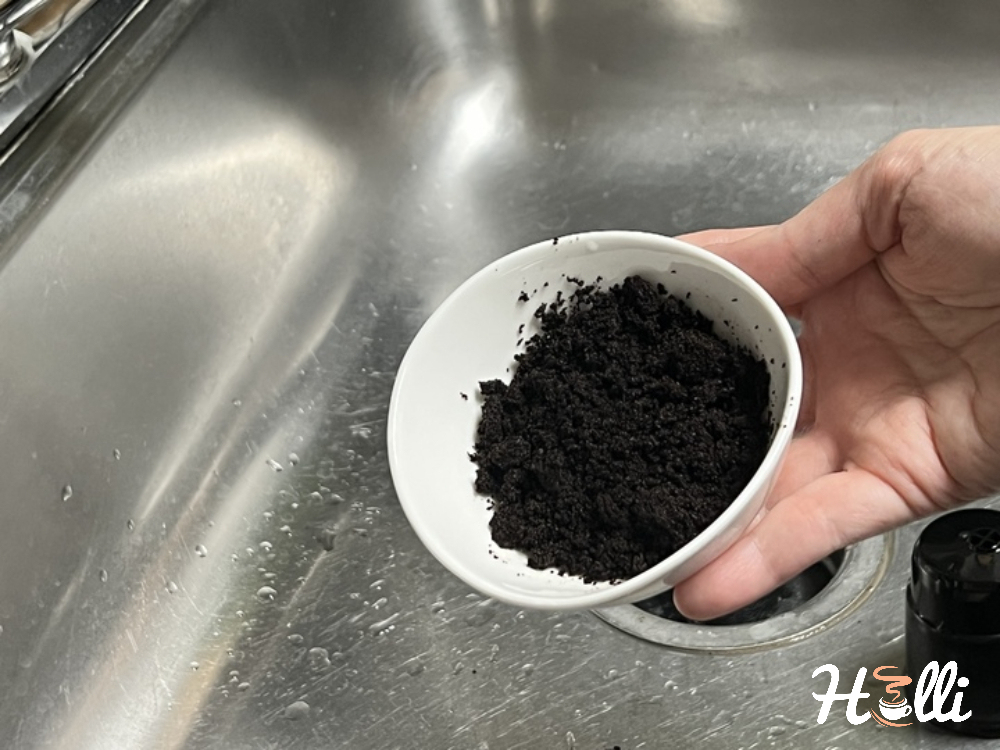
Let’s keep it clean:
Once your coffee is brewed, the next step is crucial for maintaining your reusable K-Cup’s lifespan and ensuring a fresh brew every time.
Here’s the routine:
First, eject the K-Cup from your Keurig and tap out the used coffee grounds into a waste bin. Sometimes, they stick, but a gentle tap usually does the trick.
A quick rinse:
Wash the K-Cup components under running water to remove the remaining coffee residue. For a deeper clean, use a soft brush to gently scrub the mesh and interior surfaces.
Don’t forget the basket:
Regularly cleaning the filter basket in your Keurig is just as important. It prevents clogging and ensures your machine runs smoothly.
Reassembling:
After cleaning, if you need to switch back to pre-packaged K-Cups, reinsert the original K-Cup holder into the brewer. Align the notches carefully, and listen for that satisfying click, confirming everything is back in place.
All set:
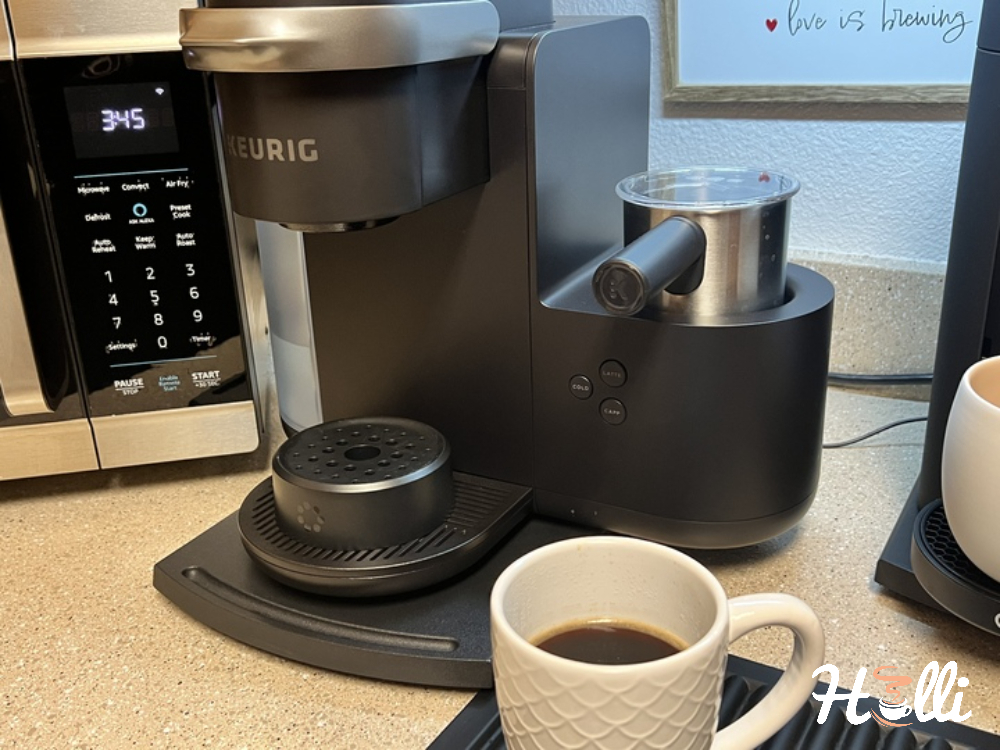
And just like that, you’re ready to brew again. Using a reusable K-Cup not only lets you enjoy your chosen coffee blend but also reduces waste—good for your palate and the planet. Cheers to your next aromatic cup!