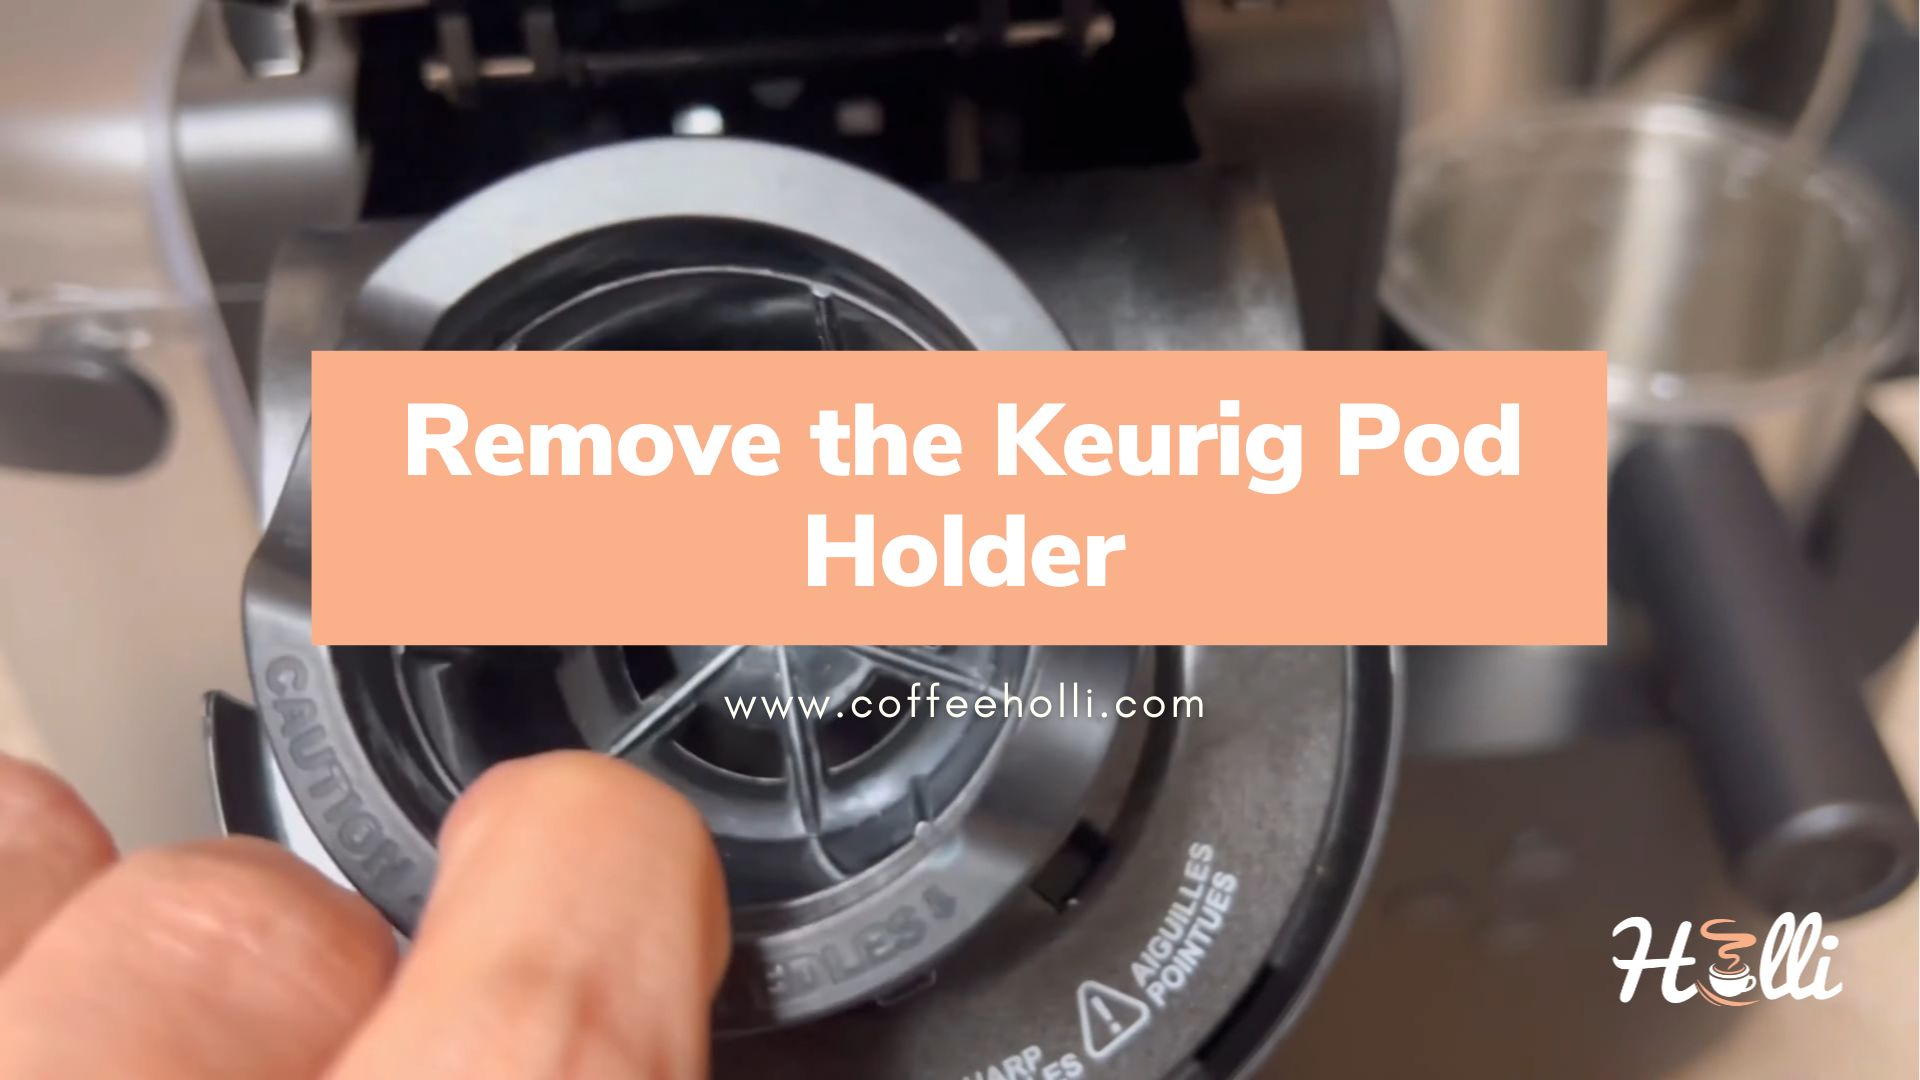
I’ve brewed countless cups of coffee, and I’ll let you in on a little secret – it’s not just about the beans. A big part of the perfect cup comes down to your Keurig’s maintenance, especially the pod holder.
You see:
This little gadget cradles your coffee pod, ensuring each brew is flawless.
Different Keurig models have their styles, like the standard K-Cup holder or the Vue for a more tailored brew. But when it’s time for a clean, how do you remove the holder without a hitch?
Well:
You don’t need to figure it out on your own. In this quick guide, I’ll walk you through the steps you need to follow to do this safely. So, let’s get right to it.
Table of Contents
Universal Guide to Removing the Keurig Pod Holder
Here’s a universal step-by-step guide that I’ve put together to help you remove your Keurig pod holder safely and efficiently.
Preparation Before Removal
Before jumping straight in, we need to get ready:
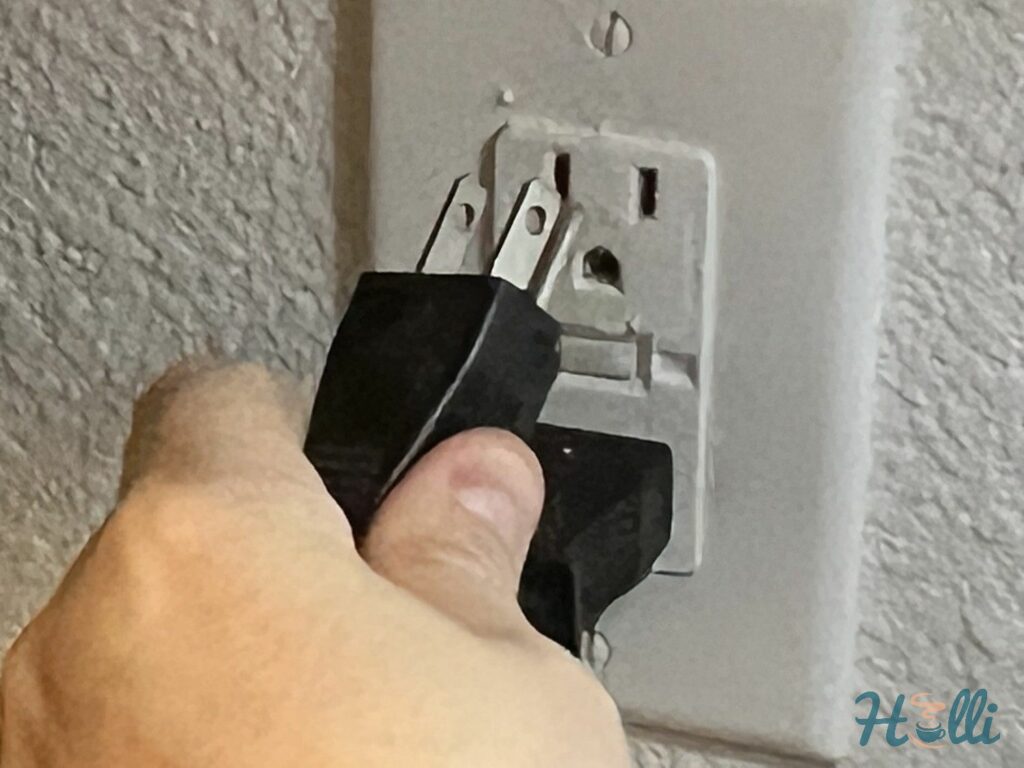
- Safety first. Always remember to turn off your Keurig machine and unplug it from the power source. Working with any electrical appliance when it’s switched on can be risky.
- Next, gather your cleaning tools and materials. Depending on your specific Keurig model, you may need a Phillips or flathead screwdriver. In addition, pick up a clean cloth and a mild cleaning solution to tackle any stubborn stains or residue.
Step-By-Step Guide
Step 1: Accessing the Pod Holder
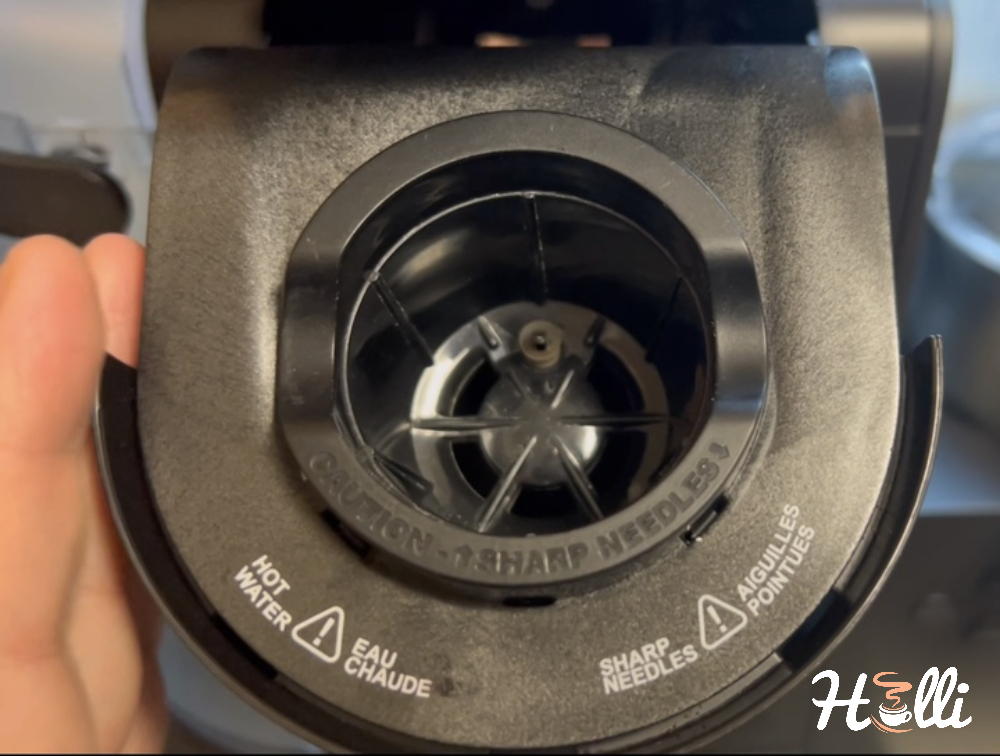
The first step in removing the pod holder is lifting the handle on top of your machine, which is usually located on the front.
You see:
This is a common troubleshooting first step with Keurig and might also apply if you intend to unclog your Keurig coffee maker.
Step 2: Removal of the Pod Holder
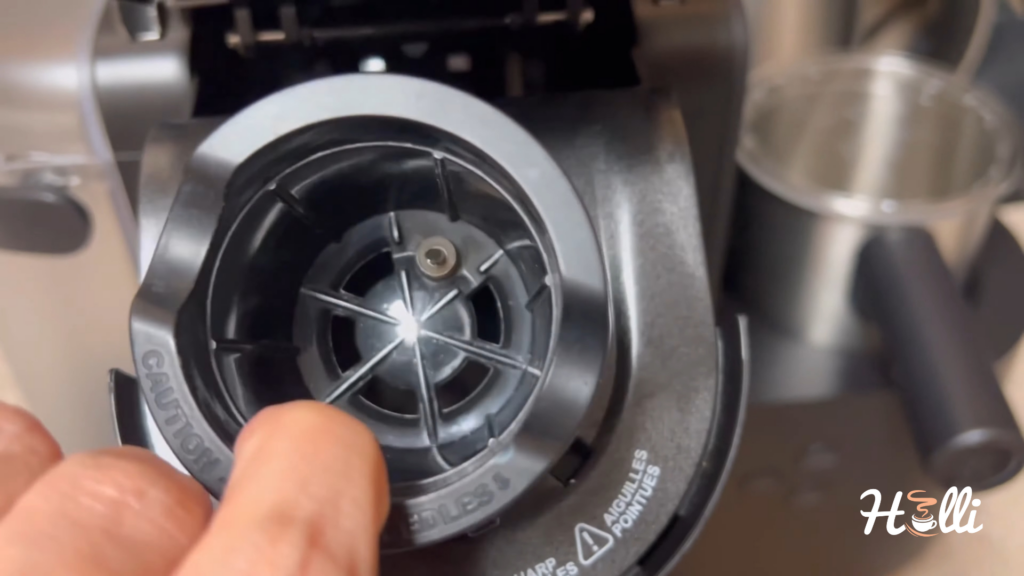
Get ready to get your hands dirty. Gently hold the edges of the pod holder and carefully pull it up and out of the machine. This is where that clean cloth may come in handy!
Step 3: Separation of Components
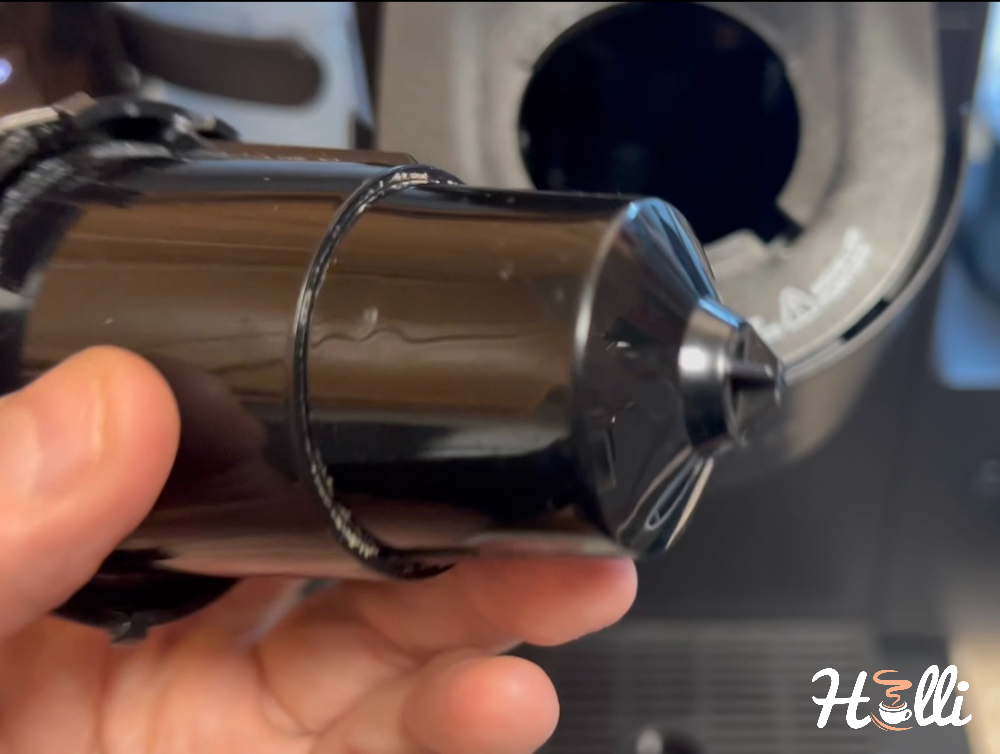
It’s time to separate the funnel from the pod holder. Simply grab the edges of the pod holder, gently pull it up to remove it from the machine, and twist and pull apart the funnel.
You see:
Structuring the removal process this way allows you to feel confident in maintaining your Keurig machine effectively.
Once you’ve established a procedure, you won’t feel as panicked the next time your coffee maker needs tender love and care.
Model-Specific Instructions (the popular ones)
Let me walk you through removing the pod holder from various Keurig models. I’ve had my hands on these models more times than I can count, so here’s the lowdown:
Keurig K-Cafe
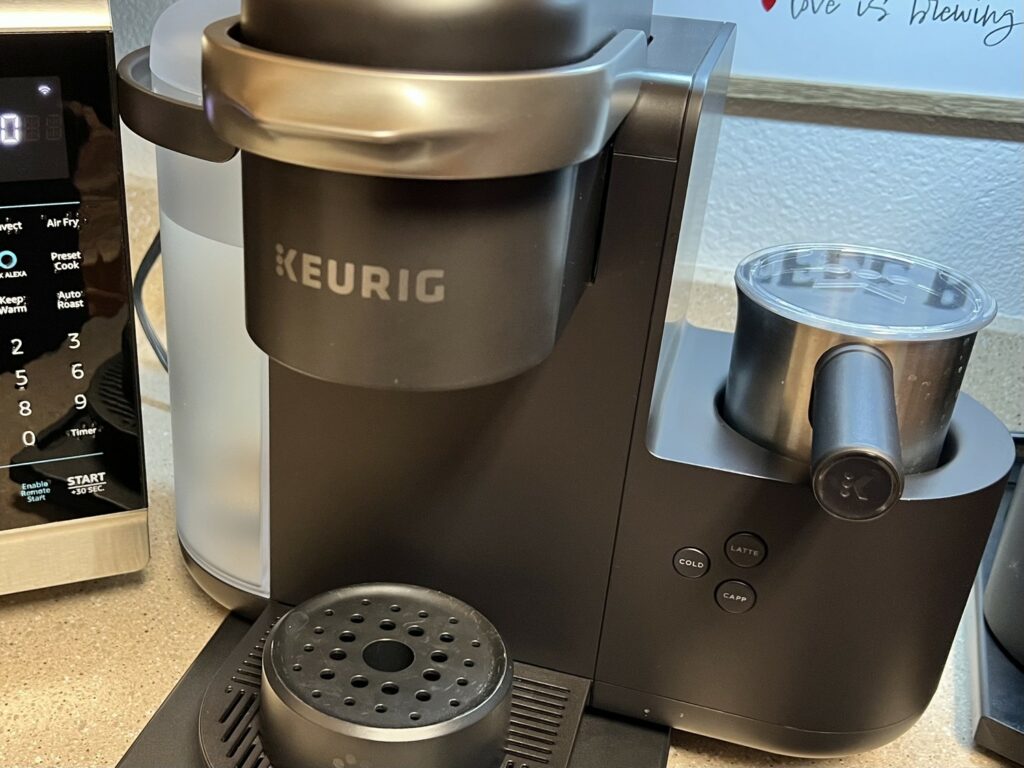
- Safety first: Turn it off and unplug it.
- Open the handle to reveal the pod chamber.
- Check if the frother’s in the way. It’s unique to K-Cafe for those fancy drinks.
- Gently push up the bottom of the pod holder to release it.
- Carefully remove it for cleaning or replacement.
Keurig Elite
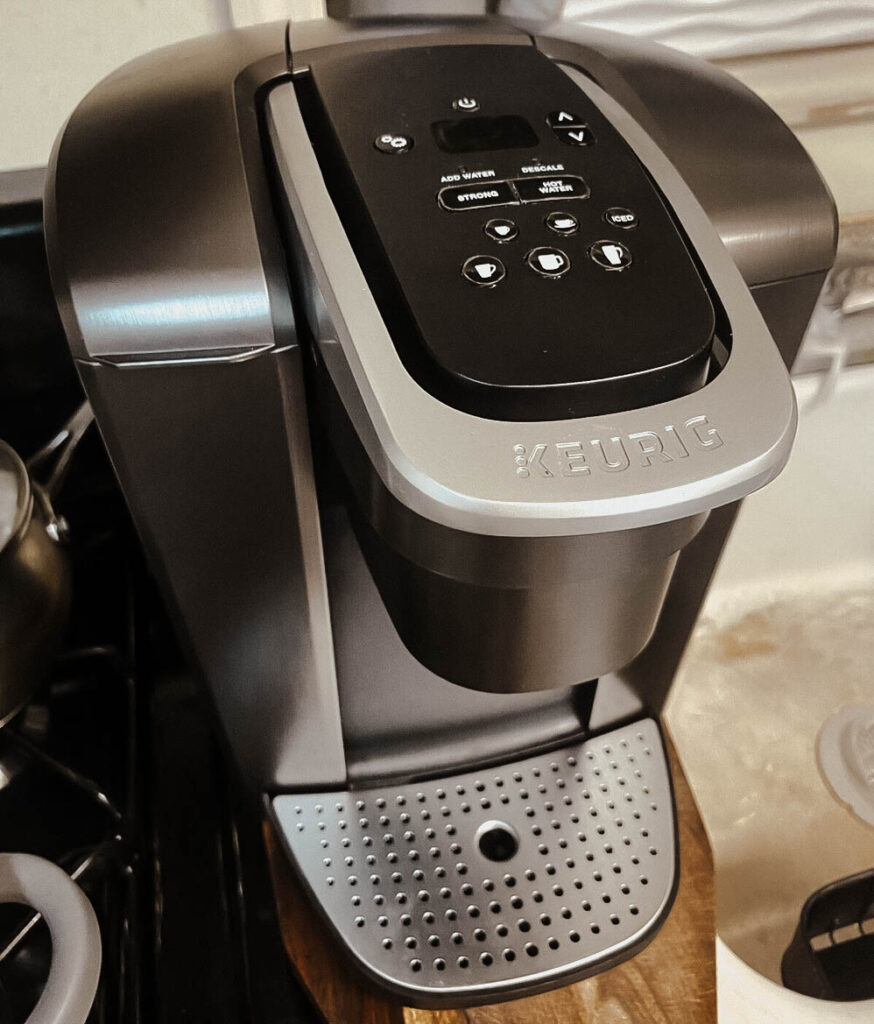
- Unplug the machine.
- Open the handle like you’re about to drop in a K-Cup.
- Locate the pod holder.
- Press upward from the bottom to release it.
- Remember, the needles inside are sharp, so handle them with care.
Keurig Mini
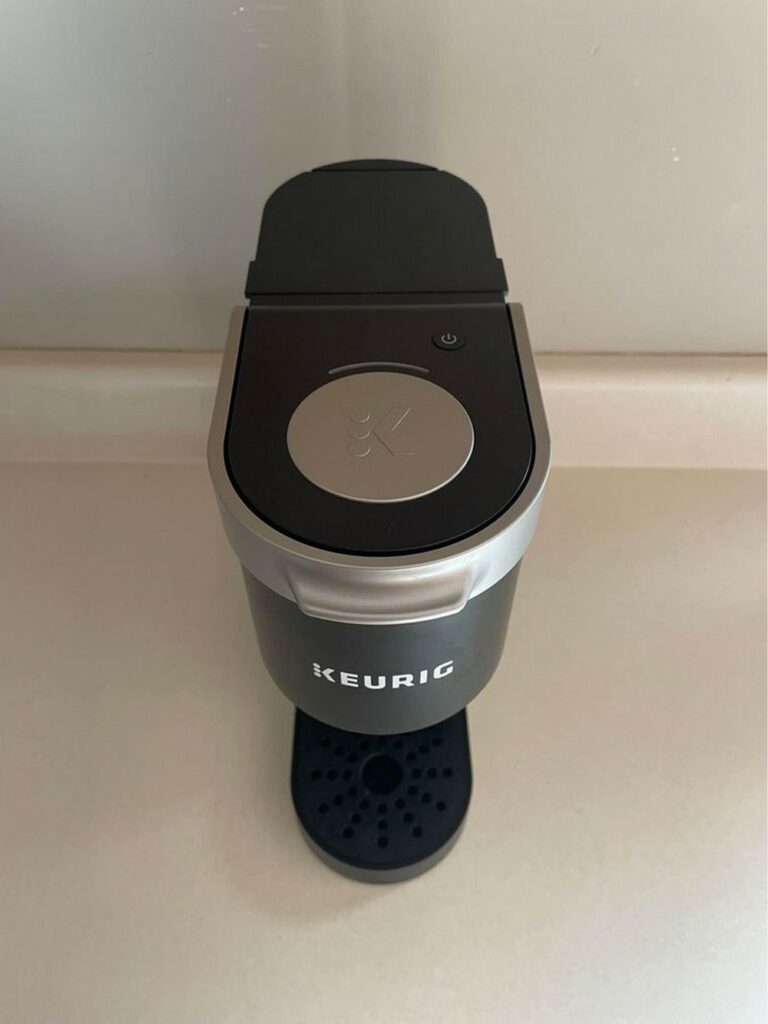
- Turn off and unplug.
- Find the pod holder and lift the brewer handle.
- Push up from the bottom to release the pod holder.
Keurig K-Compact
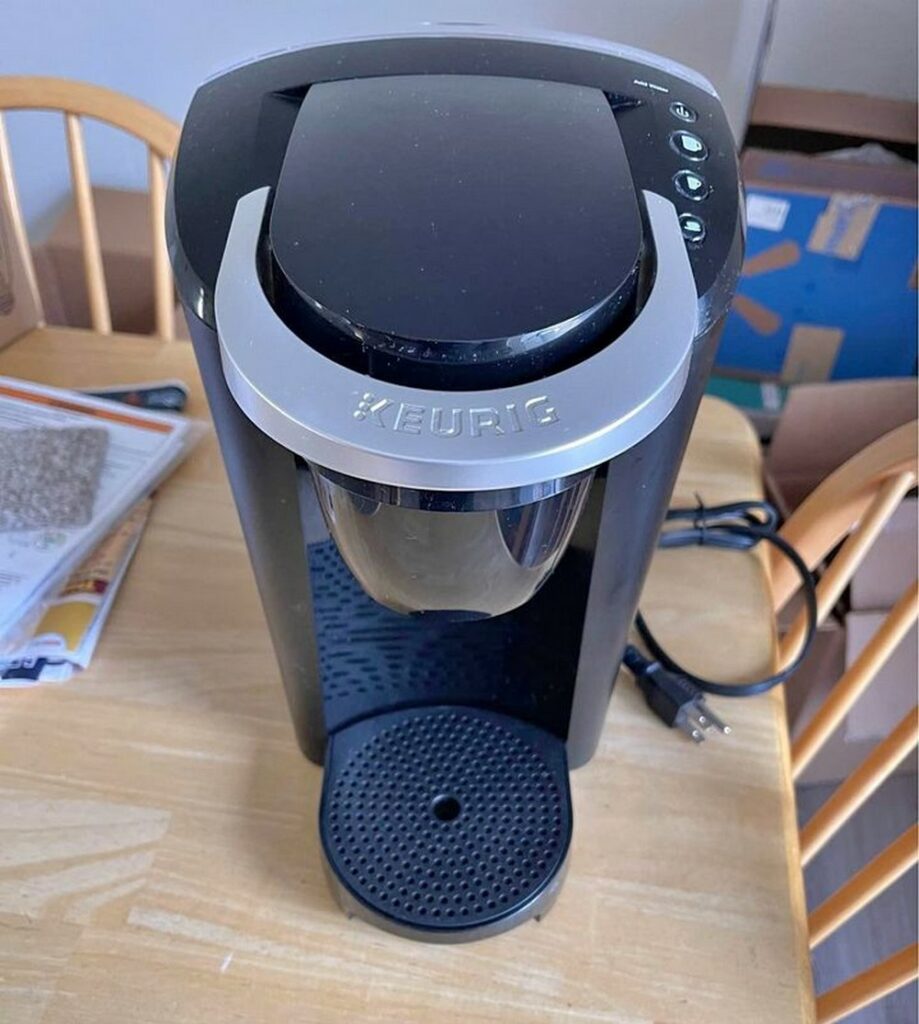
- Ensure it’s off and unplugged.
- Lift the handle fully.
- Grip the top part of the pod holder.
- Push upward from the bottom. Watch out for those needles!
Keurig Slim
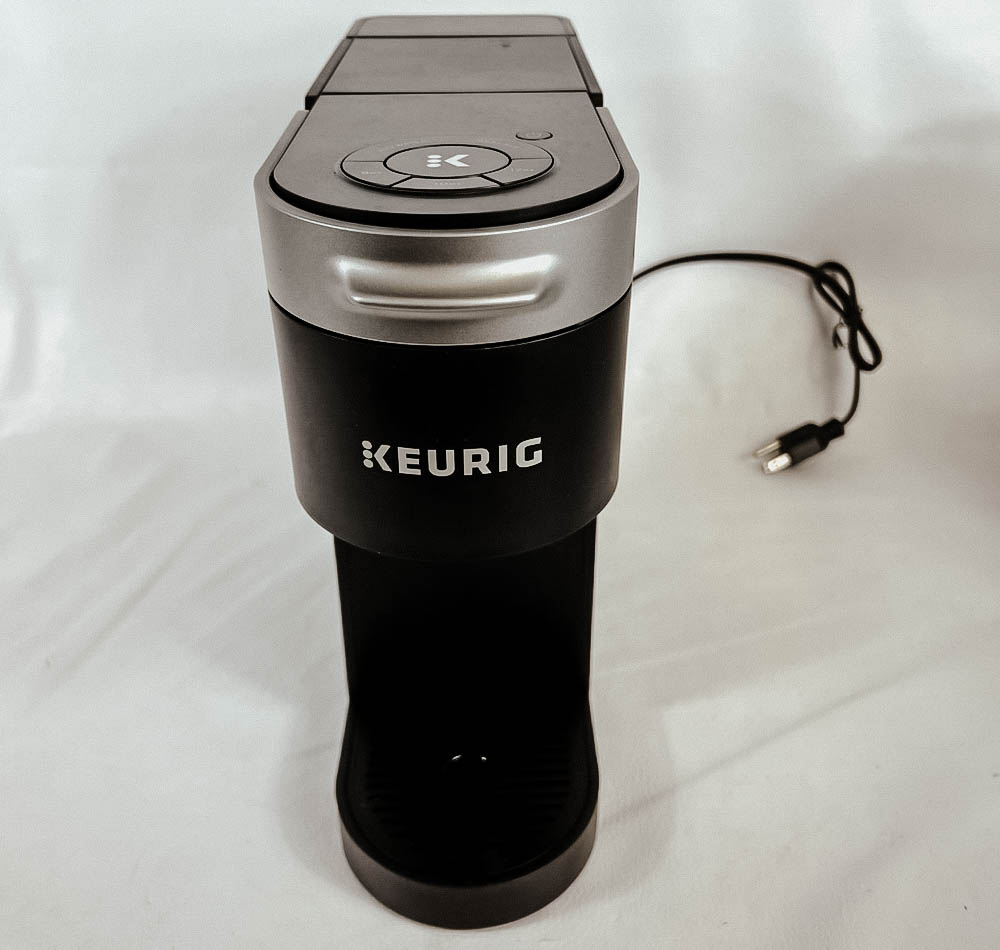
- Power off and unplug.
- Remove the drip tray first.
- Lift the handle to access the pod holder.
- Push up from underneath to detach it.
Keurig 2.0
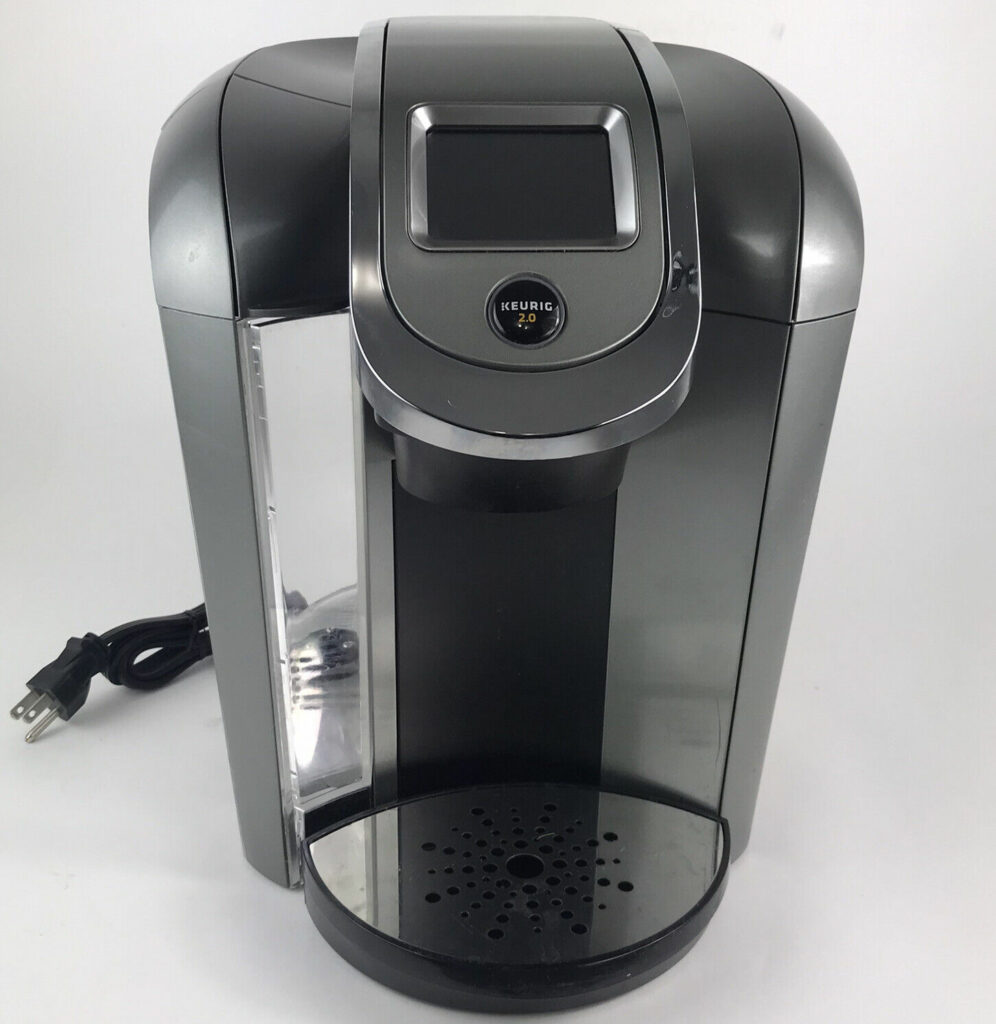
- Start by lifting the brewer handle of your Keurig. This is your first step to accessing the K-cup holder.
- Next, you’ll want to deal with the Pod Holder Assembly. There’s a small circle right underneath the machine. Gently push this circle upward. This action will disengage the assembly.
- Once you’ve done that, you can easily remove the Pod Holder Assembly from the top. Just pull it straight out and set it aside.
- Now, you’ll notice part three – a tray that sits loosely inside the Keurig. That’s your final piece.
To detach the pod holder, you’ll need to press down on both sides and push it upward. This step loosens up part one, and voila! You’ll have parts one, two, and three detached.

