Look:
If you’re a fan of a quick, delicious cup of coffee, you’ve likely heard of the Keurig K-Mini. This popular single-brew coffee maker is a favorite for its convenience.
As such:
It isn’t that complicated to use either, and I intend to break down what you should do as a first-time Keurig Mini user.
Let’s dive into the specifics of how to use and maintain your Keurig Mini.
Table of Contents
How to Use Keurig Mini
Start by running a rinse cycle with 6-8 ounces of water. Simply add water, press the K button, and discard after brewing. Choose your favorite K-cup, insert it, press K to start, wait a few minutes, and enjoy a perfect cup of coffee. Remember to clean and maintain for optimal performance.
Step-by-Step Guide to Using Your Keurig Mini
Here’s how to use your Keurig Mini brewer. Follow each step in order, and you should end up with a piping hot cup of coffee as a reward.
Step 1: Initial Setup and Machine Overview
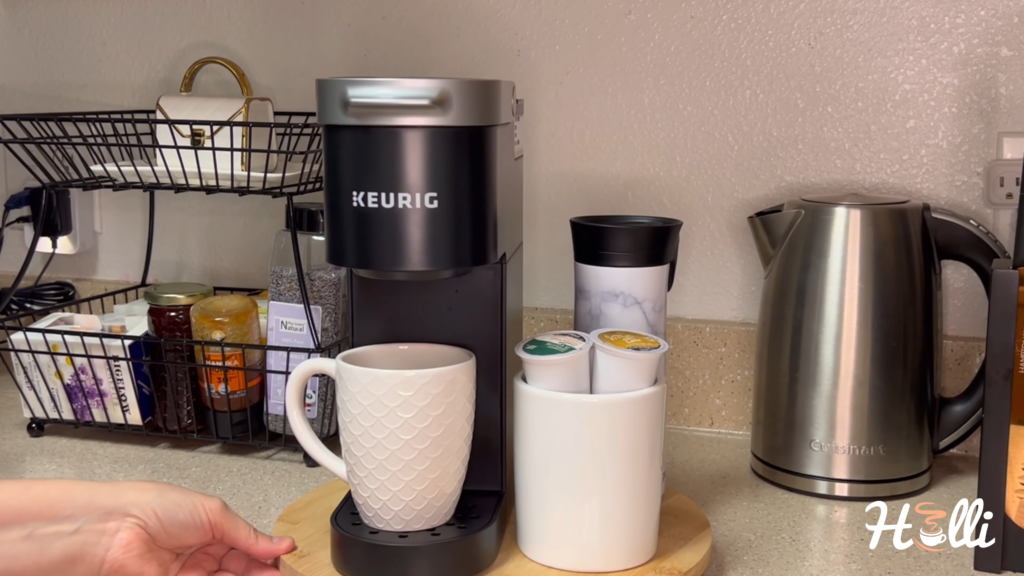
Now that you’ve unboxed your Keurig Mini and plugged it in, let’s start the initial setup.
Firstly:
Begin by running a cleansing brew to remove all the factory remnants from production. It is important to ensure your coffee machine is clean and ready to use.
The process will only take a few minutes, and it guarantees your first cup of coffee is as fresh as possible.
In the meantime, let’s get familiar with your new machine. Keurig Mini has some key parts you need to know.
Step 2: Preparing the Machine for First Use
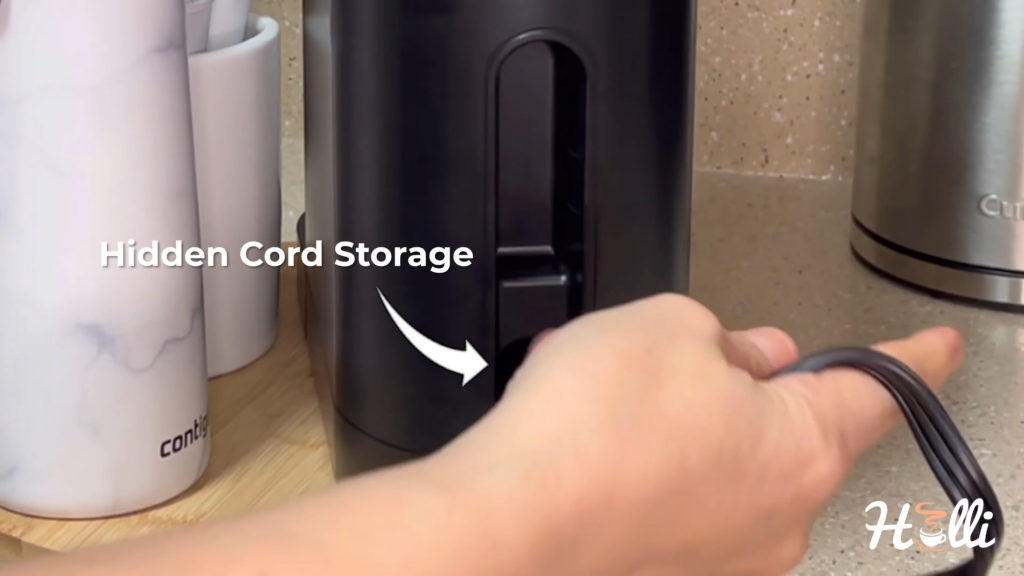
First off:
Find the hidden power cord storage. It’s nestled at the back of the unit, ensuring your kitchen counter stays neat and uncluttered.
We’ll need six to eight ounces of water to kick off the cleaning cycle.
Now:
Kickstarting your machine is a piece of cake – either press the power button or simply lift and lower the machine. This action will power up your machine, preparing it for the cleaning cycle.
Step 3: Running a Rinse Cycle
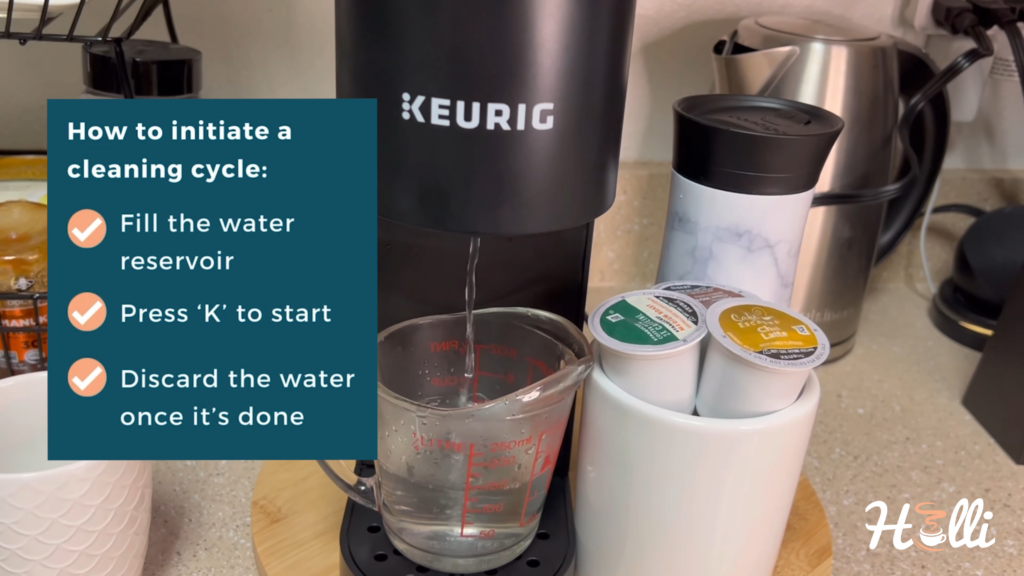
With our water already in the reservoir, it’s time to run a rinse cycle. It’s a good sign when your indicator light begins to flash – indicating that the reservoir is full and ready for the cleansing process.
Next:
Press the K button to kick-start this cycle. Don’t worry; it doesn’t take much time. But rest assured, your power light should be solid and not flashing once the rinse cycle is complete.
Step 4: Selecting and Inserting a K-Cup Pod
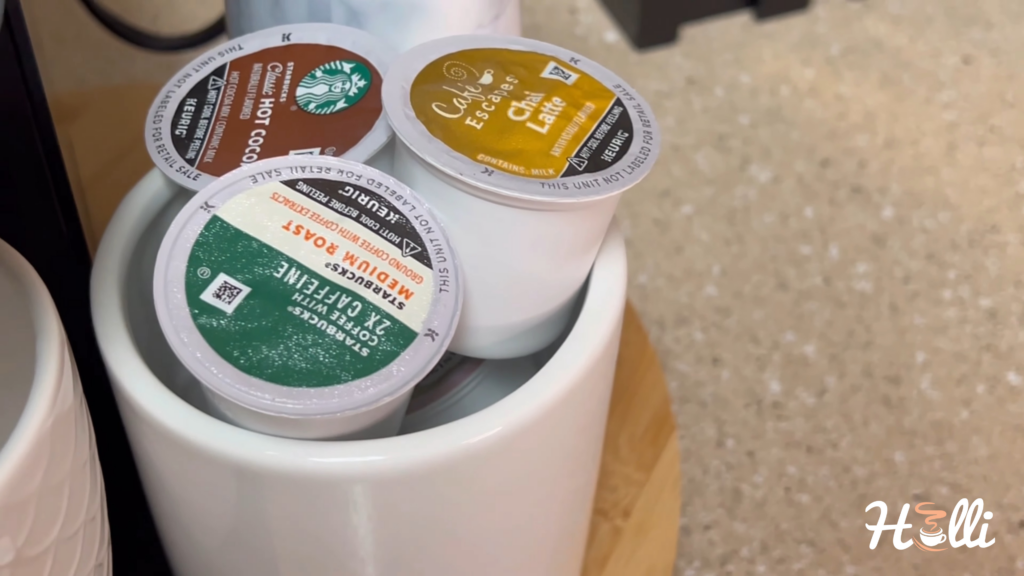
With the initial setup out of the way, let’s delve into the brewing process. Choosing the right K-Cup pod can greatly influence your coffee experience.
You see:
With Keurig, you have a massive selection of K-Cup pods to choose from. The variety makes all the difference, from standard coffee types to an array of flavored brews. Once you’ve selected your favorite K-Cup pod, the insertion process is super straightforward.
Lift the front handle of your Keurig Mini, and you’ll find a chamber designed specifically for these pods.
Then:
Place your chosen pod in there with the lid facing up. Be careful not to remove the pod’s foil lid, as it’s an integral part of the brewing mechanism.
Keep in mind:
The machine’s design includes needles below the pod holder and the brewing chamber’s lid.
Try to familiarize yourself with these parts as this knowledge would come in handy when it is time to troubleshoot your Keurig Mini brewer.
That being said:
When you lower the handle completely down and close the lid, the needles pierce the top and bottom of the K-Cup pod.
These pierced holes are pathways that will allow the hot water to flow through during the brewing phase.
Step 5: Brewing Your First Cup
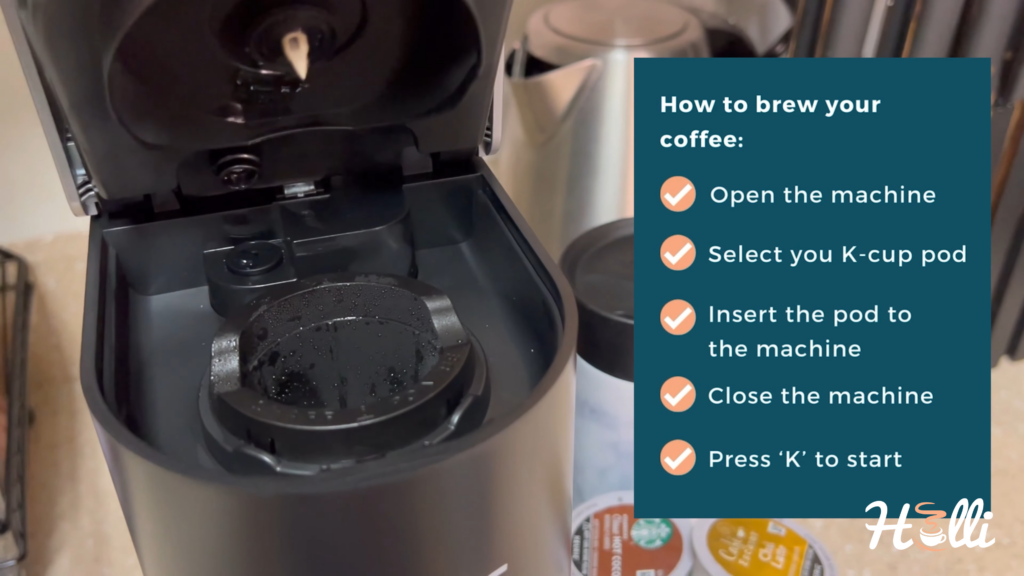
Once you’ve completed all previous steps, it’s time to brew your first cup of coffee with a Keurig Mini coffee maker.
Now:
Patience is key here. Sit back and allow the Keurig Mini to work its magic. In just a few minutes, you’ll have a piping hot, delightful cup of coffee- a fail-proof outcome every time.
For my initial brew, I opted for a chai latte. If that doesn’t suit your taste buds and you’re a coffee lover, you can customize the brew. Feel free to add sugar, milk, or any add-ins of your choice.
PRO TIP: Don’t forget about the Keurig Mini’s energy-saving feature, an auto-off function that turns the machine off after 90 seconds of idle time.
Also:
If you prefer a more robust and bolder taste and use the Keurig Mini Plus, there’s an additional feature for you. The button labeled STRONG kicks up the brew strength for your optimal enjoyment. This feature is available only for the PLUS model.
Alternatively:
You can opt for K-Pods with a higher caffeine content, like the one in the image above.
Step 6: Cleaning and Maintenance Post-Brew
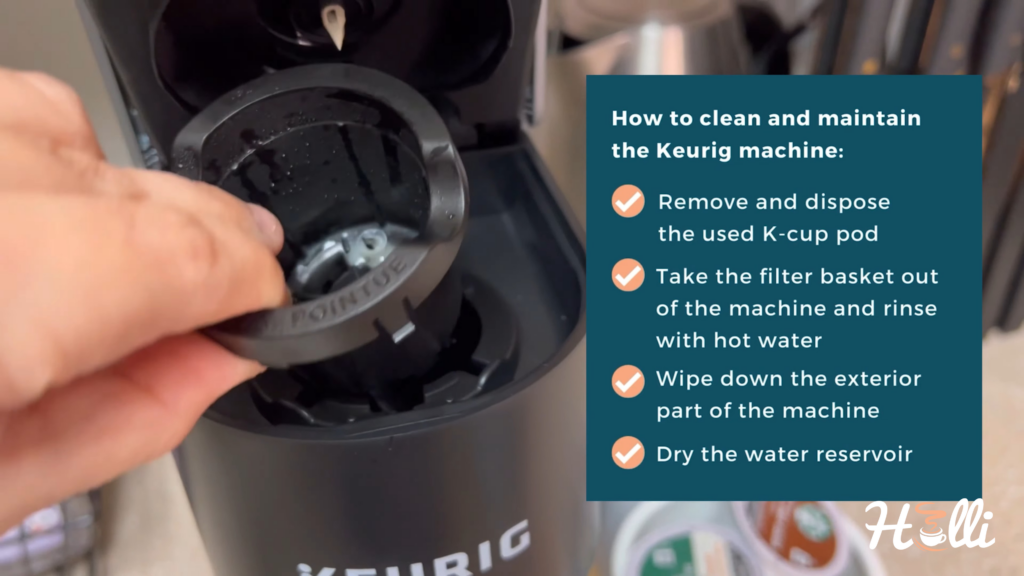
So, you’ve brewed your perfect cup of coffee with the Keurig Mini. But don’t forget, there’s one last step to keep your machine running smoothly.
You see:
Regular cleaning and maintenance are key to ensuring your Keurig Mini continues to deliver that fresh, delicious coffee every time. It’s simple and doesn’t take much time, but it’s essential. Remember to clean the needles and the K-Cup holder to prevent clogs.
Also:
Do not forget to dispose of the coffee grounds and recycle the pod container as appropriate.
With these steps, you’ll be a Keurig Mini pro in no time, ready to enjoy that perfect brew whenever you want. Happy brewing!
Keurig Coffee Maker Components
Hidden Cord Storage Compartment:
- Located at the back of the unit.
- Keeps cords neatly organized and protected from wear and tear.
- Essential for preventing potential electrical faults.
Reservoir:
- Holds 6, 8, 10, or 12 ounces of water.
- Directly impacts the taste and temperature of your coffee.
- Always fill with fresh, cold water for optimal results.
Coffee Mug Tray:
- Supports your coffee mug during brewing.
- Requires regular cleaning to prevent staining and buildup.
K-Cup Holder:
- Holds the K-cup in place during brewing.
- Integral to the brewing process and needs to be kept clean.
Brewer Needles:
- Pierces the K-cup for brewing.
- Regular cleaning is vital to prevent clogging and ensure efficient brewing.
Diffuser:
- Disperses water evenly over the coffee grounds.
- The key to a well-balanced and flavorful brew.

